

Swirl marks form when grit gets trapped between your wash media and the clear coat, so prevention comes down to one routine: remove the grit before contact, wash with a clean two-bucket system and a plush mitt, then dry without dragging dust across the paint. Protection products help, but they support that technique; they don’t replace it.
TL;DR:
- Proper pre-wash using snow foam and a touchless rinse dramatically reduces grit buildup before washing begins.
- Using two buckets with grit guards and dedicated mitts prevents reintroducing dirt into the wash process, minimizing swirl risk.
- Drying with blotting techniques or a leaf blower avoids dragging dust across paint, significantly lowering swirl formation.
- Regular laundering of microfiber tools without fabric softener and avoiding ground contact maintains their grit-releasing effectiveness.
- Ceramic protection layers help reduce swirl depth but require careful surface preparation and correct washing techniques for best results.
Table of Contents
- What is swirl marks prevention, and why does technique matter more than products?
- Quick checklist: what to do at your next wash
- Pre-wash and contact wash: step-by-step sequence you can replicate
- Drying without creating new swirls
- Tools and tool care: choose, launder and retire safely
- Protection layers: what wax, sealants and ceramic coatings actually deliver
- Maintenance schedule: how often to wash, inspect and when to detail
- Common mistakes and troubleshooting: diagnosing persistent swirls
- Diamondbrite practical notes and expert pointers
- Author perspective: the prevention-first mindset
- Diamondbrite: product options that support the routine
- Sources
- FAQ
What is swirl marks prevention, and why does technique matter more than products?
Swirl marks are not a coating failure or a paint defect. They are hundreds of tiny linear scratches caused by grit dragging across the clear coat during washing or drying, and they show up as a spiderweb of fine lines under direct sunlight. Once you understand that mechanism, the fix becomes obvious: keep abrasive particles away from your wash media, or make sure the media itself never touches dirt twice.
That’s the whole game. Waxes, sealants and ceramic coatings can soften the damage, but the core cause is friction between grit and clear coat, not a lack of protection. Fix the technique first. Everything else, including Diamondbrite’s own ceramic products, works best as a second layer of defence rather than a substitute for careful washing.
Quick checklist: what to do at your next wash
Run through this before you touch a hose:
- Pre-wash first. Apply snow foam or a touchless rinse to lift grit and traffic film before any contact wash begins.
- Set up two buckets. One with shampoo, one with clean rinse water, both fitted with grit guards.
- Wash wheels first, with dedicated brushes and a separate mitt that never touches paintwork.
- Work top to bottom, rinsing each panel with the hose before moving to the next.
- Dry with a plush towel or a blower, not a bunched-up cloth dragged across dusty paint.
Skip the pre-wash and you’re grinding road grime into the clear coat from the first pass. Skip the second bucket and your mitt becomes a scouring pad by panel three.
Pre-wash and contact wash: step-by-step sequence you can replicate
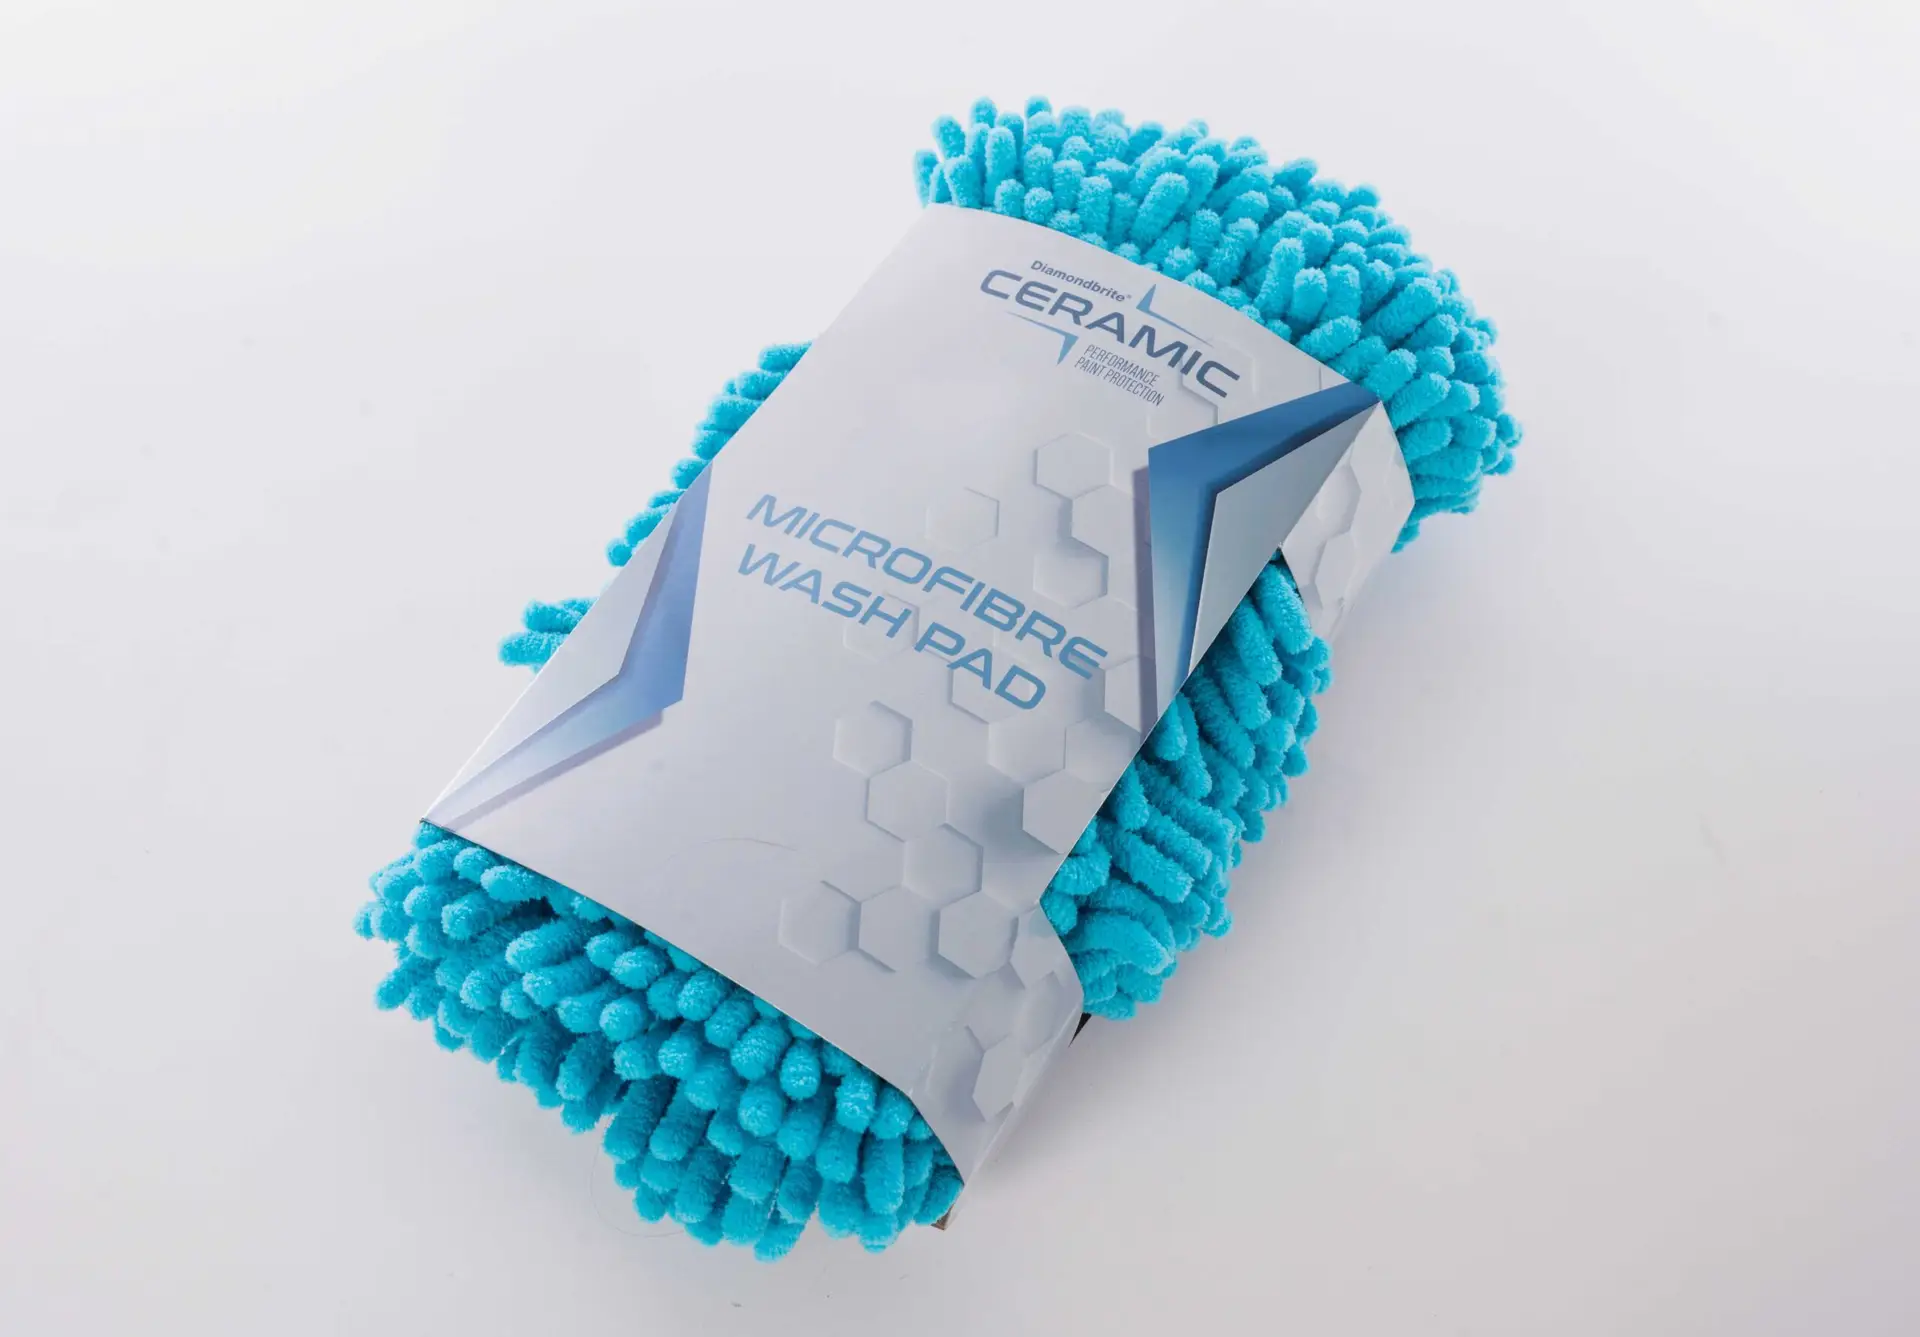
Get your setup right before the hose comes out. You’ll need a foam lance or pump sprayer, two buckets fitted with grit guards, a high-GSM microfibre wash mitt, and a pH-neutral car shampoo. Cheap sponges and cotton flannels hold grit against the paint rather than releasing it, which is exactly what you’re trying to avoid.
- Rinse the whole car with a hose to knock off loose debris before foam goes on.
- Apply snow foam and let it dwell for three to five minutes. Longer in warm weather risks drying on the panel, which does more harm than good.
- Rinse the foam off completely from top to bottom before your mitt touches the surface.
- Load the mitt from the wash bucket, work one panel using straight, overlapping passes rather than circular scrubbing.
- Rinse the mitt in the second bucket against the grit guard after every panel, then reload from the wash bucket.
- Change both buckets if the rinse water turns visibly cloudy, usually after the lower half of the car.
Keep a separate mitt strictly for sills, lower doors and bumpers. That’s where road salt, tar and brake dust concentrate, and it’s the fastest way to contaminate the mitt you’re using on bonnet and roof paint.
Pro Tip: Hold the mitt loosely and let its own weight do the work. Pressing down doesn’t clean faster, it just grinds trapped grit harder into the clear coat.
Drying without creating new swirls
Drying causes more swirl marks than the wash itself, because a dry cloth pulled across paint has nothing to lubricate the contact between fibre and clear coat. Any dust still sitting on the surface gets dragged rather than lifted.
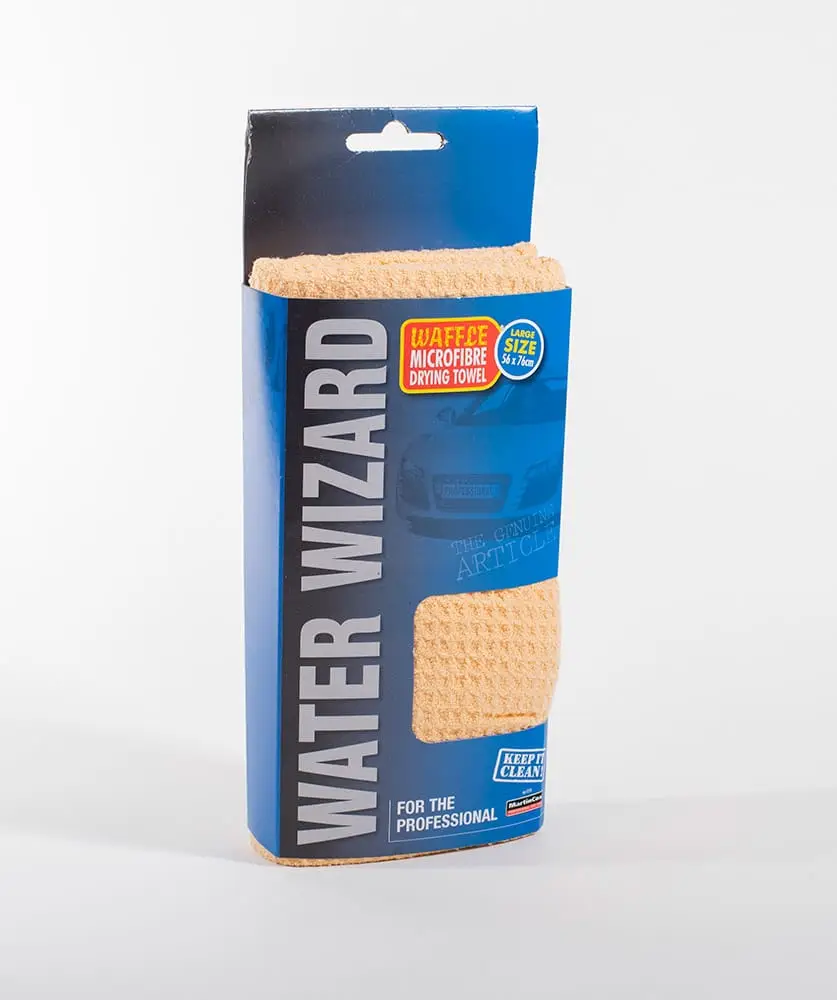
- Use a large, plush microfibre drying towel with a high GSM rating; it holds more water per pass and needs less pressure.
- Blot and pat rather than wipe. Lay the towel flat, press gently, lift, and move to the next section.
- If you must pull the towel, always go in straight lines, never circles.
- Wring or fold to a dry section every two or three panels rather than using the same soaked patch across the whole car.
- Consider a leaf blower or dedicated car dryer for wing mirrors, shuts and grilles where towels struggle to reach.
Touch-free drying, using an air blower rather than any cloth, removes the final-contact friction altogether, which is why professional detailers reach for one whenever they can. It’s a genuinely useful upgrade if you wash regularly and want to cut swirl risk at the one stage most people get wrong.
Pro Tip: A microfibre towel around 1,200 to 1,600 GSM absorbs enough water in one pass that you rarely need to touch the same panel twice.
Tools and tool care: choose, launder and retire safely
Your tools cause more swirl marks than dirty roads ever will if you get the laundering wrong. High-GSM microfibre mitts and towels stay soft and grit-releasing only when washed correctly.
- Wash microfibre separately from cotton items; cotton fibres shed lint that embeds in microfibre and turns it abrasive.
- Never use fabric softener. It coats the fibres and reduces their ability to trap and release dirt safely.
- Dry on low heat or air dry. High heat melts synthetic fibres and stiffens the pile.
- Apply the “dropped mitt” rule: if it touches the ground, it goes straight into the laundry, not back into the bucket.
- Colour-code mitts and towels by task; one colour for wheels and lowers, another for paintwork, so nothing crosses over by accident.
Retire any mitt once the pile flattens or feels rough between your fingers. A tired mitt is quietly grinding hairline scratches into every panel it touches, and you won’t notice until the damage is done.
Protection layers: what wax, sealants and ceramic coatings actually deliver
Wax, sealant and ceramic coatings add a slick, sacrificial layer that reduces friction between your wash mitt and the clear coat underneath. Think of it as a buffer, not a shield. Grit still moves across the surface; it just glides rather than bites as deeply.
That’s why the order of operations matters so much. Apply any coating over existing swirls and you seal those defects under a glossy layer that makes them more visible, not less. Paint correction, which levels the clear coat to remove existing marks, has to happen before protection goes on, never after.
- Correct the paint first if swirls are already visible under direct light.
- Apply wax, sealant or ceramic coating only once the surface is genuinely clean and level.
- Expect reduced scratch depth, not immunity. Coated panels still need the same two-bucket discipline.
- Adjust aftercare for coated paint: skip acidic wheel cleaners nearby and stick to pH-neutral shampoo to protect the coating’s bond.
Industry testing on coated versus bare panels shows ceramic coatings can reduce swirl depth by around 30 to 40% under identical wash conditions. That’s a meaningful buffer, but it still leaves plenty of room for damage if the underlying technique is careless.
Maintenance schedule: how often to wash, inspect and when to detail
A daily driver picking up road film and brake dust benefits from a full contact wash roughly every one to two weeks. Cars kept mostly under cover or driven rarely can stretch to every three or four weeks, provided you keep dust off with interim maintenance.
- Use a waterless wash or quick-detail spray between full washes for light dust, never for heavy grime; those products lack the lubrication to shift anything abrasive safely.
- Inspect paint under strong, angled light (a torch works well) every few weeks to catch micro-marring before it spreads.
- If you spot fine lines that only show under direct sun, that’s early swirling, and it’s the moment to tighten up technique rather than reach for polish.
- Keep the wheel-first workflow year-round, but expect more frequent washing in winter when road salt and grit are heaviest.
Seasonal grit loads change the calculation. Winter roads carry more abrasive salt and stone chips, so shortening the gap between washes during those months does more for prevention than any product swap.
Common mistakes and troubleshooting: diagnosing persistent swirls
If you’re following the basics and still seeing marks, the fault usually sits in a habit you’ve stopped noticing.
- Check your laundering routine first. Fabric softener or mixed loads with cotton towels are the single most common hidden cause of “clean” mitts that still scratch.
- Swap mitts and towels one at a time across a few washes to isolate which tool is reintroducing grit.
- Rule out automatic washes. Brush and tunnel washes trap grit from previous vehicles and transfer it directly onto your paint; if you use one out of necessity, choose a touchless cycle every time.
- Watch your drying stage. Wiping instead of blotting is the most common cause of swirls that appear despite a careful wash.
- If marks are already visible under sunlight, polishing will reduce or remove them, but it removes a thin layer of clear coat each time, so treat correction as an occasional fix, not a routine step.
Diamondbrite practical notes and expert pointers
A recommended routine follows the same order this guide sets out: pre-wash, shampoo, then protection. A ceramic shampoo can slot into the contact-wash stage, adding lubricity that helps the mitt glide over trapped particles rather than drag them, and it pairs naturally with the two-bucket method without replacing any step of it.
- Dilute shampoo according to the bottle guidance rather than guessing; too concentrated a mix leaves residue that attracts dust.
- Apply ceramic glaze only once paint is genuinely clean and free of visible swirling.
- Use grit guards and a dedicated mitt regardless of which shampoo or glaze you choose; the product supports the technique, it doesn’t override it.
Author perspective: the prevention-first mindset
The single habit that changes everything is treating every wash as a two-stage job: remove grit, then touch paint. Run the checklist above, inspect under strong light every few weeks, and correction becomes rare rather than routine. Worth remembering: polishing removes a thin layer of clear coat every time, so prevention is the only strategy with no downside.
— Will
Diamondbrite: product options that support the routine
Protection products reduce the depth of wash-induced scratching, but they never replace careful technique. The mitt, the buckets and the drying towel do most of the real work. Diamondbrite’s ceramic range is built to slot into that routine rather than sell you a shortcut around it, with a Ceramic Shampoo that adds slip during the contact wash and a full range covering paintwork, wheels and glass for the rest of the car.

If you’re dealing with marks that are already visible, the swirl mark removal guide walks through the correction stage before you reapply any protection. For jobs beyond a weekend wash, a professional mobile valet such as ECOLIA can handle the heavier correction work while you keep up the routine maintenance yourself. Browse the full Diamondbrite range to build a kit that matches your car, your climate and how often it actually gets washed.
Sources
- How to Prevent Swirl Marks When Washing · CarCareTruth
- How to remove swirl marks from your car | RACV
- What Ceramic Coating Does NOT Protect Against: Limitations Explained – CeramicInfoSpot
- Engineerskill
FAQ
Are swirl marks unavoidable?
No, most swirl marks come from avoidable habits like dirty wash media or wiping dust with a dry towel. A pre-wash, two-bucket method and correct drying technique prevent the vast majority of them.
Can swirl marks be permanently removed?
Polishing levels the clear coat and can reduce or remove existing swirl marks, but each correction removes a thin layer of clear coat. That’s why prevention matters more than repeated correction over the life of the paint.
Does a ceramic coating prevent swirl marks?
Ceramic coatings reduce the depth of wash-induced marring, with industry testing showing roughly a 30 to 40% reduction compared with bare paint, but they don’t make paint immune to scratching. Safe wash technique still matters just as much on coated cars.
What is the best car polish to remove swirl marks?
The right polish depends on how deep the marks are and your paint’s hardness, so this is usually a job worth researching per vehicle rather than picking one product for every car. Diamondbrite’s swirl mark removal guide covers the correction process step by step before you reapply any protective glaze.
