

Polishing works brilliantly on surface haze, water spots and light wiper trails, but it will not fix chips, cracks or deep scratches. Before you reach for any compound, run your fingernail across the mark. If it catches in the groove, stop and book a professional glass repair. If it glides smoothly over, you’re clear to polish.
TL;DR:
- Polishing can remove water spots, haze, and light wiper trails but is ineffective against deep scratches, chips, or cracks that catch a fingernail.
- Use the fingernail test on a clean, dry glass surface to determine whether a mark is shallow enough for polishing or requires professional repair.
- Cerium oxide slurry with a low-speed dual-action polisher and a high-density felt pad provides the safest and most effective DIY method to level glass haze.
- Maintain a temperature below 70°C during polishing, regularly check progress, and mask surrounding areas to prevent heat damage or paint dulling.
- Applying a ceramic or hydrophobic coating immediately after polishing extends the clarity and makes the glass resistant to water spots and road film.
Table of Contents
- What glass polish can fix (and what it cannot)
- Assess the damage: the fingernail test and quick checks
- Tools and products that actually work for glass polishing
- Step-by-step polishing method (safe, repeatable workflow)
- Sanding and deeper repairs: when machine sanding is appropriate and the risks
- Finishing and protection: coatings, wipers and maintenance to keep glass clear
- Expert perspective and safety checklist
- Author’s takeaway: when to DIY and when to consult a pro
- Diamondbrite option: recommended finishing products and where to start
- Sources
- FAQ
What glass polish can fix (and what it cannot)
Cerium oxide polish levels the top microns of glass, so it excels at removing the things that build up gradually rather than damage inflicted in one hit. Wiper trail haze, hard water etching, light limescale spotting and general road film all respond well, usually within one or two sessions.
Deep scratches, star cracks, stone chips and any mark with real depth are a different problem entirely. Polishing thins the glass slightly with every pass, and grinding into a genuine groove risks creating optical distortion that’s worse than the original scratch.
What improvement looks like versus what should worry you:
- Fixable: hazy patches that catch light unevenly, dull streaking from old wipers, chalky mineral deposits that won’t wash off
- Not fixable by polishing: any crack that has spread, chips with a visible pit, scratches deep enough to snag a fingernail
- Warning sign to stop immediately: a rippled or wavy reflection appearing where you’ve been working
Assess the damage: the fingernail test and quick checks
The fingernail test remains the fastest way to triage a scratch, and detailing professionals rely on it precisely because it needs no tools.
- Clean the glass and let it dry fully, since a wet or dirty surface gives a false reading.
- Run your fingernail slowly across the mark at a right angle, not along its length.
- If your nail catches or drags in the groove, the scratch is likely too deep for DIY polishing and needs a professional assessment.
- If your nail slides over smoothly, note the mark’s length and location, then check it again in direct sunlight and at dusk, since some marks only show under certain light.
- Anything within the driver’s direct line of sight, or longer than a few centimetres, is worth a second opinion even if it passes the nail test.
When in doubt, don’t grind. A cautious pass costs you nothing; an aggressive one on a windscreen you should have replaced could cost considerably more.
Tools and products that actually work for glass polishing
Cerium oxide is the standard abrasive for a reason: it’s fine enough to level glass without scratching it further, unlike generic paint compounds or toothpaste, which are too coarse and inconsistent for this job. A cerium oxide slurry worked with a dual-action polisher and a proper pad is the professional route, and it’s well within reach for a careful DIYer.
Pad choice matters more than most people expect:
- High-density rayon or felt pads hold their shape and maintain firm abrasive contact without compressing under load, which is exactly what glass needs.
- Foam pads compress too easily, giving inconsistent pressure and a slower, less even result.
- A DA (dual-action) polisher at low speed is far safer than a rotary tool, which generates heat much faster and is generally reserved for experienced technicians. Hand polishing with a felt pad works for light haze if you don’t own a machine.
- Mask surrounding trim and paint with tape before you start; cerium oxide slurry is messy and will dull paintwork if it dries on it.
Pro Tip: Keep a spray bottle of water next to you throughout. A dry pad heats up fast, and a damp surface is what keeps the polish working as a levelling compound rather than a dry abrasive.
Step-by-step polishing method (safe, repeatable workflow)
Rushing this job is what turns a manageable haze into a distorted patch you’ll regret. Work methodically and you’ll get a genuinely clear result.
- Wash the glass thoroughly, then use a clay bar or iron remover to lift bonded contamination the wash alone won’t shift.
- Wipe down with isopropyl alcohol (IPA) to remove any residue and give you a true view of what you’re actually dealing with.
- Mask the surrounding trim, rubber seals and paint with good-quality tape.
- Mix your cerium oxide slurry to a consistency like thin double cream, not a stiff paste, and load it onto a high-density felt or rayon pad.
- Set the polisher to a low speed. Mirka’s own guidance for automotive glass work recommends around 1,100 rpm on certain polishers, which is slow enough to control heat build-up while still being effective.
- Work in a cross-hatch pattern, keeping the pad flat and moving in short, overlapping passes rather than dwelling in one spot.
- Feather the edges of your working area outward into clean glass, since stopping abruptly in one zone creates localised concavity and the wavy distortion you’re trying to avoid.
- Check the glass temperature by touch every few minutes. Mirka’s guidance is firm on this: glass must never exceed roughly 70°C, because heat beyond that point risks thermal cracking. If it feels hot to the touch, stop and let it cool.
- Wipe away the slurry regularly to check progress, rather than polishing blind for long stretches.
- Inspect under bright, direct light once you think you’re done, ideally sunlight or a strong torch at an angle, since haze and distortion both hide under diffuse indoor lighting.
That 70°C ceiling is the single figure worth memorising from this entire process. It’s the line between a polished windscreen and a cracked one, and it’s easy to cross if you linger too long on a stubborn patch.
Sanding and deeper repairs: when machine sanding is appropriate and the risks
Polishing removes a whisper of material to level surface haze; sanding is a more aggressive step up the abrasive scale, usually reserved for stubborn etching that won’t lift with cerium oxide alone. It’s a professional-grade escalation, not a next step to try casually at home.
- Progressing to finer sanding grits only makes sense once basic polishing has genuinely failed, and each grit step needs its own careful working and refinement.
- The same 70°C temperature limit applies, and sanding generates heat faster than polishing, so checks need to happen more often.
- Side and rear windows are generally safer to refurbish than front windscreens, because windscreens are laminated safety glass with stricter optical clarity requirements directly in the driver’s view.
- If a defect needs sanding to shift and it sits on the windscreen, that’s your cue to call a professional rather than push on.
Finishing and protection: coatings, wipers and maintenance to keep glass clear
Freshly polished glass is more receptive to protective coatings than glass that’s still carrying old contamination, because polishing opens the surface for a proper bond. A hydrophobic or ceramic glass coating applied straight after polishing extends your results considerably, helping rain bead and roll away rather than smear and dry into fresh spotting.
- Apply a ceramic or hydrophobic glass coating while the surface is freshly polished and completely clean.
- Replace tired wiper blades at the same time. Old, hardened rubber is what caused the wiper haze in the first place, and it will start re-etching new glass just as fast.
- Use a glass cleaner formulated for coated surfaces, not a generic household spray, to avoid stripping the coating prematurely.
- Reapply the coating on the manufacturer’s recommended cycle rather than waiting until beading stops working.
Expert perspective and safety checklist
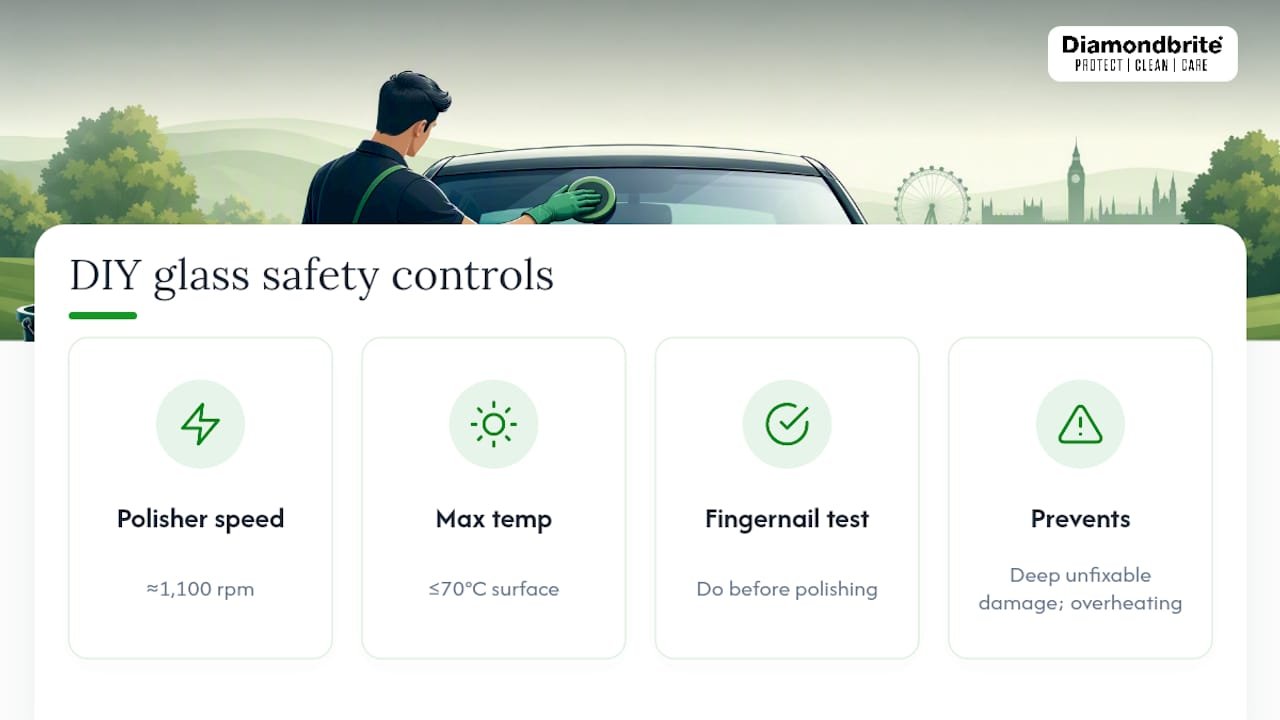
Mirka’s own technical guidance for automotive glass boils down to two numbers worth keeping in your head: keep polisher speed low, around 1,100 rpm, and never let the glass surface exceed 70°C. Pair that with the fingernail test before you start, and you’ve covered the two biggest DIY risks: grinding into damage that was never fixable, and overheating glass that was.
Once polishing is done, Diamondbrite’s ceramic and hydrophobic glass products are built specifically to lock in that clarity, giving newly levelled glass a durable, water-shedding finish rather than leaving it exposed again.
Pro Tip: Run your safety checklist before every session: gloves and eye protection on, trim masked, temperature checks every few minutes, and bright-light inspection before you call it finished.
Author’s takeaway: when to DIY and when to consult a pro
Polishing side and rear glass yourself is genuinely worth the afternoon; the tools are affordable and the risk is manageable if you respect the 70°C limit. Windscreens are a different calculation. The optical stakes are higher, the glass is laminated, and a mistake sits directly in your eyeline every time you drive. If the fingernail test fails, or the mark is on the windscreen and deeper than light haze, get a professional opinion before you touch a polisher to it.
— Will
Diamondbrite option: recommended finishing products and where to start
Once you’ve levelled the glass yourself, the smartest next move is locking that clarity in rather than leaving fresh, open glass exposed to the next rainstorm. Diamondbrite’s ceramic and hydrophobic glass products are formulated specifically for that post-polish stage, giving freshly worked glass a durable, water-repelling finish that sheds rain and road film far better than untreated glass ever will.

If you’re already building a wider ceramic maintenance routine, our guide on keeping a ceramic coating in top condition covers the upkeep that keeps results looking sharp for months rather than weeks. Head to the Diamondbrite shop to pick a glass coating suited to your car, and get it on while the surface is freshly polished and completely clean. One honest caveat worth repeating: if your glass has structural damage, chips or deep scratches, no coating fixes that. That’s a job for a professional glass repair specialist, every time.
Sources
FAQ
How do I polish my car glass?
Wash and decontaminate the glass, wipe it with isopropyl alcohol, then work a cerium oxide slurry over the area with a low-speed DA polisher and a high-density felt pad, using a cross-hatch pattern while checking the surface stays below 70°C.
What is the best polish for car glass?
Cerium oxide is the standard choice among detailers because it levels surface haze and wiper marks without leaving fresh scratches, unlike coarser paint compounds.
Does WD-40 clean windscreens?
No. WD-40 and similar household lubricants leave a greasy residue that impairs visibility and attracts dirt, so they should be avoided on windscreens entirely.
Is it possible to polish out scratches on glass?
Only light, surface-level scratches respond to polishing; if a fingernail catches in the groove, the scratch is too deep for DIY polishing and needs a professional repair.
Should I coat my glass after polishing?
Yes. Freshly polished glass bonds better with a hydrophobic or ceramic glass coating, and applying one from Diamondbrite straight after polishing helps protect the clarity you’ve just restored.
