

Yes. In almost every case, you should polish before ceramic coating. A coating is transparent protection, not a paint corrector, so it locks in whatever your bodywork looks like on the day you apply it. If your paint has swirls, oxidation, or bonded contamination, you’re sealing those flaws under a layer that’s genuinely difficult to remove afterwards.
The one exception worth knowing: some cars only need a light enhancement polish rather than full paint correction. Book a proper multi-stage correction if your paint has visible swirl marks or holograms under sunlight. A quick machine polish will do if the car is newer and well maintained.
- Yes, polish first — coatings preserve, they don’t fix, whatever’s underneath.
- Wipe the surface with an isopropyl alcohol (IPA) panel wipe before coating, regardless of correction level.
- Heavy swirling or oxidation usually means a two-stage correction, not a single pass.
- Diamondbrite’s own prep range is built around this exact sequence.
Key Takeaways
Polishing before ceramic coating is required in almost every case because the coating bonds to and preserves whatever condition the paint is in when applied.
| Point | Details |
|---|---|
| Polish first, always | Coatings seal in swirls, oxidation, and contamination rather than hiding them. |
| Follow the fixed sequence | Wash, iron decon, clay, correct, IPA panel wipe, then coat immediately. |
| Match product to defect level | Use cutting compounds for heavy correction, finishing polishes for light enhancement. |
| Coat straight after the panel wipe | Dust and airborne oils recontaminate a stripped surface within minutes. |
| Diamondbrite supports the full workflow | Pre-coating Polish and Ceramic Shampoo are formulated to prep paint correctly before coating. |
Table of Contents
- Why polishing matters before you apply a ceramic coating
- What happens if you skip polishing before coating
- When you might skip a full correction
- Your pre-coating workflow, step by step
- Choosing the right polish, compound and pad
- Machine polishing versus hand polishing
- Timing your coating application after polishing
- Common mistakes that ruin pre-coating prep
- Polishing technique for UK weather and workshop conditions
- Keeping your finish sharp after polishing and coating
- Why I always recommend correction first
- Get your pre-coating prep sorted with Diamondbrite
- Sources
- FAQ
Why polishing matters before you apply a ceramic coating
A ceramic coating bonds to bare, clean clear coat. That’s the whole mechanism. Silica-based resins need direct contact with the paint surface to cross-link and cure properly, and anything sitting between the coating and the clear coat, oils, wax residue, old sealant, silicone from a cheap polish, gets in the way of that bond.
Paint correction is the controlled process of removing clear-coat defects using machine polishers, compounds, and pads, and it’s the step that turns a tired, swirl-covered bonnet into a genuinely flat, uniform surface. That uniformity matters more than most people realise. A coating applied over an uneven, defect-riddled surface reflects light unevenly too, so any gloss gain from the ceramic layer gets undermined by what’s underneath it.
Skipping this step doesn’t just risk poor bonding. Coatings applied over a contaminated surface tend to seal in visible defects and can shorten the coating’s own service life, since the resin never gets a genuinely clean substrate to key into.
Pro Tip: Before committing to a full correction, run a test spot on a hidden panel, like the boot lid edge or a door jamb, under a proper LED inspection lamp. It reveals swirls and holograms that ordinary daylight hides completely.
What happens if you skip polishing before coating
Skip the polish and you lock in every swirl mark, water spot, and hologram permanently. Worse, they often become more visible once the coating adds gloss and depth to the paint, so contamination that was barely noticeable before suddenly stands out under any decent light.
A ceramic coating cannot fill or hide scratches because it’s an optically clear film roughly 2 microns thick, far too thin to mask anything structural in the paint. If you need to fix it later, you’re either polishing through a cured coating (removing some of your clear coat in the process) or paying for a full chemical strip and re-correction.
Field reports back this up consistently: skipping correction is the most common reason coating jobs underperform, producing patchy cure and disappointing longevity.
Pro Tip: The final panel wipe is the step installers admit to skipping most often, and it’s the one most likely to cause early coating failure.
When you might skip a full correction
Not every car needs the two-stage treatment. A handful of situations genuinely justify a lighter touch:
- Brand new, delivery-fresh cars with no transport swirling may only need a light enhancement polish rather than full correction.
- Lease returns or short-term ownership, where protection matters more than showroom gloss, don’t always justify the labour of multi-stage correction.
- Thin clear coats, repaint areas, or heavily weathered paint where aggressive compounding risks burning through. Get these assessed by a professional before you touch a machine polisher.
If you’re unsure which category your car falls into, treat it as needing correction. The cost of over-preparing is a few extra hours; the cost of under-preparing is a coating you’ll regret.
Your pre-coating workflow, step by step
Every credible installer guide converges on the same sequence: wash, decontaminate, correct, wipe, coat. Here’s how that breaks down in practice.
- Two-bucket pH-neutral wash to remove loose grime without adding swirls.
- Iron decontamination spray, left to dwell and rinsed off, to dissolve embedded ferrous fallout before it can oxidise under the coating later.
- Clay bar or clay alternative, which removes bonded contaminants that washing alone can’t touch, leaving the surface genuinely smooth to the touch.
- Test spot on a hidden panel to confirm your polish and pad combination works before committing to the whole car.
- Machine polish or full paint correction, depending on the condition assessed in your test spot.
- Panel wipe using a 15 to 25% IPA solution or a dedicated prep spray, stripping every trace of polishing oil.
- Final inspection under raking or LED light to confirm the surface is genuinely clean and defect-free.
On an average family saloon, expect the wash and decontamination stages to take significant time, and correction can vary from a few hours for a light enhancement polish to much longer for multi-stage correction. Wear gloves and eye protection throughout, and use a respirator mask when working with stronger iron removers or compounds in an enclosed garage. If you’re tackling correction and coating in one go, plan it as a two-day job rather than rushing the cure.
Choosing the right polish, compound and pad
Not every polish belongs in a pre-coating workflow. Waxy, oil-rich formulas leave residues that fight the coating for bonding space, so your product choice at this stage matters more than it does for a standalone polish job.
- Cutting compounds remove heavy swirls, oxidation, and deeper defects, best paired with a firm cutting pad on a dual-action or rotary polisher.
- Medium-cut, one-step polishes suit cars with moderate swirling where you want correction and finish in a single pass.
- Finishing polishes refine the surface after cutting, ideally run with a soft foam or microfibre finishing pad at lower speed.
- Diamondbrite Pre-coating Polish is formulated specifically to leave a clean, oil-free surface ready for ceramic bonding, which makes it a natural fit for step five of your workflow.
- Diamondbrite Ceramic Shampoo works well for the wash stages either side of correction, keeping the surface consistent without reintroducing waxy fillers.
- Diamondbrite Ceramic Glaze suits cars where light correction is enough and you want an enhanced finish that still plays nicely with a coating applied afterwards.
UK detailing communities discuss plenty of product options in this space, and the general consensus holds regardless of brand: whatever polish you choose, a proper panel wipe afterwards is non-negotiable.
Machine polishing versus hand polishing
A dual-action polisher is the right tool for almost all pre-coating work. It’s forgiving, spreads compound evenly, and won’t burn through clear coat the way an aggressive rotary can in inexperienced hands.
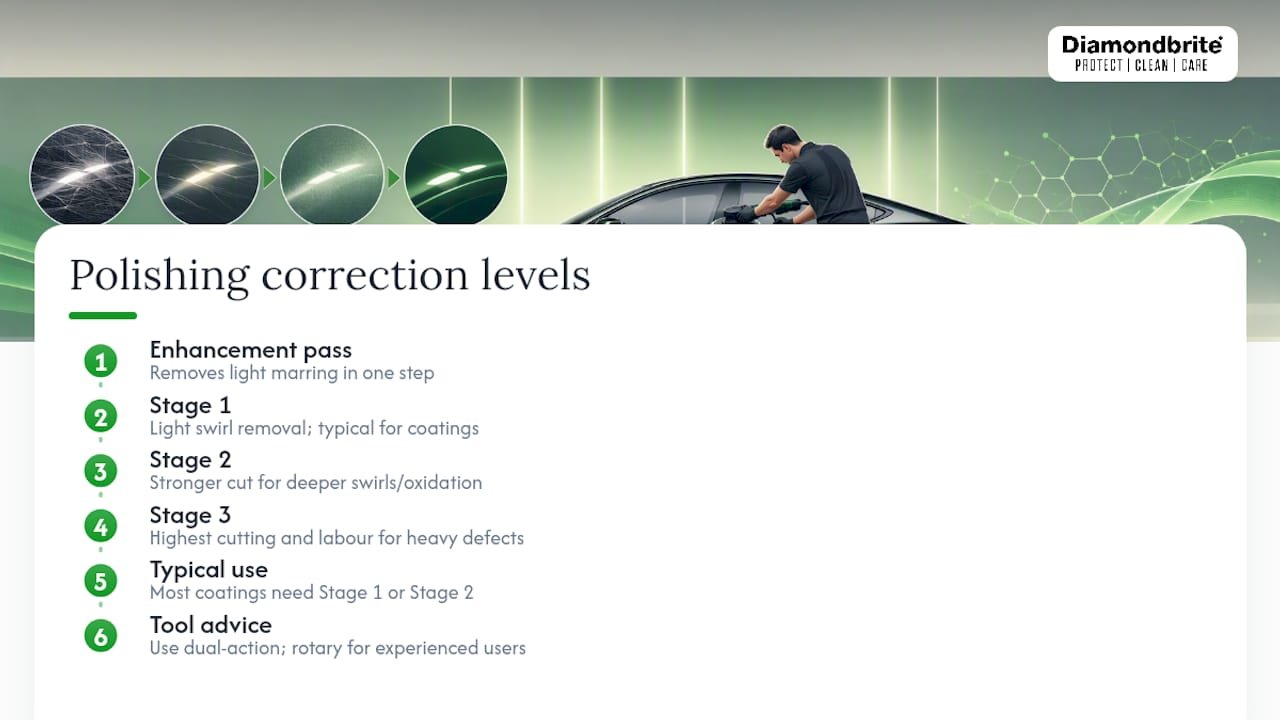
Correction levels typically fall into a few clear tiers: an enhancement pass removes light marring in a single step, while Stage 1 through Stage 3 correction escalate in cutting power and labour time to tackle deeper swirls and oxidation. Most day-to-day coating jobs only need Stage 1 or Stage 2. Save rotary polishers for professionals or experienced hobbyists working with a paint thickness gauge to hand.
Pro Tip: Measure paint thickness before any aggressive correction, and always run a test patch first. A cheap gauge costs far less than repainting a panel you’ve compounded through.
Timing your coating application after polishing
Apply the coating straight after your final IPA panel wipe. Don’t let the car sit exposed once you’ve stripped the surface, because dust, pollen, and airborne oils will contaminate it within minutes in most garages.
- Work in cool, dry conditions with low airborne dust, ideally an enclosed garage rather than a driveway.
- UK weather makes scheduling tricky in autumn and winter, so plan around dry, still days if you’re working outdoors.
- Most coatings need several hours to touch-dry and days to fully cure. Avoid washing the car or exposing it to rain during that window.
Common mistakes that ruin pre-coating prep
Most coating failures trace back to a handful of repeated errors, and nearly all of them are avoidable.
- Skipping iron decontamination or claying, leaving embedded contaminants under the coating.
- Using a waxy or oil-rich polish that leaves residue the panel wipe doesn’t fully strip.
- Missing the IPA wipe entirely, the single most commonly skipped step in the whole process.
- Mismatching pad and product, using a cutting pad with a finishing polish or vice versa.
- Applying the coating in a dusty, humid, or overly warm environment.
If you spot patchy or sticky cure after application, re-clean the affected panel and perform another IPA wipe before reapplying. Persistent problems across multiple panels usually mean it’s time to book a professional strip and re-correct.
Polishing technique for UK weather and workshop conditions
British weather doesn’t cooperate with detailing schedules, and that reality should shape how you plan a polishing session rather than something you fight against. Humidity above roughly 70% slows both polish and coating cure, so check the forecast before committing a weekend to the job.
Work in a garage or covered space wherever possible. Direct sunlight heats panels unevenly, causing polish to dry and haze faster than you can buff it off, and it makes it far harder to judge true colour and gloss during correction. If you’re working outdoors, aim for overcast, dry mornings rather than bright afternoons, and avoid polishing anything below around 10°C, since most compounds and polishes are formulated to work within a specific temperature range and underperform in the cold.
Break the car into manageable sections, roughly one panel at a time, working in slightly overlapping passes with a dual-action polisher at a moderate speed setting. Wipe down each section immediately with a clean microfibre before moving on, so you can judge your progress accurately rather than working from memory. Keep spare pads on hand; a pad loaded with old compound loses cutting ability quickly and will smear rather than correct.
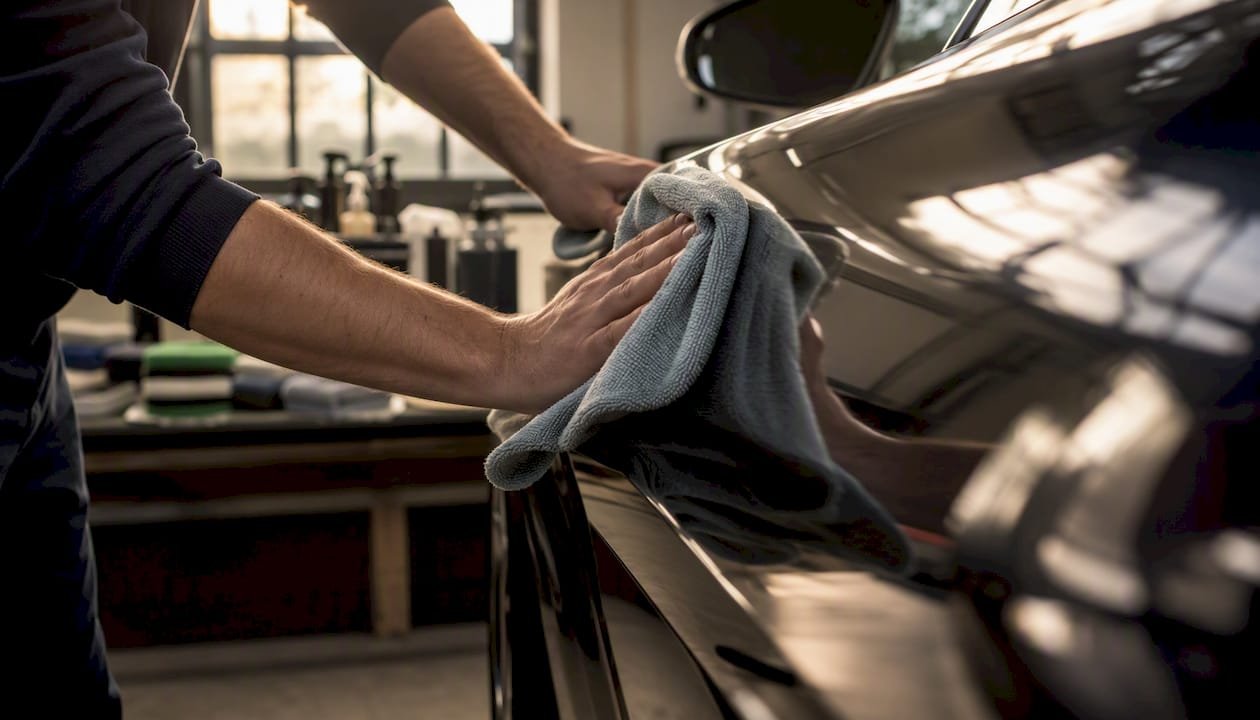
Humidity also affects your final panel wipe. IPA evaporates more slowly in damp air, so give it a few extra seconds per panel before moving to the next section, and check your lighting setup catches any residual haze before you coat.
Keeping your finish sharp after polishing and coating
The days right after coating matter as much as the prep itself. Avoid washing the car for at least a week if the manufacturer instructions say so, giving the resin time to fully cure without disruption.
Once cured, switch to a dedicated pH-neutral shampoo rather than anything with wax fillers or harsh degreasers, since these can dull a fresh coating’s hydrophobic properties over time. Two-bucket washing remains the standard, and a proper drying towel or air blower prevents new swirl marks from undoing the correction work you just paid for.
Keep an eye on areas prone to contamination, like the front bumper and bonnet leading edge, where road grime and insect residue build up fastest. A quick rinse after longer motorway journeys keeps bonded contaminants from settling in before your next full wash. Reapplying a compatible ceramic booster every few months tops up the hydrophobic effect without needing another full correction cycle.
Store your polishing pads clean and dry, ready for the next annual maintenance polish. A coating reduces how often you’ll need correction, but it doesn’t eliminate the need entirely, light annual maintenance keeps the whole system performing as intended.
Why I always recommend correction first
Cars that skip proper correction almost always need rework within a year, and that rework costs more in time and clear coat than doing it right the first time. The evidence across professional installer guides is consistent on this point, and it matches what makes physical sense: you get one clean shot at a defect-free surface before the coating locks everything in.
Prep properly once, and you get better gloss, longer coating life, and far less frustration twelve months down the line.
Get your pre-coating prep sorted with Diamondbrite
Diamondbrite is the practical alternative to guessing your way through polish selection: every product in the pre-coating range is formulated to work together, so you’re not mixing an unknown high street polish with a separate coating and hoping the chemistry cooperates. Diamondbrite Pre-coating Polish is built to leave a genuinely oil-free surface ready for resin bonding, and Diamondbrite Ceramic Shampoo keeps the wash stages either side of correction consistent rather than reintroducing waxy fillers you’ll only have to strip out again.

Formulated in Britain since 1991, developed in the same Loughborough lab that’s protected over two million vehicles, and trusted by main dealers and professional detailers who don’t get second chances on a customer’s car. If your paint needs more than a light enhancement, our guide to ceramic coating on matte paint covers the extra care that finish demands. Once you’re coated, pair it with a proper pH-neutral shampoo to protect your work. Head to the Diamondbrite shop and build your pre-coating kit before your next weekend detailing session.
Sources
- Paint Correction Before Ceramic Coating: Full Guide
- Do You Need Paint Correction Before Ceramic Coating? | Pro Detailing
- Paint Correction Before Ceramic Coating: 2026 Pro Installer Guide | LA Wrap and Tint School
- Thinking About Skipping Paint Correction? Read This First
- Why Use Clay Bar Before Wax or Ceramic Coating | Deep Decontamination
FAQ
What is the best polish to use before ceramic coating?
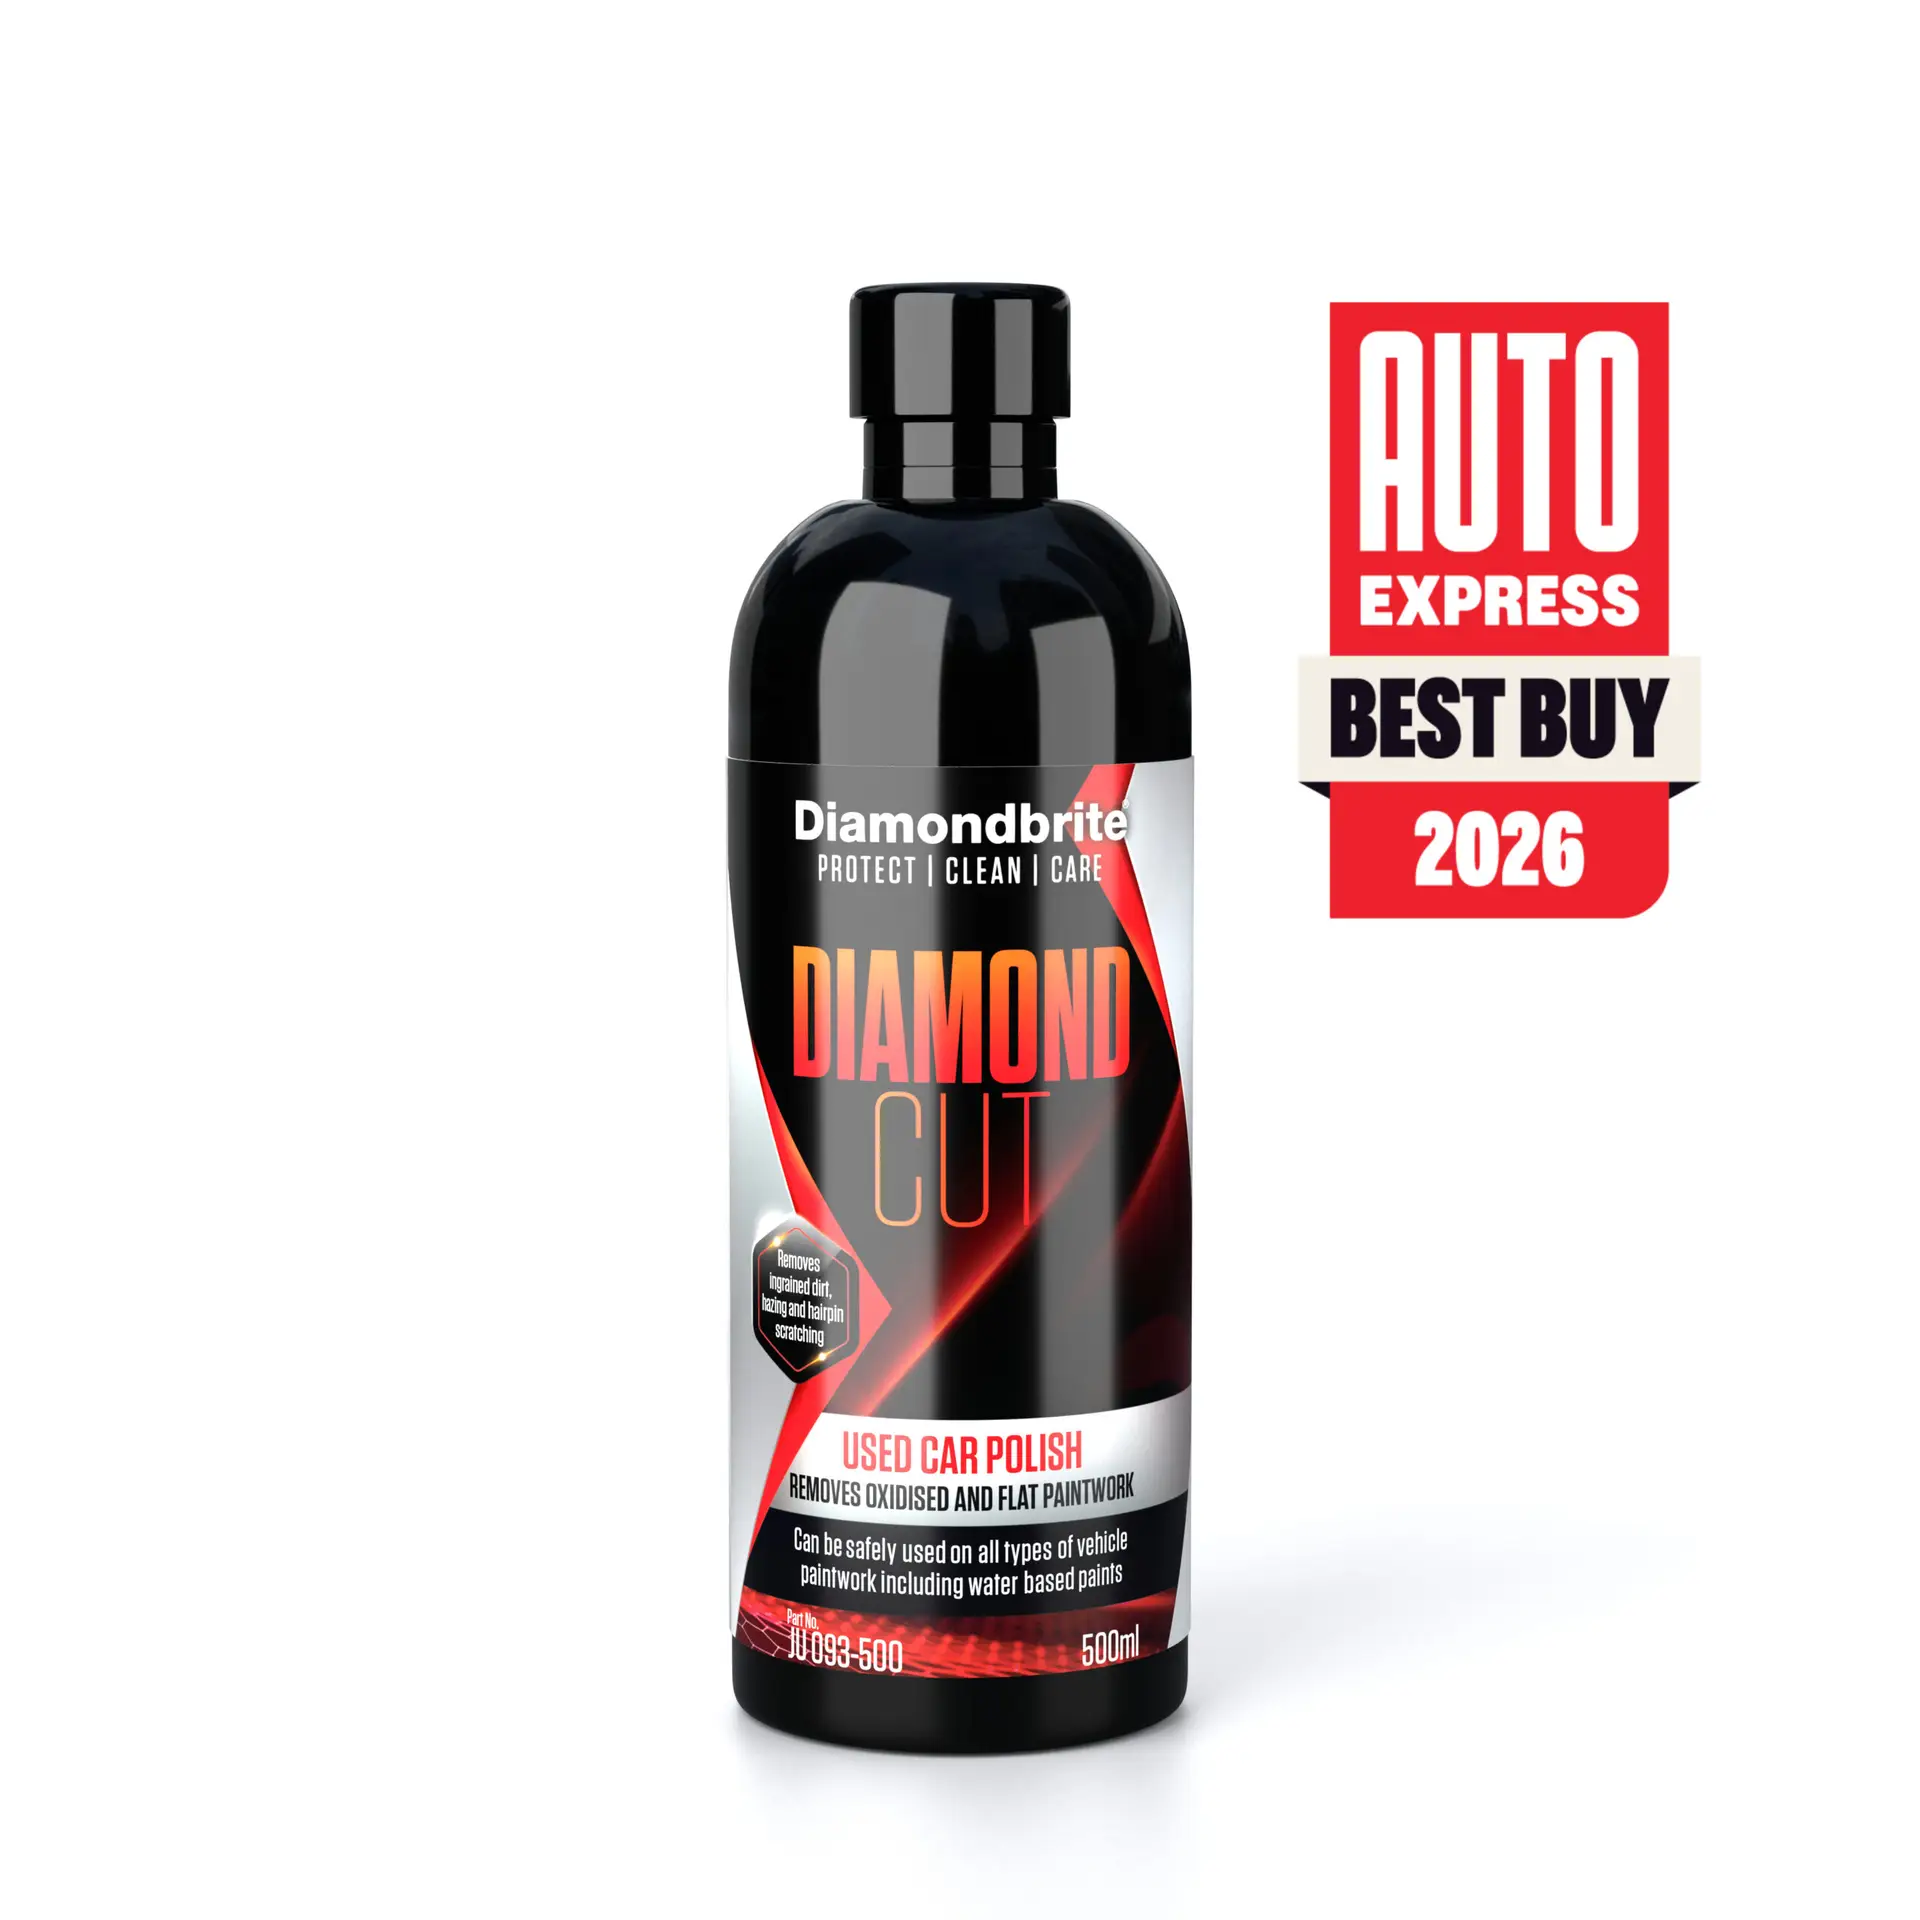
A medium-cut polish or dedicated pre-coating formula, such as Diamondbrite Pre-coating Polish, works well because it leaves no waxy residue that could interfere with resin bonding.
What happens if you ceramic coat without polishing?
You lock in existing swirls, water spots, and holograms permanently, and any contamination left underneath can shorten the coating’s lifespan and cause patchy cure.
Should I wax first before ceramic coating?
No. Wax leaves an oily film that blocks the coating from bonding to bare clear coat, so any wax must be stripped with an IPA panel wipe before application.
Do I need to clay bar before ceramic coating?
Yes, in almost all cases. Clay removes bonded contaminants that washing alone can’t shift, giving the coating a genuinely smooth surface to key into.
