

A safe engine-bay clean uses mechanical degreasing, low-pressure water or controlled steam, a thorough dry-out, and a ceramic-infused protectant such as Diamondbrite Engine Brite. Before you touch a brush, three things matter: never use a high-pressure jet washer; shield every exposed connector and the battery; and always work on a cool engine. The Environment Agency is clear that runoff containing oil and degreaser must not enter surface-water drains, so plan your containment before you start. Even connectors rated IP67 for static water ingress can be compromised by hydraulic pressure, which is why experts advise low pressure or steam every time.
A clean engine bay does more than look good. It reveals leaks, hose degradation and early corrosion before they become expensive failures — making it one of the most practical forms of preventive maintenance you can do at home.
- Use a biodegradable, non-corrosive degreaser applied to dry grime for maximum dwell time.
- Agitate with soft detailing brushes rather than relying on water pressure.
- Rinse gently, dry thoroughly, then apply a ceramic-infused protectant to reduce future contamination.
Table of Contents
- What do you need before you start cleaning?
- How do you clean an engine bay safely, step by step?
- What are the health, safety and environmental rules for UK owners?
- Why apply a ceramic-infused protectant after cleaning?
- How often should you clean your engine bay?
- What should you do if problems appear after cleaning?
- Key takeaways
- The detail that most owners overlook
- Diamondbrite products for engine-bay cleaning and protection
- Useful sources and further reading
What do you need before you start cleaning?
Arriving at the task properly equipped prevents damage and keeps the job safe. Gather everything below before you open the bonnet.
Tools:
- Low-pressure garden hose or a controlled steam source
- Soft detailing brushes in two or three sizes (a large bay brush, a medium parts brush, a small crevice brush)
- Microfibre cloths, several
- Compressed air or a handheld blower to evacuate trapped water
- Lightweight plastic covers, cling film, or small plastic bags for masking
Products:
- A purpose-made, biodegradable engine degreaser (non-corrosive, safe for plastics and rubber)
- Water-based trim dressing for plastic and rubber components
- Diamondbrite Engine Brite as your recommended engine cleaner and degreaser
PPE and prep:
- Nitrile gloves and eye protection
- Work clothing you don’t mind getting dirty
- Remove loose debris by hand or with compressed air before any product touches the bay
Pro Tip: Take a photograph of the engine bay before you start. It gives you a reference for hose routing and connector positions, and it makes the improvement satisfyingly visible afterwards.
How do you clean an engine bay safely, step by step?
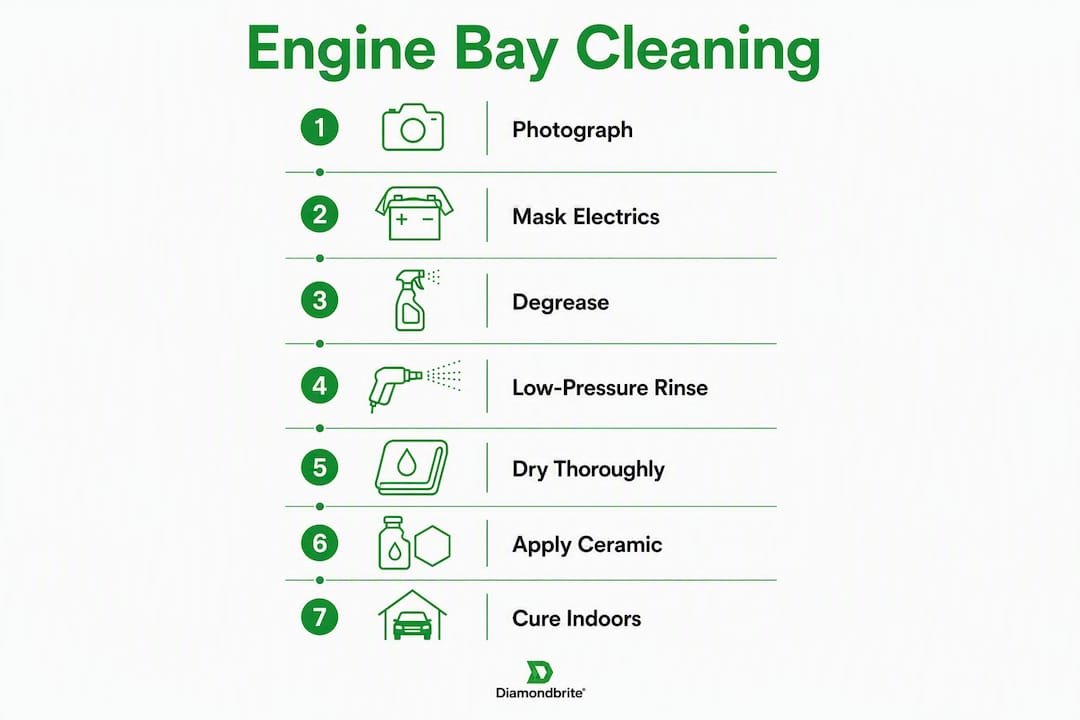
The sequence is: cool engine, mask, degrease, agitate, low-pressure rinse or steam, dry, dress, and inspect. Follow it in order and the risk of damage drops significantly.
Cool the engine completely. Cleaning a hot engine risks premature drying of cleaning agents, streaking, and thermal shock to components. Park up, open the bonnet, and wait at least an hour after driving.
Mask vulnerable areas. Cover the battery terminals, fuse boxes, exposed wiring connectors, the air intake, and any open crankcase vents with cling film or small bags secured with tape. This is your most important step.
Apply degreaser to dry grime. Apply to a dry bay so the product dwells in the contamination rather than being immediately diluted. Concentrate on valleys between components, bolt heads, and seam lines where oil and road grime accumulate.
Agitate with brushes. Mechanical lift from brushes does the real work here, not water pressure. Work the degreaser into grime zones methodically. Avoid belts, pulleys, and alternator vents.
Rinse gently. Use a shower or gentle spray setting on your garden hose and keep the water moving to carry contamination away. A gentle hose is sufficient for rinsing — never reach for the pressure washer.
Remove covers and evacuate water. Take off all masking, then use compressed air or a blower to push water out of cavities, from around connectors, and from beneath the battery tray.
Dry visible surfaces. Wipe down with clean microfibre cloths. Check for pooled water in low points and around the fusebox.
Apply water-based trim dressing. Use a small applicator on plastic covers and rubber hoses only. Avoid belts, pulleys, and any surface that needs grip or heat resistance.
Allow cure time, then run the engine briefly. Follow the product label for cure time before closing the bonnet. A short idle run evaporates any residual moisture from hidden areas.
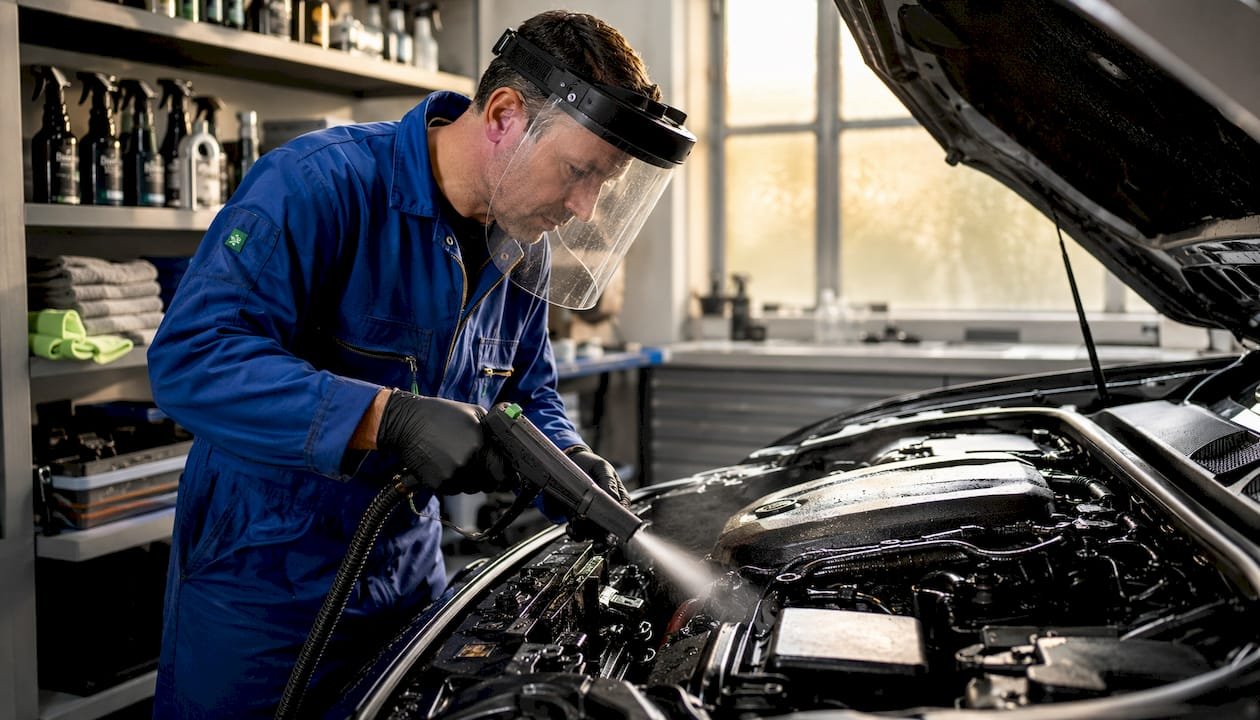
Pro Tip: If you’re using a steam cleaner, keep the nozzle moving and maintain a safe distance from connectors. Steam is safer than a jet washer because it creates no hydraulic pressure, yet it still dissolves grease effectively.
What are the health, safety and environmental rules for UK owners?
Protect yourself and the environment first. Runoff from engine cleaning contains oil, fuel residue and degreaser, and the Environment Agency warns this must not enter surface-water drains, which frequently discharge directly into rivers. Work on a driveway where you can contain runoff, or use absorbent mats and dispose of contaminated water responsibly via a foul drain or a local authority waste facility.
High-pressure water creates a hydraulic wedge that can overcome IP67-rated seals and draw moisture into connectors via capillary action. Steam avoids this entirely because it generates no hydraulic pressure and uses far less water overall.
Your one-line safety checklist: wear nitrile gloves and eye protection, work on a cool engine, mask all electrics before any liquid is applied, and contain runoff before you begin. If you’re working on a classic car with brittle wiring, a vehicle with extensive baked-on grease, or one showing signs of significant corrosion, consider a professional detailer. The risk of causing an electrical fault outweighs the cost of expert help.
Why apply a ceramic-infused protectant after cleaning?
A ceramic-infused protectant applied to a freshly cleaned bay reduces future contamination and makes your next clean considerably faster. Think of it as building a durable shield between your components and the grime that accumulates with every drive.
Benefits at a glance:
- Easier future cleaning — contaminants sit on the coating rather than bonding to surfaces
- Improved resistance to oils, road grime, and moisture
- Extended life for rubber and plastic trims, which degrade faster when left unprotected
- Improved presentation for resale, inspection, or a show
Application tips:
- The surface must be completely dry before you apply any protectant
- Use small applicators on plastic covers and metal surfaces only — never on belts or pulleys
- Apply thin, even coats and allow the manufacturer-recommended cure time before the bay is exposed to fluids or heat
- Follow the ceramic application sequence for best results: clean, dry, coat, cure
Diamondbrite Engine Brite is the targeted product for this stage, combining degreasing performance with preparation for ceramic protection. For readers who also care for painted surfaces or custom coatings around the engine bay, custom paint care is worth reading before you apply any protectant near finished bodywork.
Pro Tip: Apply protectant in a shaded area or indoors. Direct sunlight accelerates curing unevenly and can leave streaks on plastic covers.
How often should you clean your engine bay?
The baseline for average UK use is cleaning at a regular yearly interval. Increase that frequency if your conditions are harsher.
| Driving condition | Recommended frequency | Rationale |
|---|---|---|
| Average UK commuter | Once a year | Moderate contamination; annual clean keeps grime manageable |
| Winter/road-salt exposure | Twice per year, typically in autumn and spring | Salt accelerates corrosion; spring clean removes winter residue |
| Coastal or industrial areas | Several times a year, depending on exposure | Airborne salt and particulates build up faster |
| Off-road or heavy-duty use | Quarterly or more often if used off-road or heavily | Mud and debris pack into cavities quickly |
| Show or classic cars | Before each event or every season | Presentation standard and early-fault detection |
A recommended maintenance schedule for the average UK vehicle is to clean the engine bay at least once a year; increase frequency for harsh conditions or where road salt is used in winter.
What should you do if problems appear after cleaning?
Most post-clean issues trace back to trapped moisture or a connector that wasn’t properly masked. Check the fusebox, ignition connectors, and battery terminals first before assuming anything more serious.
- Engine won’t start: Check the fusebox and ignition connectors for moisture. Remove covers, use compressed air to dry, and wait 20–30 minutes before attempting to start again.
- Corrosion or sticky connectors: Dry thoroughly. If a contact cleaner is available, apply sparingly to the connector pins, not the wiring.
- Dressing on belts or pulleys: Wipe off immediately with a clean, dry cloth. Dressing on drive belts causes slipping and can damage the belt.
- Cosmetic streaking on covers: Reapply a gentle wipe with a damp microfibre, allow to dry fully, then dress once the surface is clean.
Seek professional help for persistent electrical faults after drying, signs of coolant or fuel leaks identified during cleaning, brittle wiring on classic or older vehicles, or large-scale corrosion that goes beyond surface rust.
Key takeaways
A safe engine-bay clean relies on mechanical degreasing, low-pressure rinsing, thorough drying, and a ceramic-infused protectant — never a pressure washer.
| Point | Details |
|---|---|
| Always start cool and masked | Work on a cool engine with all connectors, the battery, and the air intake covered before any liquid is applied. |
| Brushes do the work | Mechanical agitation with soft detailing brushes lifts grime more safely than water pressure ever can. |
| Low pressure, always | Use a gentle garden hose or controlled steam; high-pressure jets force water past IP67 seals via capillary action. |
| Clean at least once a year | Average UK use warrants cleaning the engine bay at least once a year; increase frequency for harsh conditions or where road salt is used in winter. |
| Diamondbrite Engine Brite | Apply Engine Brite as your degreaser and engine cleaner, then follow with a ceramic-infused protectant once the bay is fully dry. |
The detail that most owners overlook
There’s a tendency to treat engine-bay cleaning as a cosmetic exercise — something you do before a show or when the grime gets embarrassing. That framing undersells it. The real value is diagnostic. A clean bay lets you see a weeping gasket, a cracked hose, or the early signs of corrosion while they’re still cheap to fix. Grime is camouflage for problems.
The second thing most owners get wrong is confusing force with effectiveness. A pressure washer feels productive. It shifts visible dirt fast and looks impressive. But the hydraulic wedge effect it creates inside connectors is invisible until the car won’t start. Brushes and a good degreaser are slower and less dramatic, and they’re consistently safer.
The ceramic angle is where the effort compounds. A protectant applied after a thorough clean means the next clean takes a fraction of the time — contamination sits on the coating rather than bonding to bare plastic or metal. For anyone who maintains their vehicle seriously, that payoff is real and cumulative. Diamondbrite’s approach, developing every formulation from their Loughborough lab, reflects exactly this thinking: protection that reduces future effort rather than simply restoring what’s already lost.
Diamondbrite products for engine-bay cleaning and protection
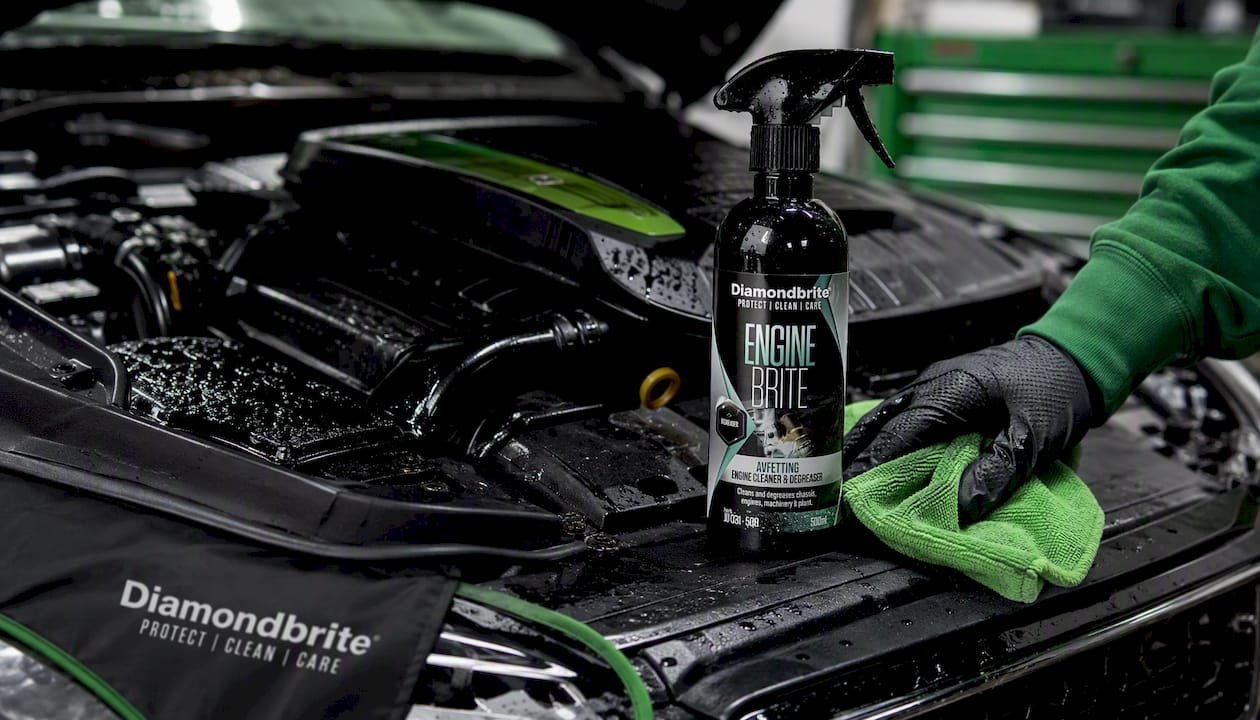
Diamondbrite Engine Brite is the practical starting point for any engine-bay clean. It cuts through oil, grease, and road grime without corroding plastics or rubber, and it prepares surfaces for ceramic protection in a single step. Apply it to a dry bay, allow it to dwell, agitate with a soft brush, then rinse gently. Once the bay is fully dry, follow with a ceramic-infused protectant and allow the cure time specified on the label before closing the bonnet or running the engine.
The result is a bay that stays cleaner for longer, presents better, and gives you a clear view of any developing issues underneath. Visit the Diamondbrite online shop to browse the full range of engine-care and ceramic protection products, and pick up Engine Brite alongside your next ceramic maintenance order.
Useful sources and further reading
- Expert Guide: How to Clean Car Engine Bay Safely — GSF Car Parts: step-by-step safety guidance and degreasing technique
- Three simple steps to safely clean your car’s engine bay — Hagerty UK: classic-car focused cleaning advice with practical safety tips
- Safe engine bay detailing: why pressure washers damage cars — Street Craft Detailing: technical explanation of hydraulic wedge risk and IP67 limitations
- Engine bay cleaner: how to clean and ceramic coat — MyCarWash UK: ceramic coating application sequence for engine bays
- PDR tools professional overview — Dent Boys: specialist detailing tools for owners looking to go further than the DIY kit
- Diamondbrite Engine Brite — product page with usage instructions, pack sizes, and purchase path
