

The best way to clean a caravan awning is with low-pressure water, a soft-bristled brush and a specialist, fabric-compatible awning cleaner, never a pressure washer or household detergent. Clean it erected where possible, rinse every panel thoroughly, and let it dry completely before packing away. If water no longer beads on the surface, reproof it; for heavy mould or deep staining, a manufacturer-safe mould treatment or a professional clean gets better results than scrubbing harder.
TL;DR:
- Check the awning manual first, test cleaners on a hidden patch, and use a product made for acrylic windows to prevent clouding or scratches.
- Wash the awning erected when possible, rinse each panel before cleaner dries, and inspect seams and folds; packing damp fabric invites mildew.
- Household detergents can leave residue that attracts dirt and weaken water repellency; reproof only after cleaning and drying if splashed water stops beading.
- Test diluted vinegar or 3% hydrogen peroxide on hidden fabric; call a professional for recurring mold, deep stains, or material too fragile to scrub.
Table of Contents
- Which brushes, cleaners and equipment to prepare
- Step-by-step cleaning: prepare, wash, rinse and dry
- Targeted methods for mould, algae and stubborn stains
- Drying rules and storage to stop mould returning
- When to reproof and how to apply reproofer safely
- When to call a professional and what the price guide looks like
- Quick season-by-season and post-trip maintenance checklist
- Why this guide is trustworthy and where to find more help
- Prevention is easier and cheaper than repair
- Keeping the rest of your outfit as clean as the awning
- FAQ
- Sources
Which brushes, cleaners and equipment to prepare
A good clean starts with the right kit laid out before you touch the fabric. Gather these items first so the job moves quickly once you begin:
- A soft-bristled brush (a telescopic one helps you reach the roof without a ladder)
- A large bucket and a low-pressure hose or garden sprayer
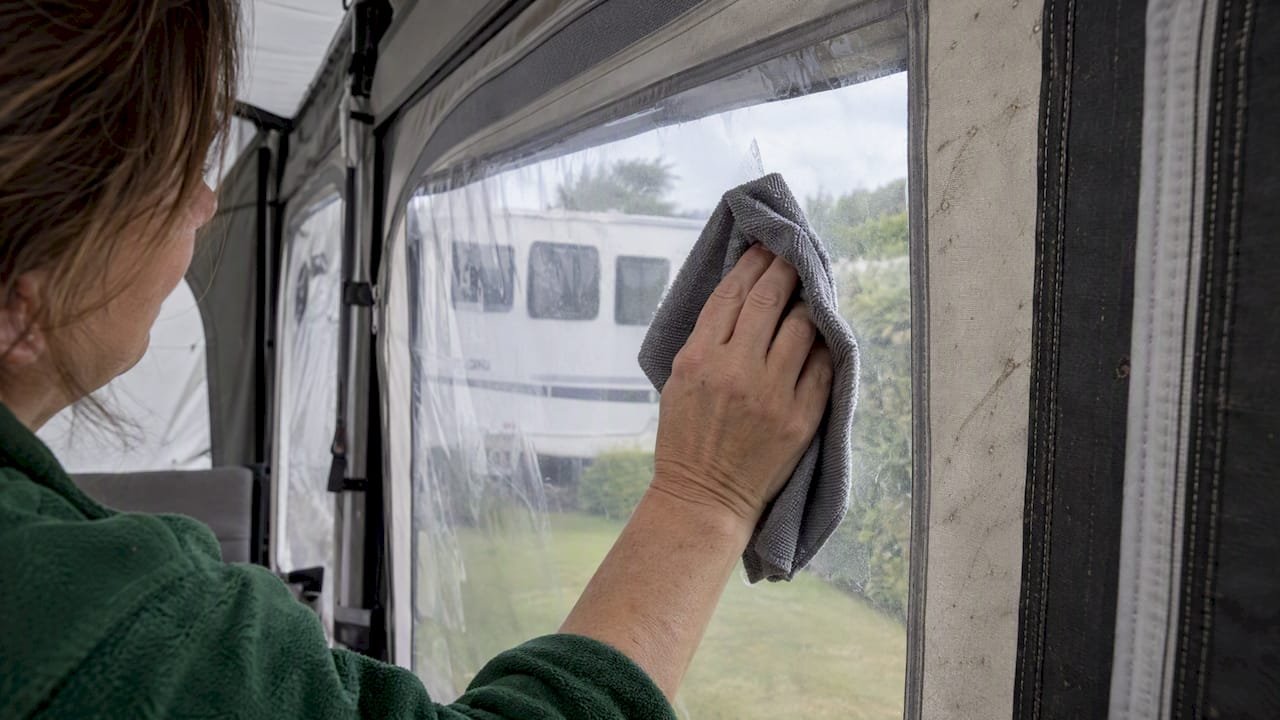
- A sponge or soft mitt plus microfibre cloths for windows and trims
- A step, pole or small ladder for the upper sections
- Gloves and eye protection when handling cleaning solutions
Specialist awning cleaners are worth choosing over washing-up liquid or general household soap. Domestic detergents can leave a residue that attracts dirt and breaks down the factory-applied water-repellent finish on the fabric, according to the Caravan Club. A product made for awning canvas and acrylic panels is formulated to lift grime without stripping that coating. Whatever you choose, test it on a hidden seam or corner first and watch for discolouration or stiffening before you treat the whole awning. For caravan acrylic windows, stick to a cleaner designed for clear plastics rather than glass cleaner, since some glass formulas contain ammonia that can cloud or craze acrylic over time.
Pro Tip: Keep a separate soft cloth just for acrylic windows, since grit picked up from the canvas can scratch clear panels on the next pass.
Step-by-step cleaning: prepare, wash, rinse and dry
Pick a dry, mild day with little wind and a flat patch of ground to work on. Secure the awning properly, brush off loose leaves, bird droppings and surface dust, and check your awning’s manual for any fabric-specific instructions before you reach for a single product, as the Caravan Club advises. Different fabrics, acrylic, polyester and PVC among them, respond differently to heat, chemicals and scrubbing, so the manual is worth five minutes of your time.
Decide whether to clean it erected or laid flat. Erecting it is usually the better choice: it lets air move freely through the panels during washing and, crucially, during drying, which helps prevent the damp pockets that lead to mould later on, the Caravan Club notes.
- Mix your specialist cleaner according to the label, in a bucket rather than straight from the bottle.
- Work from the roof down, using the soft brush in gentle, overlapping strokes.
- Go easy on seams, stitching and window edges, where aggressive scrubbing can loosen glue lines or scratch acrylic, a point echoed by both the Caravan Club and Lifesure.
- Rinse panel by panel with low-pressure water until no suds or soapy streaks remain.
- Check folds, corners and the groundline for leftover residue, since dried cleaner can leave marks that are harder to shift than the original dirt.
Don’t let the cleaner dry on the fabric at any stage. If you’re working on a hot day, rinse sections as you go rather than washing the whole awning before any rinsing starts. Once it’s rinsed, inspect every seam and fold by hand, open the awning out fully to maximise airflow, and don’t fold or pack anything away until you’re certain it’s bone dry. That last check matters more than the wash itself.
Targeted methods for mould, algae and stubborn stains
Mould shows up as dark, often black or green-grey spotting that spreads along seams and folds, while general grime tends to sit as a duller, even discolouration across open panels. The distinction matters because mould can leave a permanent mark on canvas, particularly on older fabric, even after you’ve killed the spores, according to the Tent & Awning Clinic.
For most mould and algae spotting, a few gentle options work well:
- A diluted white vinegar solution, applied with a soft brush
- A hydrogen peroxide solution left to sit briefly before rinsing
- An oxygen-based or enzyme cleaner designed for outdoor fabrics
Professional cleaning jobs can attract an extra charge when fabric arrives in poor condition for drying or treatment, which is a strong argument for tackling light mould early rather than letting it set in, based on the surcharge structure described in professional cleaning price guides.
Always test any treatment on an inconspicuous patch first. Avoid full-strength household bleach on coloured fabric, since it can fade or weaken the material, and steer clear of abrasive pads or a pressure washer, both of which can strip coatings and force water into seams, a risk flagged by outdoor fabric care guides as well as the Caravan Club. If mould keeps coming back or the fabric feels fragile to the touch, that’s your signal to call in a professional rather than keep treating it yourself.
Drying rules and storage to stop mould returning
Drying matters as much as washing, arguably more. An awning that goes away damp is an awning that comes back mouldy, and packing away even slightly damp fabric will almost certainly cause mildew to take hold, according to the Caravan Club. Erecting the awning after cleaning gives air a clear path through every fold, which is the simplest way to avoid trapped moisture.
Keep these storage habits in mind once the clean is done:
- Confirm the fabric is completely dry, including seams, poles and groundsheet edges, before you fold anything
- Pack it loosely rather than forcing it into a tight roll with damp patches hidden inside
- Store it somewhere ventilated and dry, not a sealed plastic box in a hot locker
Pro Tip: If you’re sending an awning away for professional cleaning, dry it as far as you can beforehand. Several cleaners apply a damp surcharge for awnings that arrive wet, so a dry drop-off saves money as well as time, as outlined in professional pricing guidance.
When to reproof and how to apply reproofer safely
A clean awning isn’t automatically a waterproof one. Washing strips away some of the factory-applied water-repellent finish, and the simplest test for whether you need to top it up is to splash a little water on the fabric: if it beads and rolls off, you’re fine; if it soaks in, it’s time to reproof, according to the Caravan Club.
Before you reach for the reproofer, check a few things:
- The fabric must be fully clean and completely dry, since reproofer applied over grime or damp patches won’t bond properly
- Follow the product’s own guidance on spray-on versus paint-on application, since not every reproofer suits every fabric type
- Confirm compatibility with your awning material before buying, particularly for acrylic and PVC panels, as both the Caravan Club and Lifesure recommend
Some reproofing products also carry UV-blocking properties, which help slow fading and fabric degradation from sun exposure over a season, a useful bonus if your awning spends long stretches pitched in direct light. Where you have a choice, choose a reproofer that is compatible with your awning fabric and follow its instructions.
When to call a professional and what the price guide looks like
DIY cleaning handles most routine grime, but there are moments when a professional service is the more sensible route. Extensive mould coverage, ingrained staining that hasn’t shifted after gentle treatment, or an awning you simply can’t dry fully at home are all good reasons to hand it over, points raised by both the Tent & Awning Clinic and Lifesure.
Professional cleaners typically offer:
- Hand-cleaning rather than mechanised scrubbing, which protects seams and coatings
- Controlled drying conditions, avoiding the damp-pocket problem that causes mould at home
- Optional reproofing as part of the same visit, plus minor repair work where needed
They also avoid the two things this guide has repeatedly warned against: rollers and pressure washers, both of which risk forcing water into seams or stripping protective coatings, as the Tent & Awning Clinic notes.
On price, a full awning clean and reproof can vary depending on size and condition, with surcharges applied for awnings that arrive wet or heavily soiled, according to professional cleaning price guidance.
Quick season-by-season and post-trip maintenance checklist
Regular small efforts beat one big annual scrub. Build these habits into your routine and heavy cleaning becomes the exception rather than the rule.
- After every trip, brush off loose debris, wipe down the mud skirt and deal with bird droppings or tree sap straight away rather than letting them bake into the fabric, as Lifesure recommends.
- Plan a proper deep clean and reproof regularly, either at the start or end of the season, and more often if the awning stays up for long stretches.
- Store only when fully dry, and give the fabric a quick once-over for new spots or weak seams before each use.
Why this guide is trustworthy and where to find more help
This guide draws on established caravanning advice and professional cleaning norms rather than guesswork, so every step above reflects what actually keeps canvas, acrylic and PVC in good condition over a season of use.
- We maintain a wider set of guides on exterior vehicle and leisure care, covering everything from paintwork protection to interior ceramic coating for cars that tow or support a caravan setup.
- Our leisure and marine product ranges are built around the same principle this guide follows: protect the surface properly rather than scrub harder, which is exactly the approach that keeps fabric and acrylic performing season after season.
- Written by Will, drawing on practical experience in vehicle and leisure care.
Prevention is easier and cheaper than repair
If there’s one lesson worth carrying forward, it’s that the five minutes spent brushing off debris after a trip saves hours of mould treatment later. Drying thoroughly before storage is the single highest-value habit in this entire guide, more useful than any cleaner you buy.
Reproof when needed, be realistic about what very old or heavily stained fabric can recover, and treat professional cleaning as a sensible option rather than a last resort when things get out of hand.
— Will
Keeping the rest of your outfit as clean as the awning
A caravan awning rarely travels alone. The car or van that tows it, and often a boat or motorcycle alongside it, collect the same road grime, UV exposure and weather damage that an awning does, and our ceramic-infused range was built with exactly that kind of multi-vehicle upkeep in mind.

Our Leisure and Marine product lines cover shampoos and protective coatings suited to the surfaces around your caravan setup, from paintwork to glass. As with any awning treatment, check fabric or surface compatibility and test on a small area first. Browse the full range at the Diamondbrite shop for product details and guidance on what suits your vehicle.
FAQ
How do I clean the underside of my RV awning?
Lower or lay out the awning so you can reach the underside safely, then use the same low-pressure water and soft-brush method as the top, working section by section. Rinse thoroughly and allow full airflow underneath before folding it away, since trapped moisture on the underside is a common cause of mould.
Can I use fairy liquid to wash my caravan?
Washing-up liquid isn’t recommended for awning fabric specifically, since it can leave a residue that attracts dirt and breaks down the water-repellent coating, according to the Caravan Club. A specialist awning or caravan exterior cleaner is a safer choice for both the canvas and any acrylic windows.
What to clean outside of a caravan with?
A soft brush or mitt with a cleaner suited to the specific surface works best: specialist awning cleaner for canvas, an acrylic-safe cleaner for windows, and a dedicated caravan exterior cleaner for the bodywork. Low-pressure water and gentle rinsing throughout help avoid damage to seals and trims.
What to use to clean a caravan awning?
Use a soft-bristled brush, low-pressure water and a specialist, fabric-compatible awning cleaner rather than household detergent. For mould or stains, a diluted white vinegar solution or a 3% hydrogen peroxide solution, tested first on a hidden patch, is a gentler alternative to bleach.
Sources
- How to clean your caravan’s awning | The Caravan Club
- Tent & Awning Clinic
- Caravan cleaning prices: guide rates from £70–£85
