

To apply ceramic glaze, wash and decontaminate the paint, work on a cool, dry panel in the shade, spread a thin even layer with a clean applicator, then buff off the residue with a fresh microfibre cloth once the product has hazed. Keep the car dry while it sets. Less product, applied panel by panel, gives a better finish than a heavy coat. This guide walks through each step, covers what to do on plastic trim and how to fix the usual mistakes.
TL;DR
- Prep decides the result: wash, decontaminate and, if the paint needs it, polish before the glaze goes on.
- Work in shade on a cool panel, one section at a time, with a thin layer and a clean microfibre cloth.
- Use the cure time on the product label and keep the car dry until then.
- Glaze is a top layer you refresh, not a permanent coating: keep washing gently and top up when beading fades.
- Check the label and Safety Data Sheet, ventilate the space and wear gloves.
Table of Contents
- What ceramic glaze does (and what it does not)
- What you need before you start
- Step 1: Wash and decontaminate
- Step 2: Correct the paint if it needs it
- Step 3: Set up the right conditions
- Step 4: Apply the glaze to paint
- Applying ceramic glaze on trim
- Cure time and keeping the car dry
- Perspective: why we favour thin layers and regular top-ups
- Aftercare: keeping the finish
- Common problems and how to fix them
- Where to get your glaze
- FAQ
- Sources
What ceramic glaze does (and what it does not)
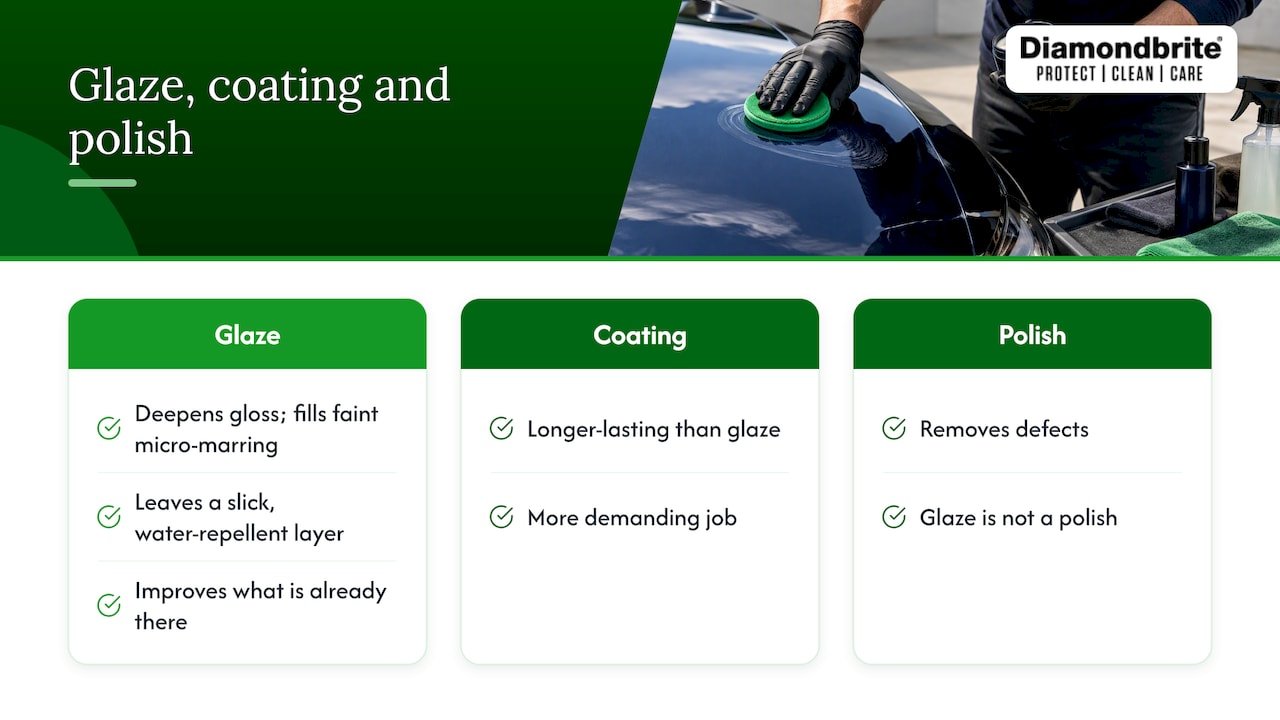
A car ceramic glaze is a finishing product. It deepens gloss, fills the faintest micro-marring and leaves a slick, water-repellent layer on top of the paint. A ceramic-infused formula adds more durability than a traditional wax, which is why many owners use it as an easy step between full coatings.
It is not the same as a full ceramic coating, which is a longer-lasting, more demanding job. It is also not a polish: a glaze improves what is already there rather than removing defects. If you are unsure which one your paint needs, our guide on when to use glaze versus polish explains why a glaze can seem to fade in weeks and how to avoid it.
One note on the words. Searching “ceramic glaze” also brings up pottery guides about kilns and brushing on glaze. This article is only about automotive glaze for paint and exterior trim. If you were wondering about windows, see ceramic glaze on glass.
What you need before you start
Gather everything first, so you never leave a panel half done:
- Car shampoo and two buckets, or a pre-wash and a rinse-friendly routine
- A clay bar or decontamination product, if the paint feels rough
- Several clean, dry microfibre cloths, kept for glaze only
- A foam or microfibre applicator pad
- Nitrile or other chemical-resistant gloves and eye protection
- A garage, carport or shaded spot with good airflow
Set aside 60 to 90 minutes for a medium car, plus the wash and prep beforehand.
Step 1: Wash and decontaminate
Glaze bonds best to clean paint. Any grit left on the surface gets dragged around by the applicator and can cause fine scratches.
- Pre-wash to loosen heavy dirt. Never let a pre-wash dry on the paint: see how to use a pre-wash before ceramic products.
- Wash from the top down and leave the wheels until last, so brake dust stays off the paint. Our car wash sequence shows the order.
- Rinse thoroughly and dry with a clean drying towel.
- Run your hand over the paint in a thin plastic bag. If it feels gritty, it needs claying. The 30-second bag test tells you whether it does.
A wash with a ceramic-infused shampoo is a good start, because it leaves the paint ready for protection. We explain the benefits in our piece on ceramic shampoo and your paintwork.
Step 2: Correct the paint if it needs it
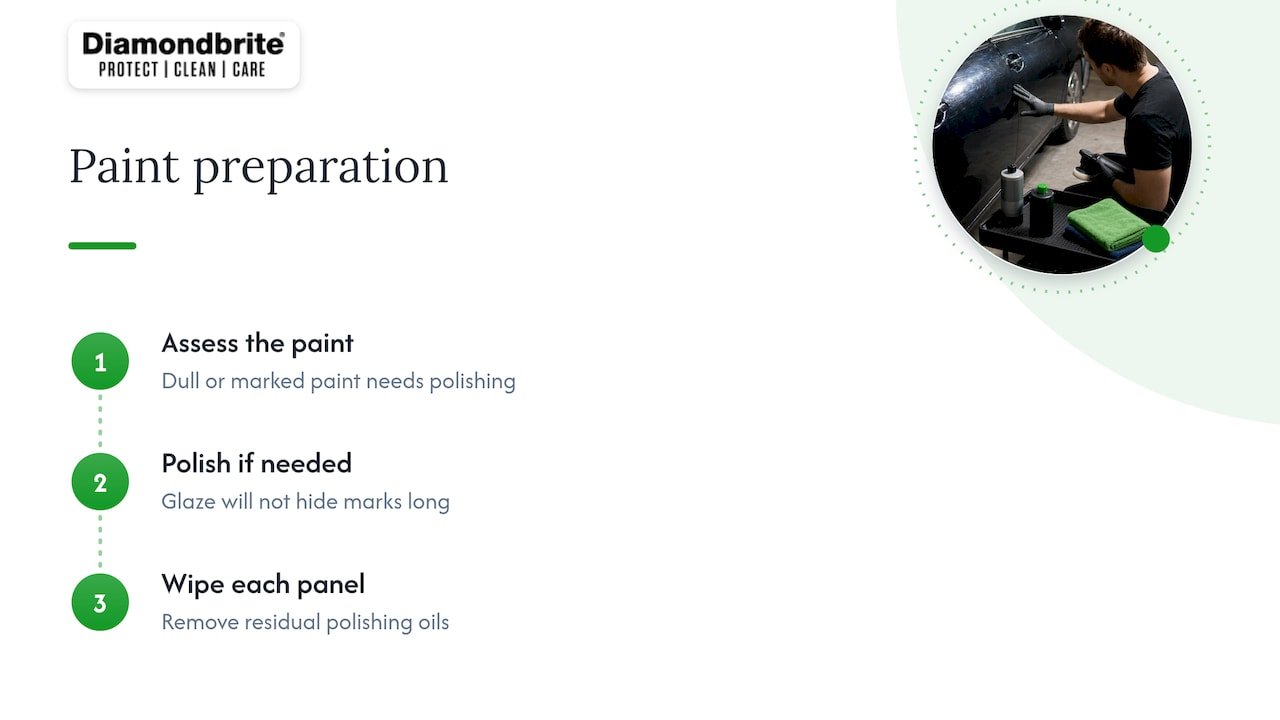
Glaze will not hide swirl marks or oxidation for long. If the paint looks dull or marked, polish first, then glaze. Our guide on whether to polish before a ceramic coating works the same way for glaze. On older paint, set realistic expectations: ceramic protection on old paint can still look great, but the paint underneath needs preparing properly.
After polishing, wipe each panel to remove oils, using a panel-wipe or the method on your product’s label. Residual polish oils can stop the glaze bonding.
Step 3: Set up the right conditions
Conditions matter more than technique.
- Shade and a cool panel. Never apply to a bonnet or roof that is hot from the sun. Heat makes the product dry too quickly and leaves streaks.
- Dry weather. Do it indoors or on a dry day. Damp air and drizzle spoil the finish.
- Temperature. Use the range printed on the label. Cold UK autumn and winter days can slow drying, so a garage helps.
- Ventilation and protection. The Health and Safety Executive’s guidance on valeting with solvent-based products says such products can cause dermatitis, eye damage, headaches, dizziness or nausea, and some may be flammable. It recommends good ventilation, suitable gloves and goggles, and putting caps back on containers straight away. The label and Safety Data Sheet tell you which controls apply to your product.
If you want to compare products, the HSE’s advice on cleaning and degreasing substances suggests comparing Safety Data Sheets and choosing the least harmful product that does the job.
Step 4: Apply the glaze to paint
- Shake the bottle if the label says so.
- Put a few drops or a small amount on the applicator, not on the paint.
- Work on a section about 50 cm square, such as half a bonnet or one door panel.
- Spread in overlapping straight lines, first along the panel, then across it. Use light pressure. The goal is a thin, even film.
- Let it haze for the time on the label. If you press a clean finger lightly on the edge and it does not smear, it is ready.
- Buff off with a clean, dry microfibre cloth, folding it often to keep a fresh face. Finish with a second, softer cloth.
- Check the panel in different light. Hold a torch or phone light at a low angle to spot high spots, which look like oily patches.
More glaze does not mean more protection. Over-application is the main cause of smearing and difficult buffing.
Applying ceramic glaze on trim
Many owners ask whether it can go on trim. Usually the answer is that you should check the label first, because plastics, rubber and textured finishes behave differently.
- Painted or lacquered trim and chrome-effect parts: treat like paint, with a thin layer.
- Smooth, glossy black plastic: a very light application with an applicator, buffed straight away, is generally fine if the label allows it.
- Raw, porous or textured black plastic: glaze can leave white or chalky residue in the grain. Use a trim-specific product, or test on a hidden spot first.
- Rubber seals: avoid them. Glaze on window seals can make them slick or dry out.
- Matte finishes: do not use a gloss glaze. Matte surfaces need products made for them, as in our matte paint protection and matte ceramic coating guides.
Tape off textured trim next to painted panels before you begin. If you get residue in the grain, a soft brush and a little diluted cleaner usually lifts it before it sets. For alloy wheels, use a product designed for the job: see protecting alloy wheels with ceramic coatings.
Cure time and keeping the car dry
The label sets the cure time, and it varies between products, so follow it rather than a rule of thumb. As a sensible approach:
- Keep the car indoors or under cover until the label’s time has passed.
- Avoid washing, and avoid parking under trees or in a place where rain, dew or birds can hit the paint, for the time stated.
- Cooler, damper UK weather generally means taking the longer end of the range.
If you are applying in autumn or winter, our winter paint protection guide covers timing.
Perspective: why we favour thin layers and regular top-ups
We see the same pattern again and again. People expect a single heavy coat to last for years, and then feel let down when the beading dims. Glaze does not work like that. It builds a durable shield when you apply it thinly, wash with care and refresh it on a sensible schedule. That is also the cost-effective way: a small amount of product per application and no need for big, intensive jobs.
Our ceramic-infused range is designed to make that routine easy for ordinary motorists as well as enthusiasts. The trick is being patient with prep and gentle with the finish. A 10-minute top-up every few months beats a weekend of correcting problems.
— Will
Aftercare: keeping the finish
- Wash with a pH-neutral shampoo and a soft mitt, and avoid harsh degreasers on glazed paint.
- Rinse bird droppings and insects off quickly. Our guide on preventing bug etching explains why hours matter.
- Use a maintenance routine matched to your protection. If you have a coating underneath, see boosting beading every 3 to 6 months and the quick top-up method.
- Skip wax over coated paint unless you know why. We explain this in keeping gloss without waxing.
- If you ever want to start fresh, read removing a ceramic layer safely.
Common problems and how to fix them
| Problem | Likely cause | Fix |
|---|---|---|
| Streaks or smears | Too much product or buffed too early | Apply a little more glaze on an applicator to re-wet the area, then buff with a fresh cloth |
| Hard to buff | Left too long or panel too warm | Move to shade, re-wet lightly, buff straight away |
| High spots (oily patches) | Uneven layer | Buff again with a clean dry cloth, using light pressure |
| White residue on trim | Glaze dried in textured plastic | Brush with a soft brush and a mild cleaner, then dry; use trim product next time |
| Poor beading after weeks | Dirty paint, harsh washes or a thin layer | Wash gently and reapply a thin coat |
A quick tip for spray-on products: work panel by panel, as described in our spray and rinse coating guide.
Where to get your glaze
If you want a ceramic-infused glaze and the supporting wash and prep products in one place, you can browse the full range, including paintwork, wheels, glass, motorcycle, marine and leisure care, at Diamondbrite. Choose the product that matches your surface, then follow the label.
FAQ
Can I apply ceramic glaze over wax?
It is better not to. Wax can stop the glaze bonding, so strip the wax with a wash and a panel-wipe or a light polish first. Then apply the glaze to bare, clean paint.
How often should I reapply ceramic glaze?
There is no single answer, as it depends on the product, how the car is washed and where it lives. A good guide is to reapply when water stops beading and sheeting well. Many owners find a top-up every few months works for a car kept outside.
Can I use ceramic glaze on plastic trim?
Only where the label allows it, and ideally on smooth, glossy plastics. Porous or textured black plastic can turn chalky white, and rubber seals should be left alone. Test a small hidden patch first.
Do I need a clay bar first?
If the paint feels rough after washing, yes. Claying removes bonded contamination, so the glaze sits on a smooth surface. If the paint passes the bag test, you can skip it.