

Many faded car decals are not ruined, only dulled by a layer of surface oxidation. A careful hand wash, a vinyl-safe polish and regular UV protection can bring back much of the colour and gloss. Decals that are cracked, brittle, brown or lifting at the edges cannot be revived and need replacing. This guide shows you how to tell the two apart, what to use, what to avoid and how to stop the fade returning.
TL;DR
- Start with a gentle hand wash using a mild, non-abrasive detergent and a soft cloth. Often that alone lifts the chalky haze.
- Only decals that are merely dull can be revived. Cracking, peeling or browning means replacement.
- Avoid acetone, toluene, paint thinner, abrasive pads and high-pressure jets held close to the graphic.
- Finish with a vinyl-safe polish or UV-protective sealant, and keep the car out of strong sun where you can.
- Test every product on a small, hidden patch first.
Table of Contents
- Why car decals fade
- Can your decal be revived? A quick check
- Step 1: Wash the decal gently
- Step 2: Choose products that will not harm the vinyl
- Step 3: Polish to restore the finish
- Step 4: Protect it so it does not fade again
- When to replace instead of restore
- Our perspective
- Keep your car looking its best
- FAQ
- Sources
Why car decals fade
Sunlight is the main culprit. UV radiation gradually breaks down the pigments and the structure of the vinyl. The same process, oxidation, breaks the chemical bonds in the dyes and leaves a chalky, pale residue on the surface. That chalky film is why a decal can look far worse than it really is.
Other factors speed things up. Cheap material, poor aftercare, road salt, moisture and frost all accelerate fading. In the UK, a decal on a car parked outside all year gets sun in summer, then rain, grit and freezing nights in winter. Repeated heating and cooling is hard on any film.
Can your decal be revived? A quick check
Before you buy anything, look at the decal in daylight and run a clean fingertip across it. Vinyl failure shows up as loss of gloss, fading, embrittlement, cracking, chipping or peeling around the edges. Use that list to sort yours.
| What you see | What it usually means | Best action |
|---|---|---|
| Dull, chalky, slightly pale, smooth to the touch | Surface oxidation | Wash, then polish and protect |
| Losing gloss but colour still strong | Early wear | Vinyl-safe polish, then sealant |
| Cracks, brittle or flaking film | Material has failed | Remove and replace |
| Edges lifting or peeling | Adhesive or film failure | Replace, or re-stick only if the film is still supple |
| Brown or yellow discolouration | Film breaking down | Remove promptly |
That last row matters. If graphics start to discolour or turn brown, 3M advises removing them immediately so the film does not stain the paint underneath.
Step 1: Wash the decal gently
Do this first, even if you plan to polish. Dirt and traffic film make a decal look more faded than it is, and polishing over grit scratches the surface.
- Rinse the area with clean water to float off loose grit.
- Wash by hand with a mild detergent and a soft cloth or sponge. Avoid rough or abrasive tools.
- Rinse with clean water and dry with a microfibre towel.
- Remove sap or bird droppings as soon as you spot them, since spot cleaning contaminants early stops them etching the film.
The same principles that stop swirl marks on paint apply here. Our guide to a two bucket wash and pre wash explains how to keep grit off the surface.
If you use a pressure washer, keep it gentle. 3M recommends under 2000 psi and water below 80°C, with a 40-degree nozzle at least a foot away and at 90 degrees to the graphic. Aiming a jet at an edge can get under it and start a peel.
Step 2: Choose products that will not harm the vinyl
The wrong chemical does more damage than the sun. Avery Dennison advises non-abrasive cleaning chemicals with a pH of 5 to 9, and says any wax should be free of petroleum distillates and abrasive particles. Its guidance for PVC films is that aromatic solvents such as acetone, toluene or paint thinner can soften vinyl and smear ink colours.
So, in practice:
- Use: a pH-neutral shampoo, a soft microfibre cloth, and a polish or sealant that states it is safe for vinyl.
- Avoid: acetone, cellulose thinners, harsh degreasers, abrasive compounds and scouring pads.
- Always: test on a small, hidden area first. Testing on a small section before you commit is standard advice from the film makers themselves.
Degreasers deserve a special warning, because trim and decals often sit side by side. Our page on a degreaser that is safe on plastic covers what to use and what to leave in the cupboard.
Step 3: Polish to restore the finish
If a graphic is only starting to lose its lustre, a silicone or Teflon-based polish designed for vehicle graphics can restore the finish and add protection. Work a small amount into a clean microfibre pad, use light pressure and straight, even strokes, then buff off the residue.
A few practical points:
- Work in shade on a cool panel. Polish dries streaky on hot vinyl.
- Do a small patch first and look at it in daylight, not under a garage light.
- Keep polish off bare plastic trim and rubber seals, where it can leave white marks.
- Stop if colour transfers onto your cloth in quantity. That is the pigment coming off, not dirt.
Be realistic about the result. Polish removes the oxidised haze and brings out colour that is still there. It cannot put back pigment that UV has already destroyed.
Step 4: Protect it so it does not fade again
Protection is where you save the work you have just done. Park in a garage or shade when you can, and apply a vinyl-safe UV-protective wax or sealant. Regular gentle washing stops contaminants building up. For wrapped vehicles, Avery Dennison recommends cleaning every two weeks so contaminants do not bond to the film. It also warns that infrequent or incorrect maintenance can lead to early degradation.
If you are protecting the vinyl and rubber around the decal too, see our guide to ceramic care for vinyl and rubber on UK cars. If wax has stained your trim while you were working, this walkthrough on removing wax from plastic will help.
When to replace instead of restore
Sometimes the kindest thing is to start again. Deep scratches in film cannot be fixed with heat and need replacement. If you are tempted to replace just one damaged piece of a larger graphic, note that 3M says a new section may look different because of manufacturing lot, ageing, fading or gloss changes, so replacing the whole graphic can give a better match.
To remove an old decal, gently heat it with a hairdryer or heat gun to soften the adhesive, then peel slowly at a shallow angle, working in small sections. Keep the heat moving and never let it blister the paint. Clean off adhesive residue with a product made for the job and test it on a hidden spot first. Avoid acetone, as set out above.
Our perspective
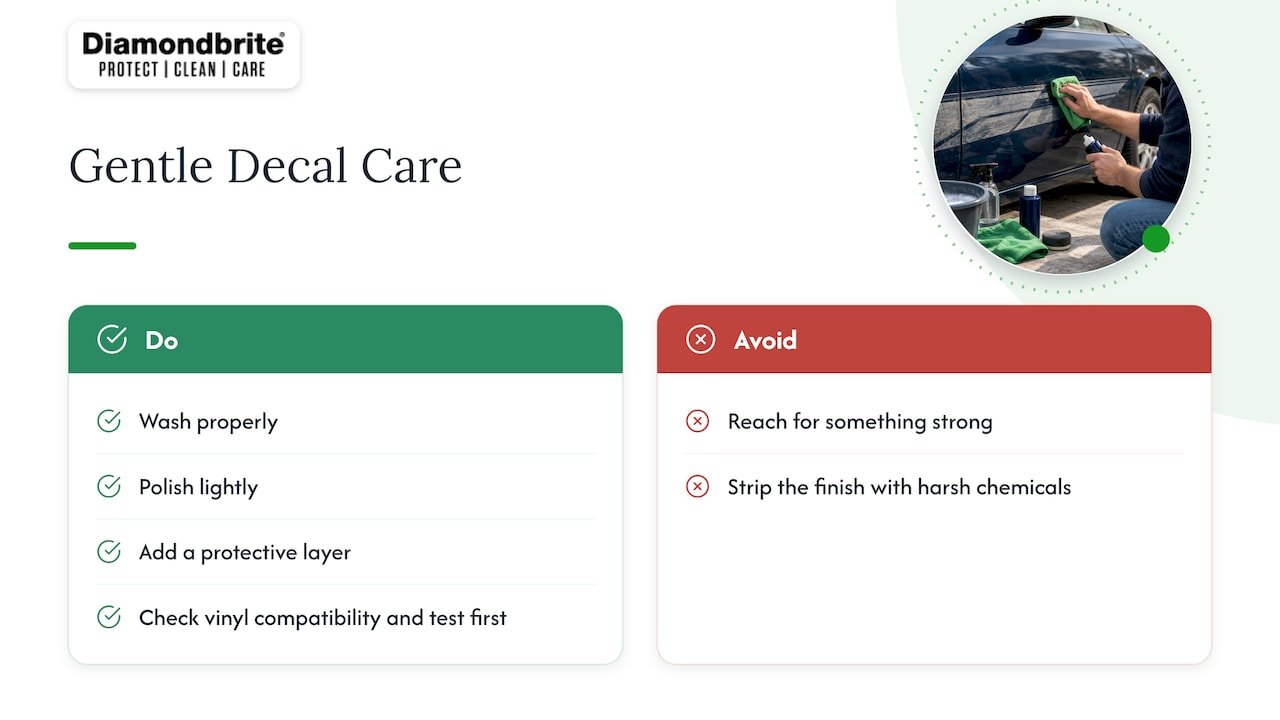
We see the same pattern again and again: people reach for something strong when a decal looks tired, when the real problem is a dirty, oxidised surface and no protection. Gentle, regular care is cheaper and kinder to vinyl than any rescue job. We would rather you wash properly, polish lightly and add a protective layer than strip the finish with a harsh chemical.
Protection is also where ceramic-infused care earns its place. A durable, slick layer makes dirt release more easily at wash time, which means less rubbing on delicate graphics. Whatever you use, read the label for vinyl compatibility and test first. Our aim is always the same: care that is effective, easy to repeat and kind to your car.
— Will
Keep your car looking its best
If you want an easy routine to keep paint, trim and graphics looking fresh, our ceramic-infused shampoos, glazes and protectants are designed for everyday owners, not just enthusiasts. You can browse the full car, motorcycle, leisure and marine range at Diamondbrite, or read about what ceramic shampoo does for your paintwork first.
Always check the product page for the surfaces each item is suitable for, and test on a hidden patch before using it near a decal.
FAQ
Can you put new decals over old decals?
It is rarely a good idea. Old film that is cracked, lifting or textured will show through, and the new decal’s adhesive will only be as good as what it sticks to. Remove the old decal by gently warming it and peeling slowly, clean off any adhesive, then apply the new one to a clean surface.
Does WD-40 remove car decals?
Some guides list it for removing sticker or decal residue, and they advise testing any method on a hidden area first. It is not a decal remover, and it can leave an oily film. Warm the decal and peel it, then clean residue with a product designed for it, and wash the panel afterwards.
How do you fix a vinyl decal that is peeling?
If the film is still soft and flexible, you may be able to clean under the lifted edge and press it back down. If it is brittle, cracked or has shrunk, it will keep lifting, and replacing it is the lasting fix. Keep pressure-washer jets away from the edges in the meantime.
How often should I clean decals to keep them from fading?
For wraps, the manufacturer’s guidance is about every two weeks. Small decals on a daily driver are fine with your normal wash routine, as long as you remove bird droppings and sap quickly.
Sources
- Practical Information: Care and Maintenance of Vehicle Graphics
- Why Do Some Car Decals Fade Faster Than Others?
- How to Restore Faded Vinyl Decals
- How to Clean and Maintain a Car Wrap, 3M United Kingdom
- How to Maintain and Care for Your Vehicle Graphics
- IB1.50 Cleaning and Maintenance for Vehicle Wraps
- IB 1.20 Storage and Cleaning of PVC Films
- Protecting Stickers on Cars: Vinyl Decals and Wraps
- Wrap Film Series 2080 Maintenance FAQ
- How to Remove Vinyl Decals: UK Safe Removal Guide
- How to remove sticker residue glue