
Yes, you should decon wash before you glaze, and the wash always comes first. Rinse and contact wash the car to lift loose dirt, then remove bonded contamination (iron fallout, tar, embedded grime), then glaze onto clean, dry paint. Do it in that order and the glaze bonds evenly and looks sharper for longer. Do it the other way round and you seal in the very particles you were trying to remove.
TL;DR
- Wash first, decontaminate second, glaze last. Decon products are for bonded contamination, not for loose dirt.
- A wash removes the grit that would otherwise scratch the paint when you clay or agitate.
- Use a clay bar only if the paint still feels rough after chemical decon. A simple bag test tells you.
- Dry the car fully, work in the shade and apply glaze to cool panels.
- A glaze is a finishing layer, not a fix for damaged paint. Polish first if you need correction.
Table of Contents
- Why the order matters
- The correct order, step by step
- Quick reference
- What a glaze will and won’t do
- Common mistakes
- Our view: protect the paint you are glazing
- Ready to glaze? Start with the right kit
- FAQ
- Sources
Why the order matters
Most prep mistakes come from treating decon as a stronger kind of wash. It isn’t. A wash removes what sits loosely on the surface: road film, dust, mud and bird mess. Decontamination targets what has bonded to the paint: tiny iron particles from brake dust and rail lines, tar spots, tree sap and industrial fallout.
If you skip the wash, an iron remover or clay has to fight through loose dirt first. Clay then drags that grit across the paint, which is how fresh marring appears just before you glaze. Washing first makes every later step safer and more effective.
The same logic appears in mainstream car-care advice. The motoring organisation AAA says wax should go on only after the car has been washed and dried and, where possible, after a clay-bar treatment. A glaze follows the same rule: clean, decontaminated, dry paint.
The correct order, step by step
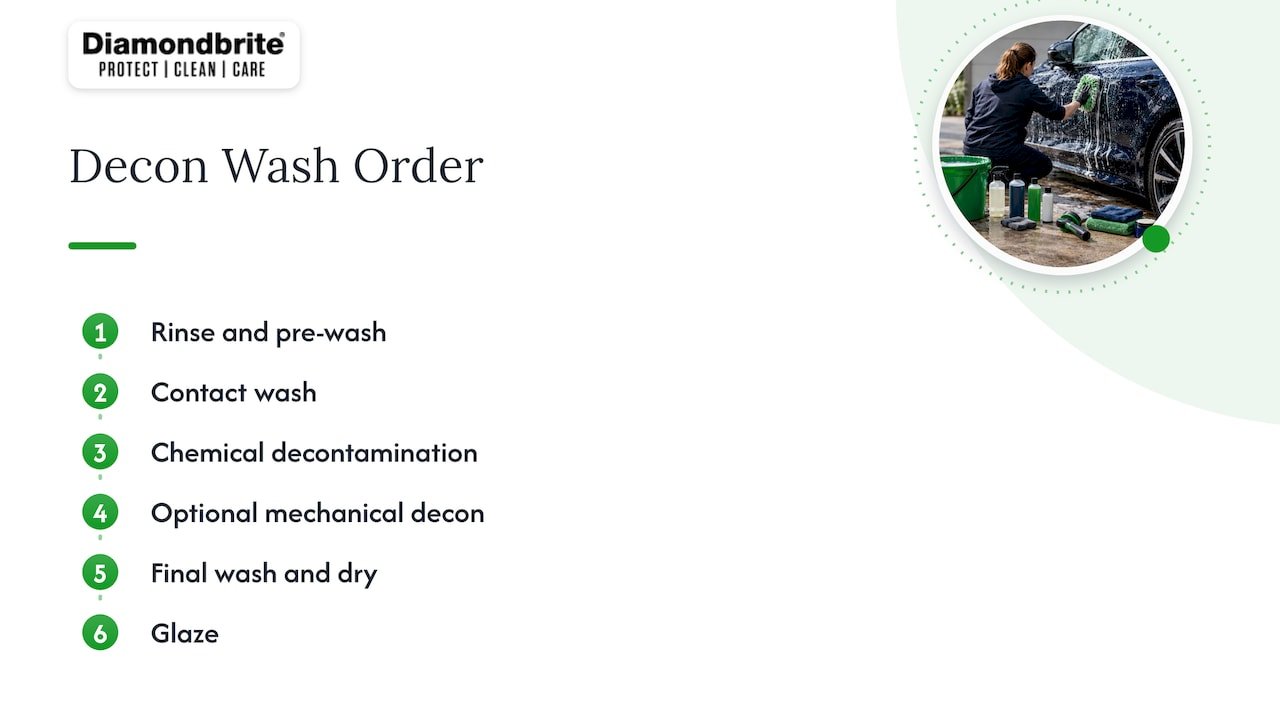
1. Rinse and pre-wash
Start with a thorough rinse so loose debris leaves the paint before anything touches it. AutoZone’s wash guide makes the same point: rinse with clean water before scrubbing so loose debris is removed first. A snow foam left to dwell for 5 to 10 minutes softens road film further. Our guide to the two bucket wash and pre wash covers timings in detail.
2. Contact wash
Work from the roof down and leave the dirtiest areas, such as lower sills and wheels, until last. Use a car-specific shampoo, light pressure and a clean mitt, rinsing it often. Consumer Reports advises automotive soap, shade, a back-and-forth motion rather than circles, and panel-by-panel rinsing. If you want the full sequence, including keeping wheel grit away from paint, read our car wash sequence guide and the two bucket wash method.
A ceramic shampoo is a sensible choice here. It cleans the paint and leaves a slick, ceramic-infused surface that makes the following steps easier.
3. Chemical decontamination
With the paint clean, spray an iron remover on the cool, rinsed panels. It reacts with bonded iron particles and breaks them down so they rinse away. Follow the label for dwell time and never let it dry on the paint. Rinse thoroughly afterwards.
Tar spots need a dedicated tar remover. Our guide to removing tar safely explains how to do it without harming coatings or matte finishes. Bug splatter and sap are best dealt with quickly, as we explain in preventing bug etching.
4. Mechanical decontamination, only if needed
Test first. Put your hand in a thin plastic sandwich bag and glide your fingertips over a washed, wet panel. If it feels rough or gritty, bonded contamination remains. If it feels glass smooth, you can skip the clay and avoid unnecessary abrasion. Our clay bar bag test guide walks through it.
If you do clay, use plenty of lubricant, light pressure and a fresh section of clay whenever it picks up dirt. Drop the clay and bin it. Never reuse a piece that has hit the ground.
5. Final wash and dry
Clay and decon products leave residue and lubricant on the paint. Give the car a quick rinse or light wash, then dry it with clean microfibre towels. Blotting or a gentle pat dry is safer than dragging a towel across the panel. Our guide to preventing swirl marks shows the technique.
6. Apply the glaze
Only now should the glaze go on. Work panel by panel in the shade on cool paint, in thin even coats, and follow the product’s instructions for cure and buff time. Heat is the usual cause of streaks, so if you must work on a warm day, see our panel by panel hot weather wash guide.
Quick reference
| Stage | Removes | Skip it if |
|---|---|---|
| Rinse and pre-wash | Loose dirt, grit | Never skip |
| Contact wash | Traffic film, dust, grime | Never skip |
| Iron remover | Bonded iron fallout | Paint is new and the bag test is smooth |
| Tar remover | Tar and asphalt spots | No tar visible |
| Clay bar | Stubborn bonded particles | Paint feels smooth after the bag test |
| Glaze | Nothing: it adds gloss and a protective layer | You still need paint correction |
What a glaze will and won’t do
A glaze sits on top of the paint. It deepens gloss and fills very fine marks cosmetically, but it doesn’t remove swirls, scratches or oxidation. If your paint needs correcting, polish before you glaze and decon wash before you polish. Our article on glaze versus polish explains how to choose and why a glaze can fade in weeks if it is used as a substitute.
If you’re planning a longer-term finish, compare sealant and ceramic coating. Parkers notes that a ceramic coating needs bodywork free of contaminants and doesn’t protect against stone chips or significant scratches, nor does it end washing. The same decon wash sequence applies before any of them.
Common mistakes
- Claying a dirty car. Loose grit under the clay creates the marring you will then try to hide with glaze.
- Iron remover on dry, dusty paint. It reacts unevenly and wastes product.
- Letting products dry. Work in small areas and in the shade.
- Glazing damp paint. Water trapped under the glaze causes streaks and patchy finish.
- Decon on every wash. Do the full routine a couple of times a year, such as spring and autumn, and use the bag test to decide. Wheels, bumpers and lower panels pick up the most fallout.
Our view: protect the paint you are glazing
We see the same pattern again and again. People spend an afternoon on glaze and then wash the car with a dirty mitt a week later. The glaze isn’t the weak point; the routine around it is. The best finish comes from a repeatable habit: gentle wash, sensible decon only when the paint tells you it needs it, thin glaze coats, and a ceramic-infused shampoo for the weekly wash so the surface stays slick and easier to clean.
That is also the more sustainable way to look after a car. Less abrasion means less polishing, and fewer products used over the life of the paint. Build the kit once, wash well, and the sparkle follows.
— Will
Ready to glaze? Start with the right kit
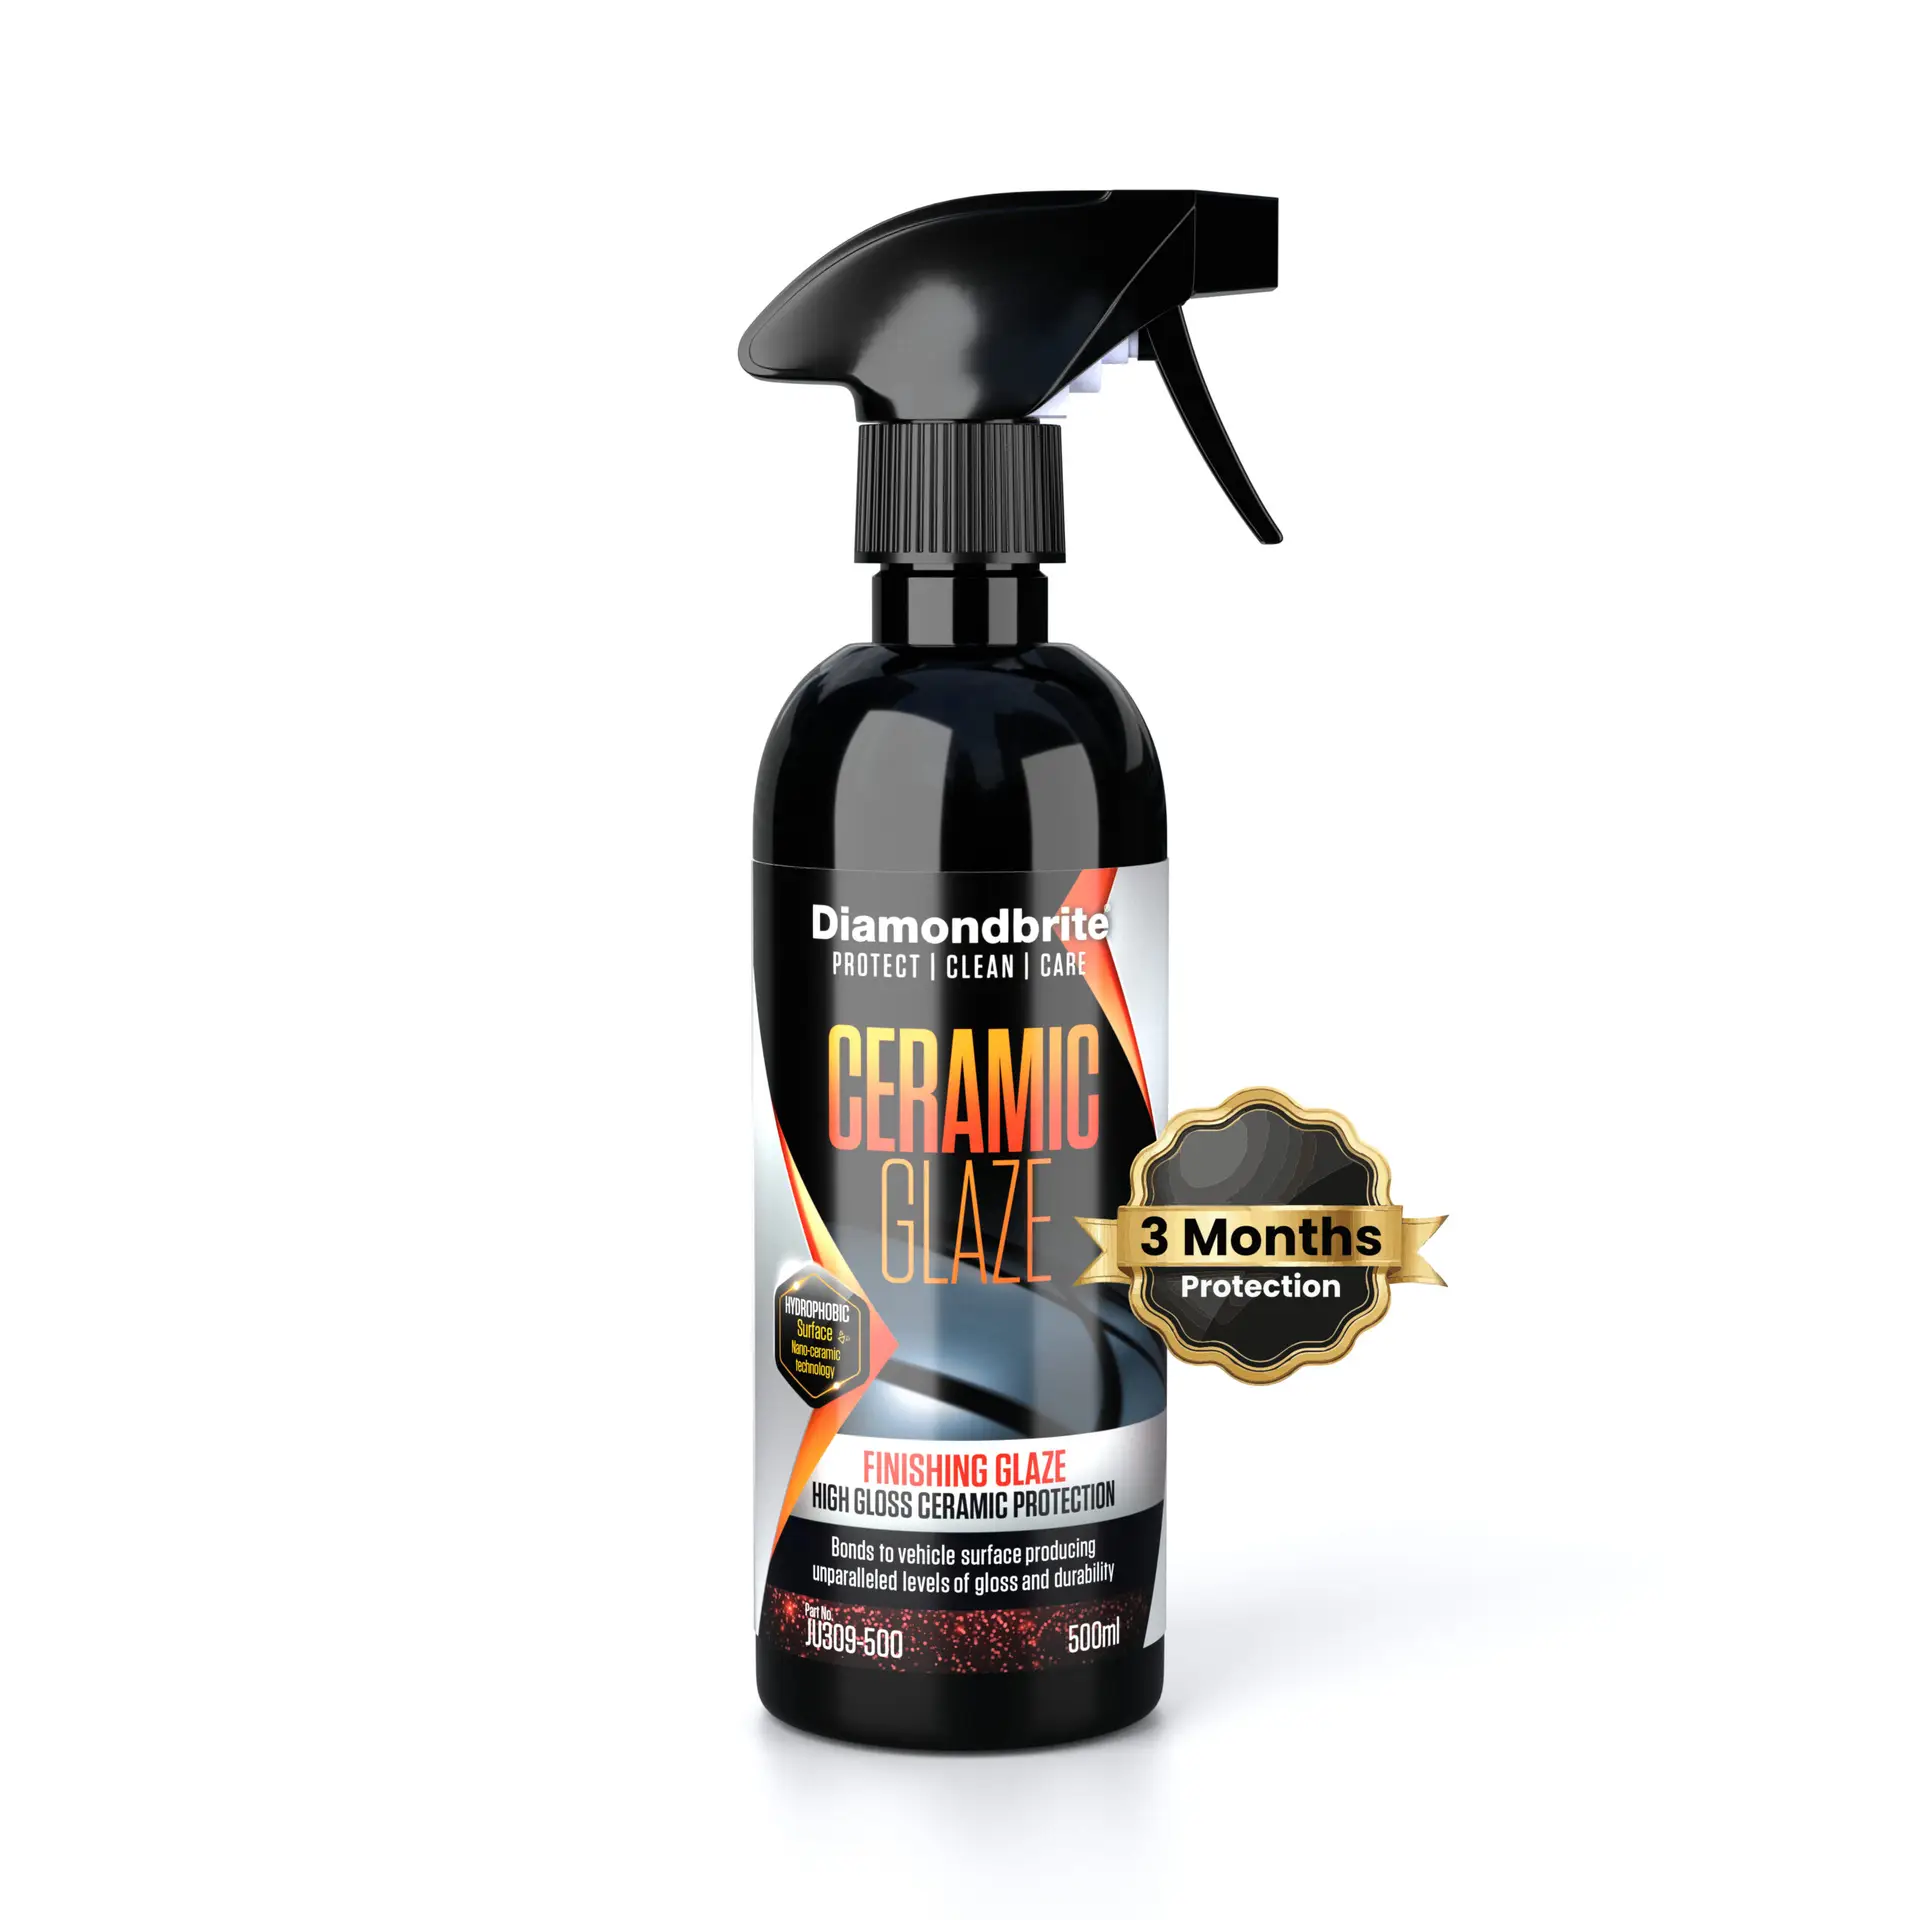
Diamondbrite makes ceramic-infused care products for cars, motorcycles, leisure vehicles and boats, including a Ceramic Glaze, Ceramic Shampoo, snow foams and paintwork care. You can browse the full range, from wash and decon prep to finishing products, in the Diamondbrite shop.
Once the glaze is on, keep it looking its best with our guide to maintaining ceramic protection.
FAQ
Should I wash my car before using an iron remover?
Yes. Iron remover is designed to work on bonded particles, not loose dirt. Washing first lets it reach the paint evenly and uses less product.
Do I need a clay bar every time?
No. Use the plastic bag test after washing and chemical decon. If the paint feels smooth, skip the clay. Overusing clay adds abrasion you don’t need.
How long should I wait to wash after applying a glaze or coating?
Follow the cure time on the product label, as it varies by formula, temperature and humidity. Keep the car dry and out of rain during that period if you can, then wash with a gentle shampoo and a clean mitt.
What destroys a ceramic coating or glaze?
Mainly harsh chemicals, abrasive washing and neglect. Dirty mitts, strong degreasers and automatic brush washes wear protective layers faster. A pH-friendly shampoo and a careful wash method make the biggest difference.
Can I glaze straight after a decon wash?
Yes, once the car is rinsed, fully dry and the panels are cool. Any leftover water, clay lubricant or iron remover residue can cause streaking.