

Wash your ceramic coated car regularly using a pre-rinse, pH-neutral ceramic shampoo, and the two-bucket method, then dry it immediately with a blower or blotting technique. Skip automatic brush washes entirely, and top up the coating’s hydrophobic performance with a maintenance spray periodically. Follow the manufacturer’s aftercare and warranty instructions closely, and lean on coating-safe products to keep the routine simple.
TL;DR:
- Use a pH-neutral, ceramic-safe shampoo and work with two buckets fitted with grit guards to prevent scratching during each wash.
- Avoid automatic brushes, degreasing soaps, and washing in direct sunlight to protect the coating’s integrity and prevent swirl marks.
- Incorporate decontamination washes every few months to remove embedded contaminants that normal shampoos cannot eliminate.
- Dry the car with a forced-air blower or blot with plush microfiber towels to minimize swirl marks during the drying process.
- Reapply a maintenance spray every three to six months and regularly test water sheeting to confirm the coating’s hydrophobic performance.
Table of Contents
- How do you wash a ceramic coated car the right way?
- What kit and products actually protect the coating?
- What’s the correct step-by-step wash order?
- How should you dry a ceramic coated car safely?
- How do you keep the coating’s beading and gloss going?
- What common mistakes shorten a coating’s lifespan?
- How Diamondbrite products fit each stage of the routine
- What actually matters most in this routine
- Get your ceramic coating routine sorted with the right products
- Sources
- FAQ
How do you wash a ceramic coated car the right way?
A ceramic coating doesn’t wash itself, but it does reward you for treating it gently. The whole point of the coating is to create a slick, hydrophobic layer that shrugs off water and grime. Scrub it with the wrong products or drag a dirty mitt across it, and you introduce fine scratches that dull the gloss and shorten the coating’s working life. Get the routine right, and you can expect that glassy, self-cleaning look to hold for years rather than months.
There’s a standard industry term worth knowing here: decontamination wash, sometimes shortened to “decon wash.” It refers to the deeper clean you give a coated car every few months to strip off embedded contaminants, iron particles, and traffic film that a normal shampoo pass won’t shift. You’ll see this phrase throughout detailing circles, and it’s distinct from your routine weekly or fortnightly wash.
The rules below aren’t guesswork. They mirror what coating manufacturers themselves specify in their aftercare and warranty documentation, because a coating is only as durable as the way you look after it. Get the fundamentals wrong and you can void a warranty, not just dull the shine.
Do these things every time you wash:
- Pre-rinse thoroughly to remove loose grit and dust before anything touches the paint.
- Use a pH-neutral, coating-safe shampoo, ideally one formulated to work with a ceramic layer rather than against it.
- Wash with two buckets, each fitted with a grit guard, and keep a separate bucket and mitt for wheels.
- Work in the shade or on an overcast day, and dry the car promptly once you’ve finished rinsing.
Avoid these at all costs:
- Automatic car washes with spinning brushes. They’re one of the fastest ways to inflict swirl marks on a coated finish.
- Dish soap or anything with degreasing agents strong enough to strip the coating’s oils.
- Wax-infused or “gloss-boosting” shampoos that leave a film sitting on top of the ceramic layer instead of letting it work.
- Washing a hot bonnet or roof in direct sun, which causes water spots and can bake residue into the surface before you’ve rinsed it off.
Pro Tip: If you can’t avoid a sunny afternoon, wash one panel at a time and rinse it immediately rather than soaping the whole car and working your way round. Ceramic-coated paint dries faster than bare paint in the heat, and that speed is exactly what causes spotting.
What kit and products actually protect the coating?
You don’t need a garage full of gear, but a handful of the right tools make the difference between protecting the coating and quietly wearing it down. Build a kit around these:
- A hose or pressure washer for the initial rinse and final rinse.
- A foam cannon to apply a thick pre-soak that lifts dirt before contact.
- Two buckets with grit guards to keep grime out of your wash mitt.
- Separate wheel tools (brush and bucket) so brake dust never touches your paint mitts.
- A soft microfibre wash mitt, not a sponge, which traps grit against the surface.
- Plush drying towels and, ideally, a forced-air blower.
When you’re reading labels, look for a stated pH range around 5 to 9. Anything markedly outside that band risks stripping the coating’s chemical bond over repeated washes. Avoid anything listing wax, gloss enhancers, or petroleum distillates in the ingredients, since these additives can interfere with a coating’s performance and its warranty terms. “Coating-safe” on the front label is a genuine signal worth trusting, but check the ingredient list too.
Pressure washers are fine on ceramic coatings when used sensibly. A domestic unit such as the Kärcher K2 Power Control works well at moderate pressure with a wide fan nozzle held at least 30cm from the surface. Skip narrow “turbo” nozzles entirely; they concentrate pressure into a point that can lift a coating at the edges over time.
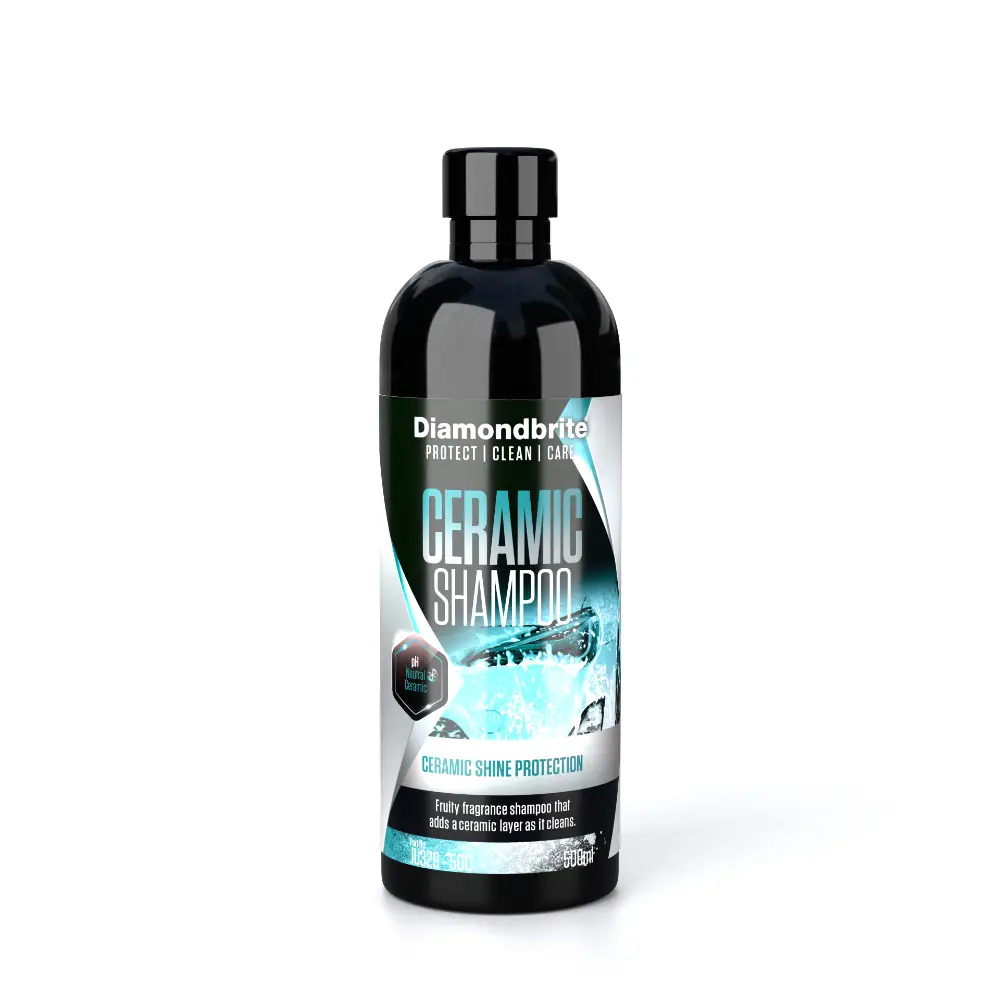
Specialized ceramic shampoos cover the wash stage itself, formulated to clean without stripping the layer beneath. Optional finishing products can add extra gloss between full maintenance applications.
What’s the correct step-by-step wash order?
Skipping steps is how most coated cars end up with fine scratching within a few months. Work through this order every time, and resist the urge to shortcut it because “it’s just a quick wash.”
Pre-rinse the whole car. Start at the roof and work down, dislodging loose dirt before anything else touches the paint. This alone removes a surprising amount of grit that would otherwise get dragged across the surface by a mitt.
Apply a foam cannon pre-soak if you have one. A thick foam layer left to dwell for three to five minutes lifts contaminants chemically rather than mechanically. Never let foam dry on the panel. Rinse it off before it bakes in, especially in warmer weather.
Wash the wheels first, with dedicated tools. Wheels carry brake dust, iron particles, and road grime that’s far dirtier than anything on your paintwork. Using a separate wheel bucket and brush stops that contamination from ever reaching your paint mitt. If you’re targeting stubborn brake dust, a short dwell time with a proper wheel cleaner does more work than scrubbing harder.
Move to the two-bucket contact wash. One bucket holds your shampoo solution, the other clean rinse water, both fitted with grit guards. Dip your mitt in the wash bucket, work one panel using straight-line strokes rather than circular scrubbing, then rinse the mitt thoroughly against the grit guard in the rinse bucket before reloading with shampoo. Straight lines matter more than people expect. Circular motions concentrate any trapped grit into a small, deep scratch pattern, whereas straight lines spread that same risk into a less visible line, if it happens at all.
Work top to bottom, panel by panel. Roof, bonnet, pillars, doors, then lower panels and sills last, since the bottom third of any car carries the heaviest road grime and you don’t want that transferred upward.
Rinse thoroughly after each section, and again at the end. A full top-to-bottom final rinse prevents soap residue drying into streaks and removes any dirt that’s settled back onto lower panels while you worked.
Pro Tip: If a panel still feels gritty under a clean, wet hand after washing, don’t dry it. Rewash that section instead. Drying over lingering grit is one of the most common causes of fresh swirl marks on an otherwise well-maintained coating.
If you don’t have hose access, a rinseless wash is a legitimate alternative rather than a compromise. Detailers recommend rinseless methods using a heavily diluted rinseless solution, a plush mitt, and frequent towel changes, working small sections at a time and buffing dry immediately with a separate towel. It’s gentler in terms of water use, though a full two-bucket wash with running water remains the better choice whenever you have the option.
How should you dry a ceramic coated car safely?
Drying causes more swirl marks than washing does, mostly because people rush it or drag a towel across a surface that isn’t fully wet. Get this stage right and you protect hours of careful washing.
- Use a forced-air blower where you can. It removes water without any surface contact at all, which makes it the lowest-risk drying method available for a coated finish.
- Blot rather than wipe with towels. Fold a plush microfibre towel into quarters, press it onto the wet panel, lift, then move to a fresh section of the towel. Dragging drags grit; blotting doesn’t.
- Rotate to a clean towel face often. Once a face feels saturated or gritty, switch to a fresh one rather than continuing to use it dry.
- Apply a ceramic-safe drying aid to wet panels only, never onto dry paint, following the maker’s instructions on dilution and application.
- Pay attention to seams, badges, mirrors, and glass, where water pools and dries unevenly if left. A dedicated small towel for these tight spots avoids dragging a large towel awkwardly into gaps.
How do you keep the coating’s beading and gloss going?
Even a well-maintained coating loses some hydrophobic punch over months of washing and road exposure. That’s normal, and it’s what maintenance sprays and boosters exist to fix.
- Apply a maintenance spray roughly every three to six months, or sooner if you notice water sheeting rather than beading tightly on the surface.
- Test coating health with a simple water test. Splash water on a clean panel. Tight, marble-like beads mean the coating’s still performing; flat sheeting suggests it’s time to top up.
- Apply boosters to a clean, wet or dry surface exactly as the product instructs. Never assume one spray works the same way as another; check the label each time.
- Rinse the car within 24 hours of heavy road salt exposure, and check the underside if you can, since salt left sitting against a coated surface accelerates wear far more than typical winter grime.
Pro Tip: Keep a maintenance spray in reach so you top it up the same weekend you notice beading has flattened out, rather than waiting for your next scheduled wash. It takes minutes and resets the clock on protection.
If beading doesn’t return after a fresh application, or you’re seeing patchy performance across panels, that’s usually the signal to book a professional decontamination or full coating refresh rather than keep layering booster on top of booster.
What common mistakes shorten a coating’s lifespan?
Most coating failures aren’t really failures. They’re maintenance mistakes that compound over months.
- Water spots respond well to a deionised final rinse or a proper detailer spot-remover. Reach for abrasive polish only as a last resort, since correction on a coated panel needs care to avoid cutting through the layer itself.
- Bird droppings and tree sap bond fast, especially in warm weather. Spray a dedicated bug and tar remover, let it dwell for a minute or two, then lift the residue gently with a plush towel rather than scraping. If it’s fully baked on, manufacturer aftercare guidance recommends professional decontamination rather than risking the paint underneath.
- Machine polishing on a coated car should be a rare event, not routine. It can affect coating warranties, so check terms before correcting swirls yourself.
- Diagnosing failure versus surface grime: if water still beads tightly, the coating’s fine and you’re likely dealing with surface contamination, not coating breakdown. If beading has genuinely disappeared across most panels despite a fresh booster, that’s coating wear, not a dirty car.
How Diamondbrite products fit each stage of the routine
You don’t need to guess which product covers which job once you map the routine out stage by stage.
- Wash stage: Ceramic shampoos formulated as pH-balanced, coating-safe cleansers suit your two-bucket contact wash, diluted according to product instructions.
Optional finishing products can add a gloss layer between full maintenance treatments, applied to a clean, dry panel as directed.
Aftercare guidance generally recommends gentle contact, pH-neutral products, and prompt drying, all aimed at protecting the coating’s bond rather than just its shine.
For the full step-by-step on keeping a coating performing well season to season, Diamondbrite’s guide on keeping a ceramic coating in top condition walks through the same principles in more depth, alongside product-specific dilution notes.
What actually matters most in this routine
The industry talks a lot about coating thickness, layer counts, and cure times, but the maintenance routine you follow afterwards matters more than most owners assume. A five-layer coating washed badly with an automatic brush tunnel will look worse in six months than a single-layer coating maintained with a proper two-bucket routine.
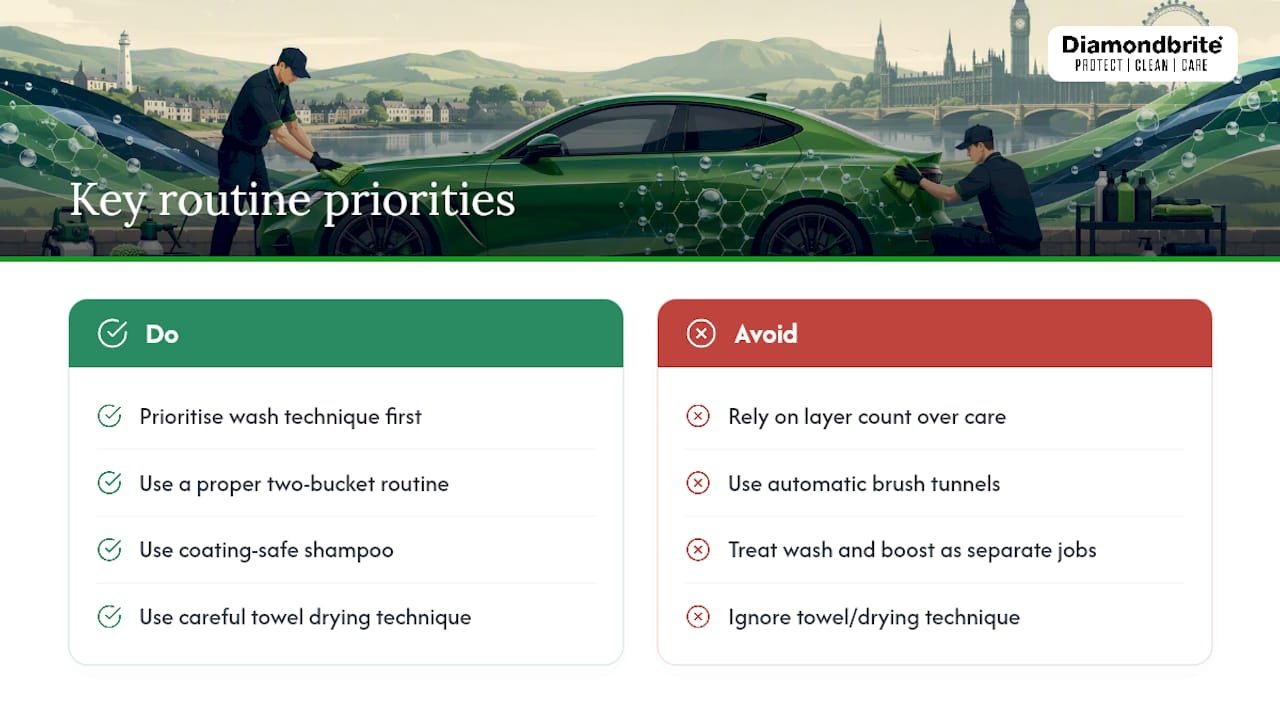
Where conventional advice falls short is treating the wash and the “boost” as separate jobs done by separate products at separate times. They’re the same job. Every wash either protects the beading you already have or quietly erodes it, depending on what’s in the bucket and how careful you are with the mitt. Prioritise the wash technique first, the products second. A coating-safe shampoo used with a scouring pad still ends in swirls; a mediocre shampoo used with proper two-bucket discipline rarely does.
If you take one thing from this, it’s that drying deserves as much attention as washing. Most owners obsess over shampoo choice and ignore the towel technique that follows it, yet that’s where a huge share of visible swirling actually originates.
— Will
Get your ceramic coating routine sorted with the right products
Getting the technique right matters more than anything else, but using products actually formulated for ceramic coatings removes a lot of the guesswork about what’s safe to put on the paint. Ceramic product ranges are often built around this routine: pH-neutral cleaning, coating-friendly ingredients, and clear guidance on how often to use each product.

Start with ceramic shampoo for your regular wash stage, then check the wheel cleaning routine if brake dust has been building up faster than you’d like. For boosting beading between full maintenance sessions, browse the wider range at the Diamondbrite shop and pick a maintenance spray that matches your wash frequency. If you’re unsure how often to top up, independent installer guidance on maintenance cadence aligns closely with what’s covered here: wash every one to two weeks, boost every three to six months.
Sources
- Coating Aftercare & Warranty Instructions (Ceramic Pro)
- How to Wash a Ceramic Coated Car – The Complete Guide (MD Auto Spa)
FAQ
When can I wash my car after getting ceramic coating?
Most installers recommend waiting around two weeks after application before washing to let the coating cure fully. Rinsing with plain water in the meantime is generally fine if the car gets visibly dirty, but hold off on shampoo and contact washing until the cure period has passed.
Can you just pressure wash a ceramic coated car?
Yes, a domestic pressure washer is safe on a coating provided you use moderate pressure, a wide fan nozzle, and keep the nozzle at least 30cm from the surface, similar to the settings on a Kärcher K2 Power Control. Avoid narrow turbo nozzles and never hold the nozzle stationary against one spot.
What not to do with ceramic coating?
Avoid automatic brush car washes, dish soap, wax-infused shampoos, and washing hot panels in direct sunlight, since all of these strip the coating’s protective properties or cause spotting. Manufacturer aftercare guidance also warns against leaving bird droppings or sap to sit, since heat can bond contaminants into the surface.
How often should you wash a ceramic coated car?
A routine regular washing suits most daily drivers, with maintenance boosters applied periodically to keep beading strong. Increase wash frequency during winter or after exposure to road salt to protect the coating underneath.
Is a two-bucket wash really necessary with a ceramic coating?
Yes, the two-bucket method keeps grit out of your wash mitt by giving you a dedicated rinse bucket with a grit guard, which matters even more on a coated finish since visible swirl marks are harder to correct without affecting the coating layer itself.
