

The safest routine is simple: pre-wash to loosen grit, then hand-wash using the two-bucket method with a soft microfibre or lambswool mitt, working in straight lines from top to bottom, before drying with clean microfibre towels. Skip any of these steps and you raise the odds of swirl marks. Certain ceramic shampoos and pre-wash sprays are designed to provide lubrication for your paint during contact.
TL;DR:
- Using a two-bucket method with grit guards and a microfibre mitt significantly reduces swirl marks compared to single-bucket and sponge approaches.
- Pre-washing with snow foam or dedicated sprays loosens grime and traffic film, minimizing paint contact and surface friction during hand washing.
- Wheels should be washed first with separate tools and cleaners to avoid abrasive contamination on the vehicle’s bodywork.
- Immediate thorough drying with microfibre towels prevents water spots and streaking, especially in hard-water areas or under direct sunlight.
- Proper product choice, such as pH-neutral ceramic shampoos and pre-wash solutions, enhances lubrication and protects existing coatings during wash.
Table of Contents
- What equipment do you actually need to wash a car safely?
- Why does pre-washing matter before you touch the paint?
- The two-bucket wash method, step by step
- How should you handle wheels and wheel arches?
- Rinsing and drying without leaving marks
- What washing can fix, and what it can’t
- Where do Diamondbrite products fit the safe-wash routine?
- How do you stop wash mitts and towels becoming the problem?
- How do dust, pollen and bird droppings raise your scratch risk?
- How often should you actually wash your car?
- Why the two-bucket method beats every shortcut
- Get the right products for a safer wash
- Sources
- FAQ
What equipment do you actually need to wash a car safely?
Cheap sponges and a single bucket are how most swirl marks happen. Grit gets trapped against the fibres, then dragged straight back across your paintwork on the next pass.
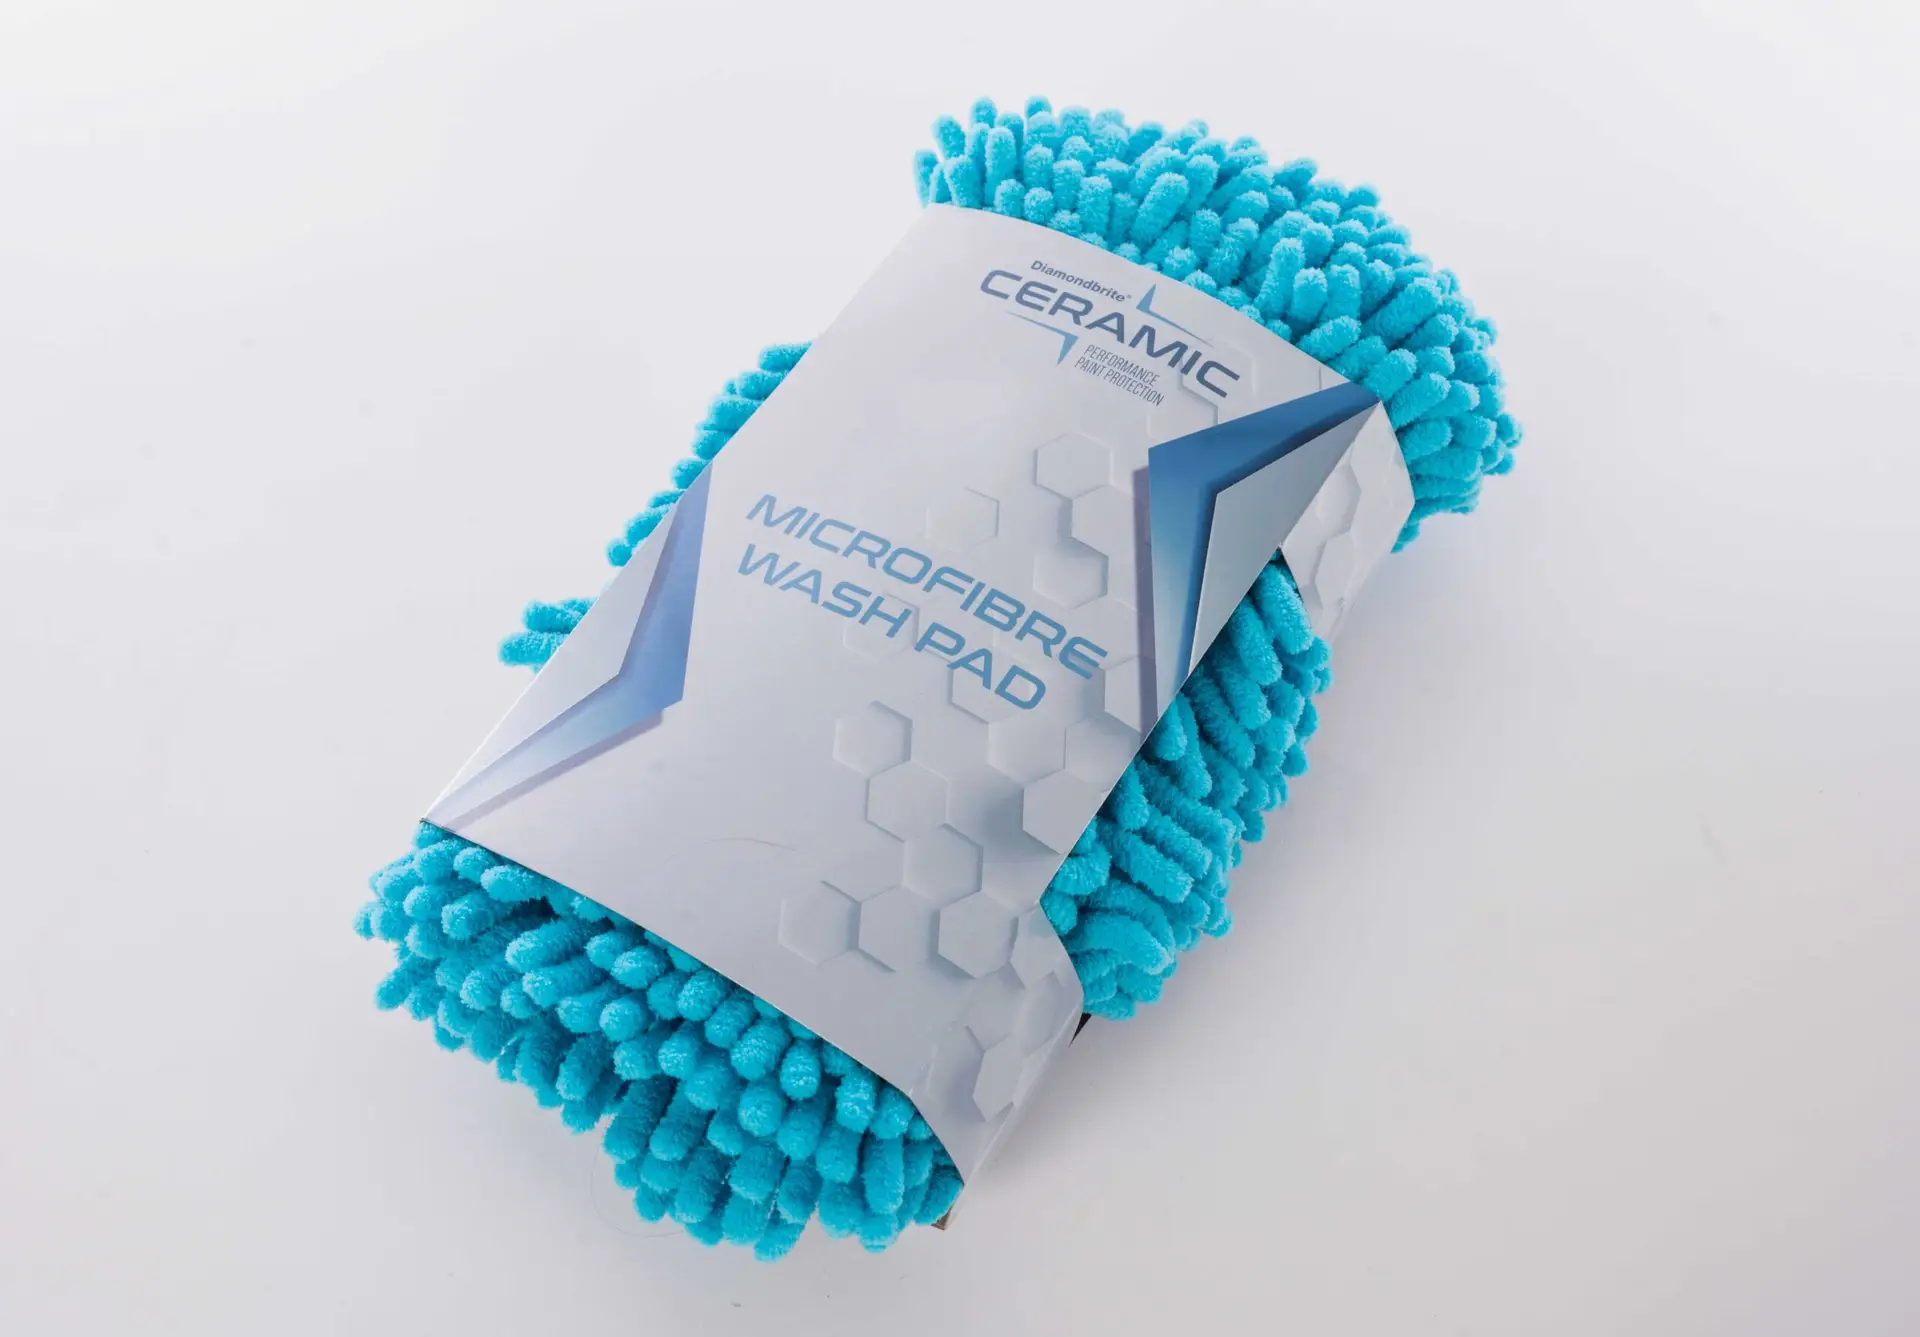
The two-bucket method fixes this. One bucket holds your soapy shampoo mixture; the other holds clean rinse water. You dunk the mitt, rinse it thoroughly in the second bucket, then reload it with shampoo. Both buckets need a grit guard, a plastic insert that sits at the bottom and lets dirt settle below the mitt rather than swirling back into suspension.
Beyond the buckets, a genuinely safe wash kit includes:
- A microfibre or lambswool wash mitt — these trap dirt within their fibres far more effectively than a foam sponge, which tends to smear grit across the surface instead of holding onto it.
- Two grit guards — one per bucket, non-negotiable if you want the two-bucket method to actually work.
- A separate wheel brush and dedicated wheel mitt — never let anything that has touched a wheel near your bodywork again.
- A pH-neutral car shampoo or ceramic shampoo, not washing-up liquid.
- Two or three plush microfibre drying towels, plus, optionally, a silicone water blade for faster initial water removal.
Washing-up liquid gets recommended by well-meaning relatives everywhere, but it’s formulated to strip grease from crockery, not to protect clear coat. It strips waxes and ceramic protection rather than preserving it, leaving paint drier and more vulnerable to marring on the next wash.
Why does pre-washing matter before you touch the paint?
Snow foam or a dedicated pre-wash spray does the heavy lifting before your mitt ever makes contact. It clings to the surface, breaks down bonded traffic film, road grime, and insect residue, then lets you rinse most of it away before the contact wash even starts.
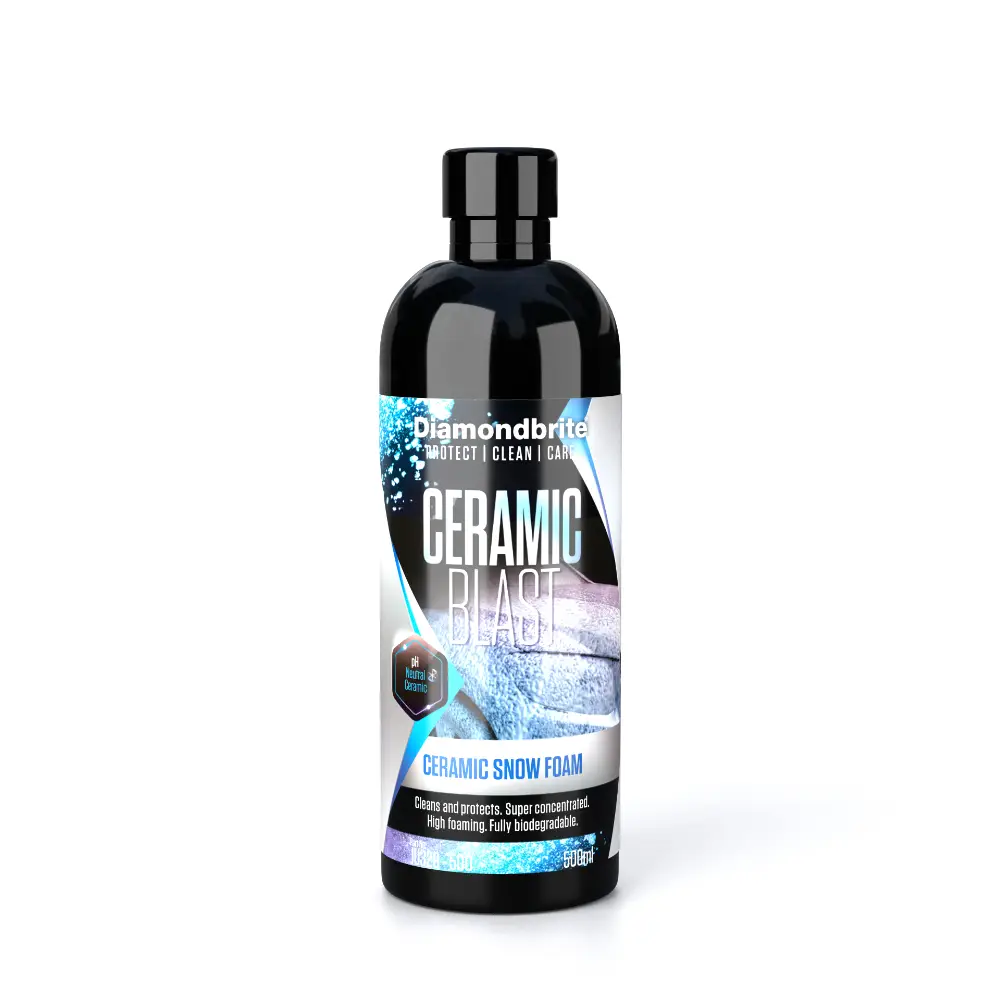
This matters more than it sounds. A thorough pre-wash loosens and suspends traffic film, which reduces the friction your mitt experiences during the contact stage, and the contact stage is where most scratching actually happens. Less grit sitting on the surface when you start scrubbing means less grit getting dragged across your clear coat.
A practical pre-wash routine looks like this:
- Apply snow foam or pre-wash solution generously, covering the car from roof to sills.
- Let it dwell for five to ten minutes, enough time to break down grime without drying out and re-bonding to the surface.
- Rinse thoroughly at moderate pressure, working top to bottom, before you pick up a mitt.
- Repeat the rinse if you can still feel grittiness when you run a gloved hand lightly over a panel.
You don’t need a pressure washer or even a hose for this. If you’re under a hosepipe restriction, or simply don’t own one, many effective shampoos and pre-wash products work perfectly well with a bucket and sponge rather than high-pressure equipment. Fill a bucket with pre-wash solution diluted per the label, apply generously with a soft applicator, leave to dwell, then rinse using jugs or a watering can if that’s all you have. It’s slower, but it still does the job of loosening contamination before it meets your mitt.
The two-bucket wash method, step by step
This is where careful technique either protects your paintwork or quietly damages it, one pass at a time. Follow the sequence below and you’ll dramatically cut your risk of swirl marks.
- Fill both buckets — one with your diluted shampoo, one with clean rinse water, each fitted with a grit guard.
- Start at the roof and work downwards, panel by panel. Gravity carries the dirtiest run off downward, so tackling the roof first keeps grubbier water away from panels you’ve already cleaned.
- Load the mitt with shampoo, apply it to one panel using straight, overlapping passes rather than circles, and move on.
- Rinse the mitt in the clean bucket after every panel, dragging it firmly across the grit guard to release trapped particles before reloading it with shampoo.
- Reload and repeat, panel by panel, always rinsing between applications.
- Refresh both buckets once the rinse water looks visibly murky, typically after covering half the car on a dirty vehicle.
Straight-line motions matter more than most people realise. Circular scrubbing is the leading cause of visible swirl marks, because any trapped grit gets dragged in a tight, repeating arc that catches the light from multiple angles once the sun hits it. A straight-line scratch, by contrast, is far less visible and far less likely to happen in the first place, because you’re not grinding the same grit back and forth over the same few square inches.
Use light pressure throughout. You’re not scrubbing away dried mud with the mitt, that’s what the pre-wash stage was for. Let the shampoo’s lubricity do the work, and glide the mitt rather than pressing hard.
Pro Tip: Most people rinse their mitt by simply dunking and swishing it, which barely dislodges trapped grit at all. Manually pull the fibres apart under the water, or scrub the mitt firmly against the grit guard itself, to release what’s actually embedded before you reload it with shampoo.
How should you handle wheels and wheel arches?
Wheels carry the most abrasive contamination on the entire car, brake dust, road grit, and tar all concentrate there, so they need their own tools and their own moment in the sequence.
Wash the wheels and arches first, before you touch the bodywork. That way, any heavily contaminated splash-back or overspray lands on panels you’re about to wash properly anyway, rather than on paintwork you’ve already finished. Wheels accumulate more abrasive dirt than any other part of the car, so treating them as a separate job, not an afterthought, protects the rest of your wash.
A safe wheel routine:
- Use a dedicated wheel cleaner, ideally one designed to dissolve brake dust rather than just rinse it away.
- Apply with a stiff wheel brush and a separate wheel mitt, never the ones used on paint.
- Give tar and iron-fallout removers time to dwell, generally two to five minutes, before agitating or rinsing.
- Rinse wheels and arches thoroughly, then move on to your pre-wash stage on the bodywork with fresh water and a clean bucket.
Never dip a wheel brush or wheel mitt back into your paint-wash buckets. Brake dust is genuinely abrasive, and a single contaminated pass across a door panel can undo everything careful technique achieved elsewhere.
Rinsing and drying without leaving marks
Rinse from the roof downward, using low to moderate pressure, until every trace of shampoo has gone. Left to dry on the surface, shampoo residue causes streaking and can etch into some finishes over time, so a thorough final rinse matters as much as the wash itself.
Dry immediately. Water left to evaporate naturally leaves mineral spots, particularly in hard-water areas, and drying promptly with a clean microfibre towel while avoiding direct sunlight prevents both water spots and streaking. Sun accelerates evaporation unevenly across the panel, baking mineral deposits on before you’ve had a chance to lift them off.
For drying itself:
- Lay a plush microfibre towel flat and pat rather than rub, lifting water off instead of dragging it across the surface.
- If using a silicone water blade, keep it wet and glide it in straight lines with minimal pressure, never scrape it dry across paint.
- Switch to a second towel once the first feels saturated, a soggy towel just redistributes water rather than lifting it.
- Finish awkward areas, door shuts, mirror backs, badge recesses, with a smaller detailing towel.
Pro Tip: Wash early morning or early evening rather than midday. Cooler panel temperatures slow water evaporation, giving you more control over drying and reducing the chance of spotting before you’ve reached every panel.
Once dry, a quick detailer or spray wax applied with a fresh microfibre cloth adds a thin layer of lubrication and gloss, and takes barely five minutes.
What washing can fix, and what it can’t
A careful wash removes surface dirt and reduces the accumulation of grit that eventually causes marring, but it won’t undo damage that’s already there. Knowing the difference saves you from either ignoring a real problem or attacking a minor one too aggressively.
Swirl marks are light, web-like marring confined to the clear coat, usually caused by improper washing or drying technique. Deep scratches penetrate further, and there’s a simple way to tell which you’re dealing with: run a fingernail gently across the mark. If your nail catches or snags, the scratch has gone through the clear coat and into the layer beneath.
- Light swirl marks can often be improved with a dedicated paint cleanser or fine machine polish, applied sparingly.
- If a scratch catches your fingernail, it needs professional attention, not a home remedy.
- Avoid repeated aggressive polishing on the same panel. Clear coat is a finite layer, and polishing it thin removes the very protection you’re trying to preserve.
- Products claiming to erase deep scratches in one application rarely do more than temporarily fill the mark cosmetically.
Where do Diamondbrite products fit the safe-wash routine?
Every step in this routine benefits from using products actually formulated for automotive paint, rather than whatever’s under the kitchen sink. Diamondbrite’s range is built around that principle, and it maps neatly onto the workflow above.
For the pre-wash stage, a dedicated pre-wash solution does the job snow foam is meant to do: loosening traffic film before your mitt makes contact, cutting down on abrasive friction during the wash itself.
For the contact wash, Diamondbrite’s ceramic shampoo is formulated to be pH-neutral, so it cleans without stripping any existing wax or ceramic protection, while its ceramic infusion adds a thin layer of slickness that helps grit glide past your mitt rather than grinding against the paint. You can read more about what ceramic shampoo does for paintwork if you want the fuller picture.
A few practical notes worth following:
- Always dilute shampoo according to the label; over-concentrating it doesn’t improve cleaning, it just wastes product.
- Test any new pre-wash or shampoo on a small, inconspicuous panel first if you’re unsure how it reacts with an existing coating.
- If your car already has a ceramic coating, follow a maintenance-specific routine to keep it performing rather than a generic wash guide.
How do you stop wash mitts and towels becoming the problem?
A mitt that scratched nothing last week can be loaded with embedded grit today, and a dirty tool undoes every careful step in your technique.
Rinse your mitt thoroughly after every single wash, not just a quick swish. Work shampoo through the fibres under running water, then agitate it against a grit guard or with your fingers to dislodge anything trapped deep inside. Hang it to dry fully in open air rather than leaving it damp in a bucket, where trapped moisture encourages mildew and the fibres can mat together, reducing their ability to hold dirt away from the surface next time.
Microfibre drying towels need the same discipline. Wash them separately from other laundry, ideally with a dedicated detergent free of fabric softener, because softener coats the fibres and kills their absorbency. Skip the tumble dryer’s heat setting where possible; high heat can melt the fine fibres that make microfibre effective in the first place.
Retire tools once they show damage. A mitt with a hardened patch of dried shampoo, or a towel with a snagged thread, has effectively become sandpaper. It’s cheap to replace, expensive to ignore.
A practical maintenance habit:
- Rinse mitts and towels immediately after use, not once they’ve dried with dirt baked in.
- Store mitts and towels separately from wheel tools at all times, even when clean, to avoid cross-contamination on the shelf.
- Replace a mitt roughly every twelve to eighteen months with regular use, sooner if fibres start to feel matted or stiff.
- Keep at least two mitts in rotation so one is always fully dry and ready.
How do dust, pollen and bird droppings raise your scratch risk?
Environmental contamination doesn’t wait for wash day. Dust settles constantly, pollen season coats every parked car in a fine gritty film each spring, and bird droppings contain acidic compounds that etch into clear coat within hours if left untouched.
The risk isn’t really the contamination itself, it’s what happens when you wipe it off dry, or leave it to bond with the surface before you get to it. A dry cloth dragged across a dusty bonnet grinds each particle against the paint like fine sandpaper. Pollen behaves similarly, its granules are surprisingly abrasive under pressure, and a casual wipe with a sleeve does far more damage than most people assume.
Bird droppings are the most urgent case. Their acidity can etch a mark into clear coat within a single afternoon of hot sun, especially on darker paint. If you spot one, don’t wipe it, mist it with a quick detailer spray or plain water to soften the residue, then lift it away gently with a clean microfibre cloth.
Practical mitigation is mostly about timing and habit:
- Never dry-wipe dust, pollen, or droppings off the paint, always wet the area first to lift contamination rather than grind it.
- Park under cover during peak pollen season if you have the option, even a car port cuts significant fallout.
- Check the car after any trip through wooded or rural roads, tree sap and pollen accumulate fast in these conditions.
- Keep a bottle of quick detailer in the car for emergency spot-cleaning between full washes.
How often should you actually wash your car?
Washing too rarely lets contamination bond harder to the surface, which makes your next wash more abrasive by default. Washing too often, especially with poor technique, adds up the risk from repeated contact.
A weekly or fortnightly wash strikes the right balance for most owners in typical UK conditions, tightening to weekly through winter when road salt and grit are heaviest, and loosening slightly in drier summer stretches if the car’s kept mostly off busy roads. The goal is simple: never let dirt sit long enough to bond hard, because bonded contamination takes more agitation to remove, and more agitation means more risk during the contact wash.
Between full washes, a quick rinse or a spot-clean with a detailer spray handles anything urgent, bird droppings, insect splatter, obvious road grime, without waiting for the next scheduled session. This also means your full wash day involves less scrubbing overall, since you’re not trying to shift weeks of accumulated dirt in one go.
Winter driving through salted roads deserves particular attention. Salt residue left on the underside and lower panels accelerates corrosion as well as raising the abrasion risk during your next wash, so don’t stretch the interval much beyond a week if you’re covering regular motorway or gritted-road miles.
Why the two-bucket method beats every shortcut
Most car owners who introduce swirl marks aren’t being careless, they’re just following advice that sounds reasonable but isn’t. Single-bucket washing feels perfectly logical until you realise you’re rinsing dirt straight back onto your mitt every single time. Circular scrubbing feels thorough, when it’s actually the single most common cause of the swirls people then spend money trying to polish out.
The three pillars are pre-wash, two-bucket contact wash, and careful drying, done in that order, every time, with roughly ten minutes of dwell time on the pre-wash and fresh rinse water whenever a bucket looks murky. Skip the pre-wash and you’re grinding bonded dirt straight into the paint. Skip the second bucket and you’re recontaminating your mitt on every pass. Rush the drying and you’re back to water spots undoing an otherwise careful wash.
Washing-up liquid and single-bucket habits are hard to unlearn precisely because they’ve worked, in the sense that the car looked clean afterwards. The damage they cause is cumulative and mostly invisible until it catches direct sunlight at the wrong angle. By then it’s too late to prevent, only to correct.
— Will
Get the right products for a safer wash
Ceramic-infused shampoos and pre-wash sprays are formulated to provide lubrication and film-loosening power that ordinary household cleaners do not offer.

Where a generic supermarket shampoo cleans and little else, Diamondbrite’s ceramic shampoo is pH-neutral and leaves behind a thin, slick layer that helps grit glide past your mitt rather than grinding against the surface on your next wash. Pair it with a dedicated pre-wash solution to loosen traffic film before you pick up a mitt at all, and you’ve covered the two stages where most scratching actually happens. If your car already carries a ceramic coating, the maintenance guide walks through how to keep that protection performing wash after wash.
Ready to build a safer wash kit? Browse the full Diamondbrite range and pick up the shampoo and pre-wash combination that suits your car’s needs.
Sources
- How to wash your car | RAC Drive
- How to wash a car | The AA
- How to wash your car without a hose or pressure washer – Which?
FAQ
How do you wash a car with no scratches?
Pre-wash to loosen dirt, then hand-wash with the two-bucket method using a microfibre or lambswool mitt, moving in straight lines from top to bottom, and dry immediately with clean microfibre towels.
Is washing-up liquid good for washing a car?
No. It’s not formulated for automotive paint and can strip protective waxes or ceramic coatings, leaving the surface more exposed to marring.
Does WD-40 really remove scratches?
WD-40 can temporarily mask very light surface marring by filling it with oil, but it doesn’t repair the clear coat and the effect fades quickly, genuine scratches still need proper polishing or professional correction.
What wash mitt is least likely to scratch paint?
A genuine microfibre or lambswool mitt is the safer choice, since these materials trap dirt within their fibres rather than smearing it across the surface the way a cheap foam sponge does.
Do I need a pressure washer to wash my car safely?
No. A pressure washer helps but many effective shampoos work perfectly well with just a bucket and mitt, which matters if you’re under a hosepipe restriction or don’t own one.
