

The fastest safe way to clean a car dashboard is to spray a pH-neutral automotive interior detailer onto a microfibre cloth, wipe in small sections from top to bottom, and buff dry before applying a UV protectant. That sequence takes under ten minutes for a maintenance clean and keeps your dash looking factory-fresh without risking damage to plastics, screens, or trim.
Before you pick up a cloth, run through three quick checks:
- Open a window or door for ventilation, especially if you are using any liquid cleaner.
- Switch off the ignition and let the cabin cool; warm plastics absorb product unevenly.
- Move a sunshade into position if you are parked in direct sun, as heat accelerates product drying and can leave streaks.
Key takeaways
A clean car dashboard stays that way longest when you follow a dry-before-wet routine, use pH-neutral automotive products, and apply a UV protectant after every clean.
| Point | Details |
|---|---|
| Follow the right sequence | Dust and vacuum first, then wipe wet in sections, buff dry, and protect last. |
| Use the correct tools | A 300+ GSM microfibre cloth and a soft detailing brush prevent scratching on textured surfaces. |
| Choose the right protectant | Water-based or ceramic interior protectants give a matte finish, low dust attraction, and better UV defence than silicone dressings. |
| Stick to a schedule | Weekly quick cleans and a protectant reapplication every 3–6 months keeps most UK dashboards in excellent condition. |
| Diamondbrite for interior care | Ultra Clean and Interior Trim Enhancer are UK-made, pH-balanced options for cleaning and protecting all common dashboard materials. |
Table of Contents
- What tools and cleaners do you need for a clean car dashboard?
- How to do a quick five-minute clean that keeps your dashboard dust-free
- How do you remove stubborn grime, grease, and smoke residue?
- How do you clean air vents, seams, and switches without damaging electronics?
- What cleaning approach suits your dashboard material?
- What products should you never use on a car dashboard?
- How do you protect your dashboard and keep it clean longer?
- Can you repair minor scratches and restore faded dashboard plastic?
- Why a dedicated automotive interior cleaner outperforms household products
- Diamondbrite interior care: trusted UK-made products for your dashboard
- Sources
- FAQ
What tools and cleaners do you need for a clean car dashboard?
Getting the kit right before you start saves time and protects your interior. Here is what to gather:
- Microfibre cloths (at least three). Look for 300+ GSM microfibre towels for dashboard work; the higher weight lifts dust and grit safely without scratching textured surfaces. Rotate to a clean face frequently — a dirty cloth simply redistributes grit and creates micro-abrasions over time.
- pH-neutral automotive interior detailer. This is your go-to for routine wipes. If you only have mild washing-up liquid, dilute it at roughly 10:1 water to soap for light soil, but be aware that excess soap leaves a residue that attracts dust.
- Applicator pads. Useful for applying protectant to flat plastic or vinyl panels without waste.
- Soft detailing brush. A natural-bristle or synthetic-bristle brush (25–50mm) dislodges dust from textured surfaces before you wipe.
- Vacuum with a crevice tool. Run this before any wet product touches the dash.
- Foam swabs and an old soft toothbrush. For button surrounds, seams, and tight corners.
- Distilled water. Tap water leaves mineral spots on black dashboards; distilled water prevents this.
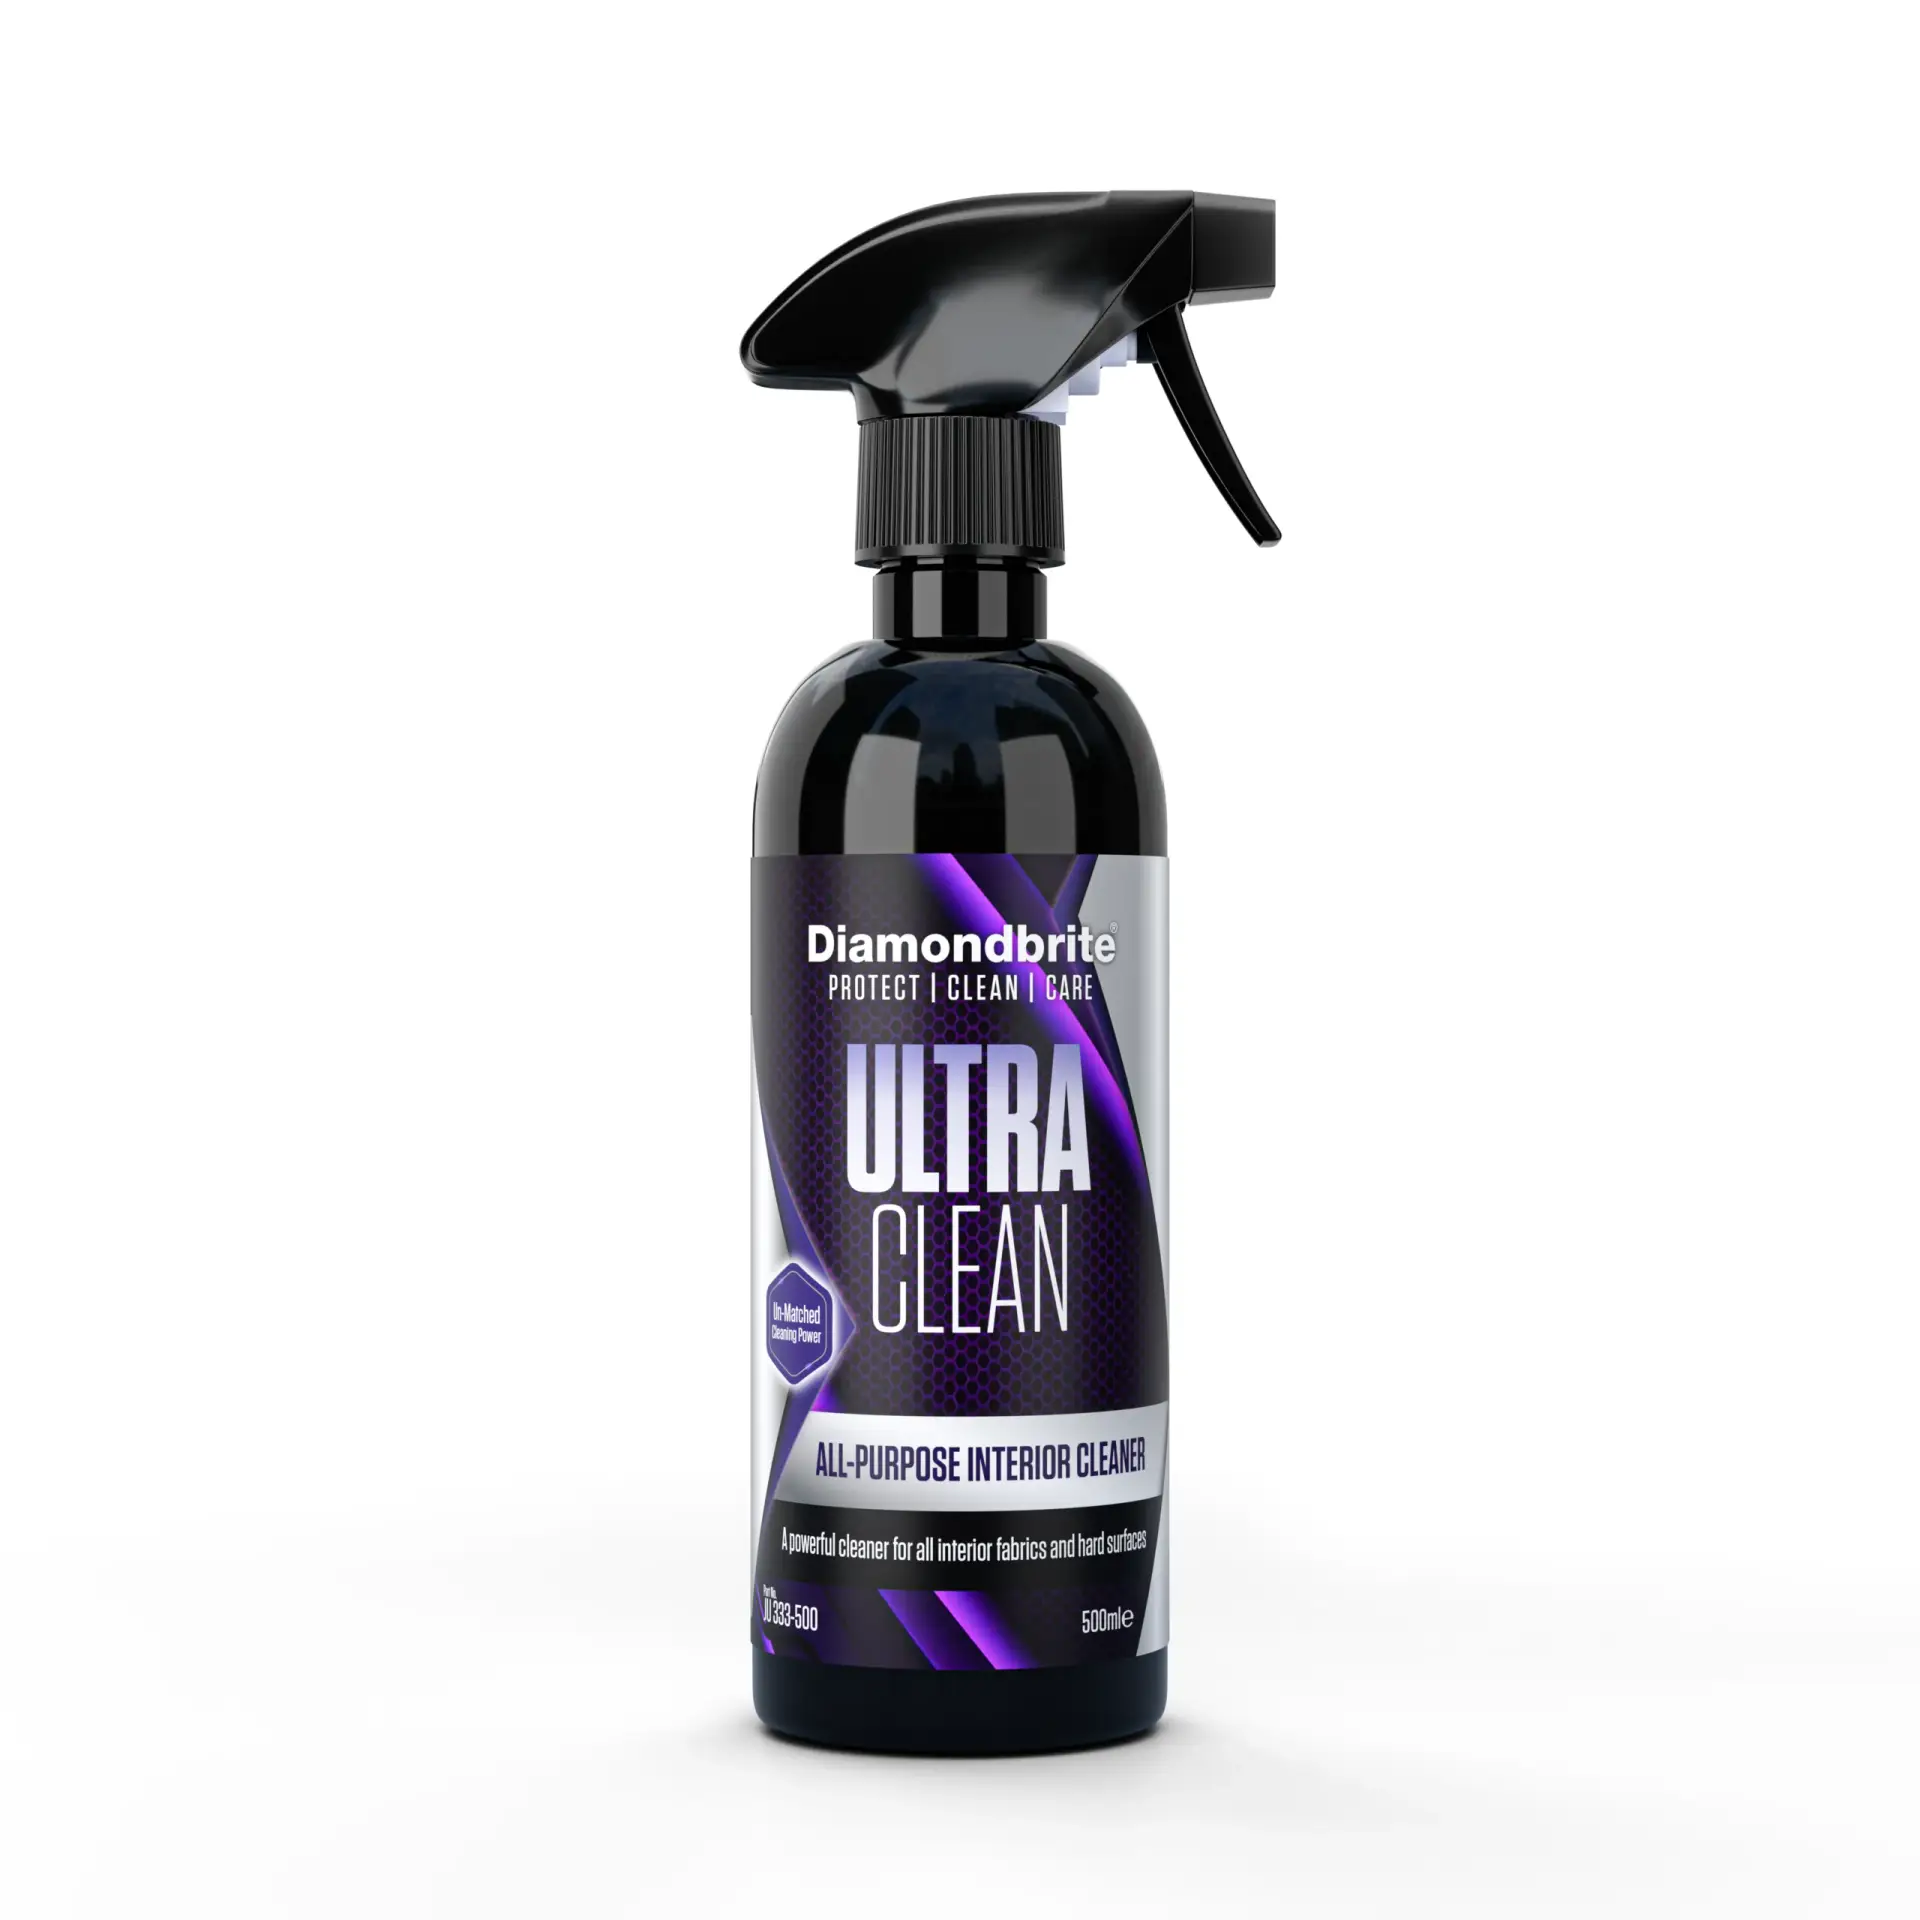
- Diamondbrite Ultra Clean interior cleaner. This all-purpose interior cleaner is pH-balanced for automotive substrates and safe on plastic, vinyl, and trim — a reliable step up from household alternatives.
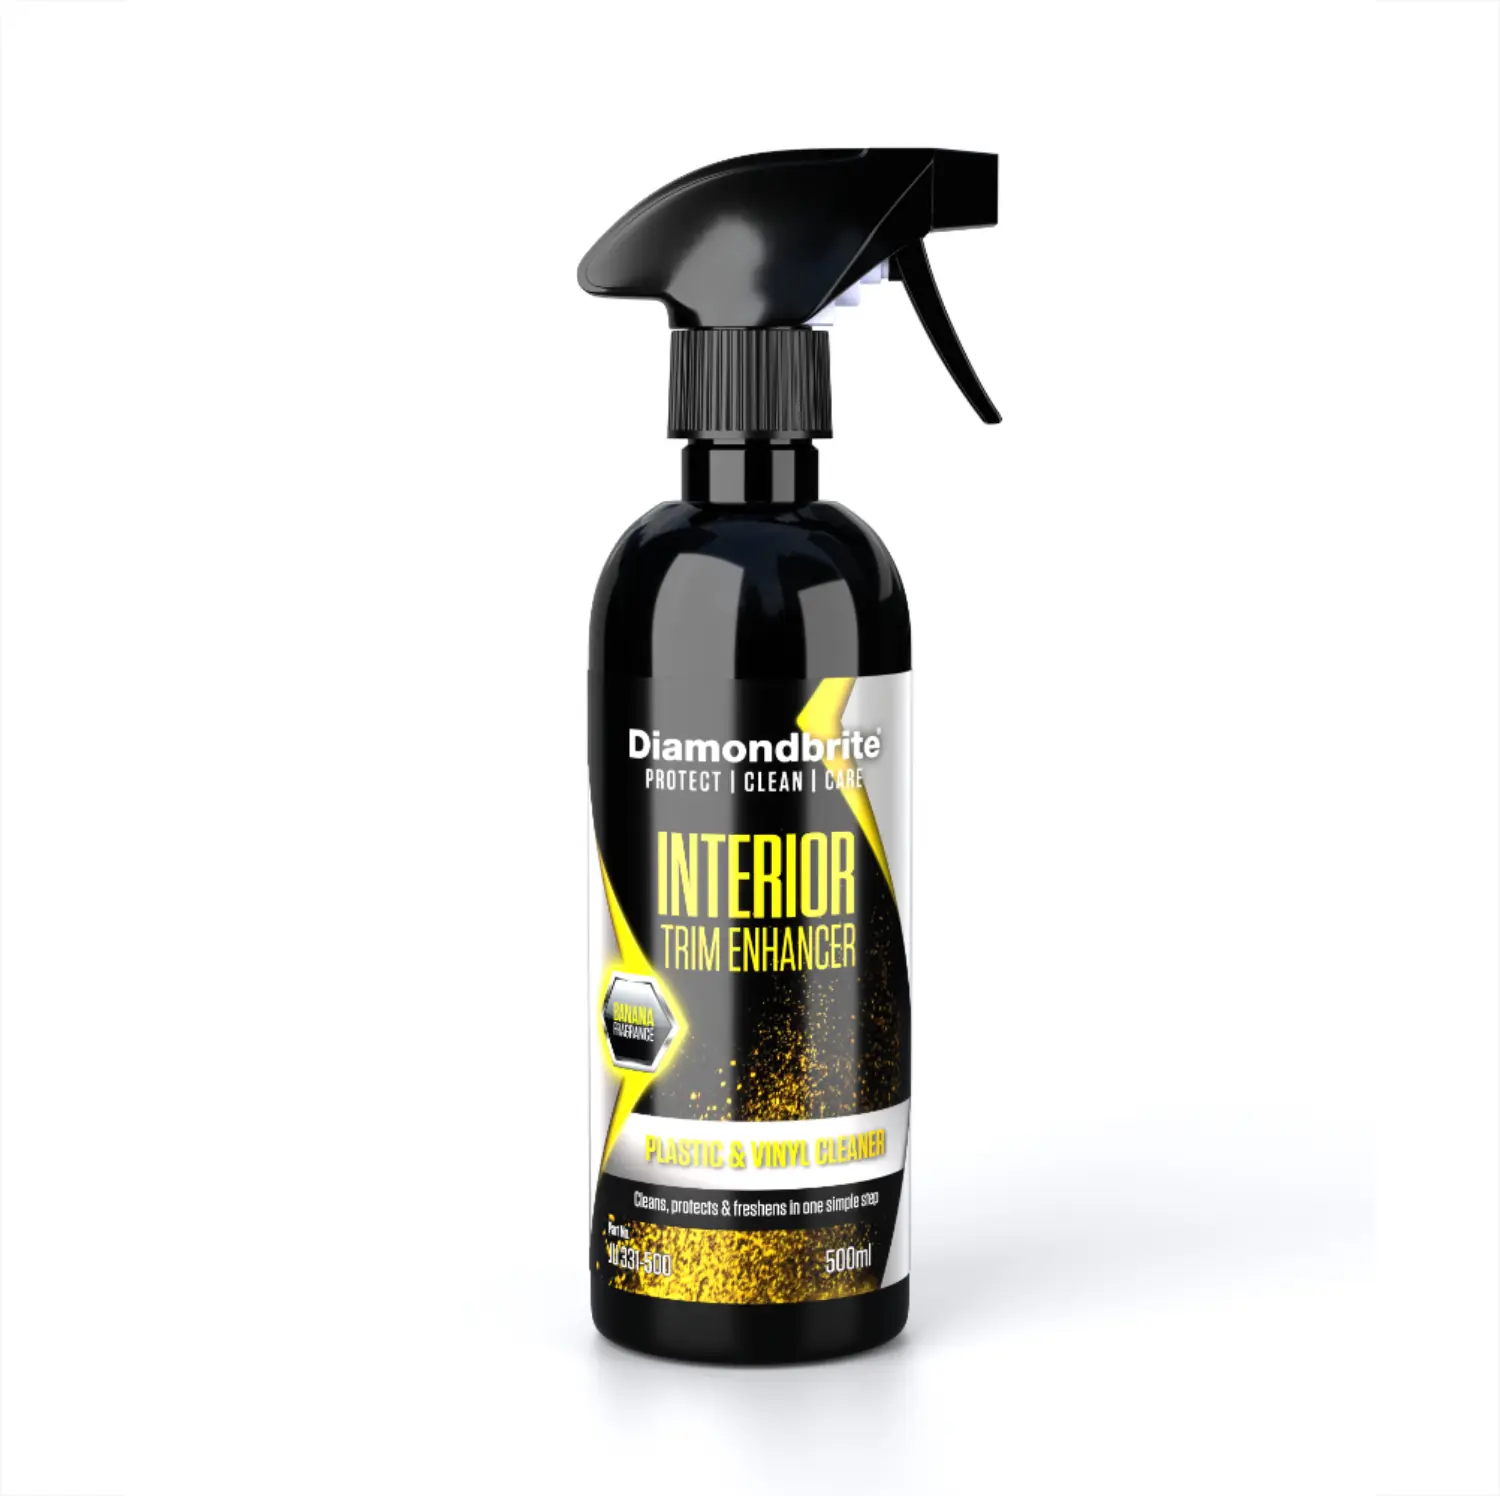
- Diamondbrite Interior Trim Enhancer. Apply after cleaning to restore a controlled satin finish and add UV protection. It is designed to be applied via a cloth or applicator pad, never sprayed directly into the cabin.
How to do a quick five-minute clean that keeps your dashboard dust-free
A consistent quick-clean routine prevents grime from building up and makes deep cleans far less frequent. Professional detailers follow a top-to-bottom, dry-before-wet sequence — and it is the single most effective habit you can adopt for daily or weekly maintenance.
- Declutter. Remove any items from the dashboard and passenger footwell so nothing obstructs your path.
- Dry dust. Use your soft detailing brush to sweep dust from the top of the dash, instrument binnacle, and vents downward. Follow immediately with the vacuum crevice tool to capture what falls.
- Wipe in sections. Spray your interior detailer onto the microfibre cloth (never directly onto the dash), then wipe a 30cm section at a time, working left to right and top to bottom.
- Buff dry. Flip to a fresh face on the cloth and buff each section before moving on. This prevents streaking and lifts any remaining product.
- Light protection. Once the surface is dry, apply a small amount of Interior Trim Enhancer to an applicator pad and work it into the plastic or vinyl panels. This step takes 60 seconds and extends the time before your next clean.
Pro Tip: Keep a dedicated microfibre cloth in the glovebox for a 90-second wipe-down after every journey in dusty or wet conditions. This one habit reduces the need for a full clean by roughly half.
For most UK drivers, a quick clean once a week is enough to maintain a presentable interior. If you park outdoors regularly, aim for twice weekly during autumn and winter when mud and condensation are more prevalent.
How do you remove stubborn grime, grease, and smoke residue?
A deep clean takes 2–3 hours for the full interior and costs a fraction of the £50–£120 a professional valet charges — and the order matters more than the products you spend on. Start with the dashboard and work methodically.
- Test patch first. Apply a small amount of your chosen cleaner to an inconspicuous area (such as the underside of the dash lip) and wait two minutes. If the surface discolours or goes tacky, switch to a milder product.
- Dilute carefully. For light grease or general grime, a 10:1 water-to-soap mix applied to a cloth works well. For heavier deposits, use an automotive all-purpose cleaner (APC) diluted per the manufacturer’s guidance — typically 5:1 to 10:1. Never apply APC at full concentration to plastics.
- Agitate gently. Work the damp cloth or a soft brush in small circular motions over the soiled area. For nicotine staining or sticky residue, allow the product to dwell for 30 seconds before agitating.
- Lift and wipe. Use a clean section of cloth to lift the loosened grime. Avoid scrubbing hard; repeated light passes are safer than one heavy scrub.
- Neutralise. Wipe the area with a cloth dampened with plain distilled water to remove any cleaner residue, then buff dry.
- Protect immediately. Once the surface is fully dry, apply a UV protectant or the Interior Trim Enhancer. Cleaned plastics are more porous and absorb UV damage faster if left unprotected.
Avoid saturating seams, button surrounds, or any area near the instrument cluster. Liquid that seeps behind trim can cause electrical faults that are expensive to trace. Cleaning glass last prevents any interior cleaner mist from settling on the windscreen and creating a haze.
How do you clean air vents, seams, and switches without damaging electronics?
The difference between a basic wipe-down and a genuinely valeted finish is almost always the vents, button surrounds, and seams. Using a soft detail brush while vacuuming simultaneously is the most effective technique for these areas.
- Soft vent brush or detailing brush. Insert the bristles into each vent slat and rotate gently to dislodge compacted dust. Keep the vacuum crevice tool at the vent opening to capture debris as it falls.
- Foam swabs. These reach inside vent slats and around rocker switches where a cloth cannot. Use dry first, then lightly dampened if needed.
- Old soft toothbrush. Run it along seams and around button surrounds to lift embedded grit before wiping.
- Compressed air alternatives. A manual air blower (the type used for camera lenses) works well for dislodging dust from vents without the moisture risk of aerosol cans. If you use a compressed air can, hold it upright and use short bursts to avoid propellant spray.
Never spray any liquid cleaner directly into a vent or onto a switch panel. Spray onto the swab or brush instead, and use the minimum amount needed. Dry agitation followed by microfibre capture is the safest sequence for electronics-adjacent areas.
What cleaning approach suits your dashboard material?
| Material | Recommended cleaner | Finish to aim for | Key caution |
|---|---|---|---|
| Plastic / vinyl | pH-neutral interior detailer or diluted mild soap | Matte or satin | Avoid alcohol and harsh solvents; they strip plasticisers |
| Leather | Dedicated leather cleaner, then leather conditioner | Natural sheen | Do not soak; excess moisture causes cracking over time |
| Faux leather / leatherette | Gentle pH-neutral cleaner | Low sheen | Avoid high heat and abrasive cloths |
| Black textured plastic | Distilled water and microfibre, or pH-neutral detailer | Matte | Tap water leaves mineral spots; avoid high-gloss silicone dressings |
Professional detailers recommend keeping a matte or satin finish rather than a high-gloss “wet look” on dashboards. A glossy surface reflects into the windscreen and creates glare, which is a genuine safety concern on sunny days. It also attracts more dust, meaning you clean more often.
What products should you never use on a car dashboard?
Some of the most common household products cause lasting damage to dashboard materials, and the harm is often invisible until it is too late.
WD-40, silicone-heavy dressings, ammonia-based cleaners, and standard household degreasers are all poor choices for dashboard surfaces. WD-40 leaves a greasy film that attracts dust, outgasses in a warm cabin, and creates windscreen haze. Silicone dressings produce the glossy “wet look” that causes glare and, over time, dries out the plasticisers in vinyl, leading to cracking. Ammonia strips anti-glare coatings from infotainment screens and damages window tint.
Beyond product choice, a few practical safety habits protect both the interior and you:
- Always work with at least one window open to avoid inhaling product vapour.
- Switch off the ignition and, for deep cleans, disconnect any USB devices from the infotainment system before wiping near screens.
- Never soak seams or gaps around the instrument cluster; water ingress can cause corrosion on connectors.
- Avoid ammonia-based glass cleaners on interior glass; use a dedicated automotive glass cleaner and clean the windscreen last.
Household multi-surface sprays are tempting because they are already in the cupboard, but most contain fragrances and surfactants that leave a residue on plastics. That residue attracts dust and, under UV exposure, accelerates surface fading.
How do you protect your dashboard and keep it clean longer?
The best long-term approach is simple: clean first, then protect with a water-based or ceramic interior protectant that leaves a matte or satin finish. Dedicated interior protectants help preserve plastic and vinyl by shielding the plasticisers that keep these materials supple, and they provide a UV barrier that household products cannot match.
| Protectant type | Finish | UV protection | Dust attraction | Longevity |
|---|---|---|---|---|
| Water-based protectant | Matte / satin | Good | Low | 4 weeks |
| Oil / silicone dressing | High gloss | Moderate | High | 2–4 weeks |
| Interior ceramic coating | Matte or satin | Excellent | Very low | 6–12 months |
A realistic maintenance schedule for UK drivers:
- Daily / after each journey: Quick wipe with a dry microfibre if dusty or damp.
- Weekly: Five-minute spray-and-wipe with a pH-neutral interior detailer.
- Monthly: Light clean of vents, seams, and switches; check protectant condition.
- Every 3–6 months: Reapply a water-based protectant. If you park outdoors year-round, lean toward the shorter interval.
- Every 6–12 months: Consider an interior ceramic coating for longer-lasting UV defence, particularly on vehicles with dark dashboards that absorb more heat.
Fitting a windscreen sunshade when parked outdoors is one of the most cost-effective protective steps you can take. It reduces cabin temperature significantly, slowing UV degradation and reducing the frequency at which protectant needs reapplying.
Can you repair minor scratches and restore faded dashboard plastic?
Light surface scratches and faded trim are common on older vehicles, but many can be improved at home without professional help.
- Clean the area thoroughly before any repair attempt. Applying a scratch filler or polish over contaminated plastic traps dirt and worsens the result.
- For light scratches on gloss or semi-gloss plastic: Apply a small amount of plastic polish to a foam applicator and work in small circular motions. Wipe clean with a microfibre cloth. This removes fine surface marks without affecting the surrounding material.
- For matte or textured plastic: Avoid polish. Instead, use a trim restorer or colour-matched plastic dye applied sparingly with a foam applicator. Work in thin layers, allowing each to dry before adding the next.
- For faded trim: Clean, then apply a trim dye or colour restoration product designed for automotive plastics. Follow with a UV protectant to slow re-fading.
- Assess the damage honestly. If a scratch has penetrated through to the substrate, or if the plastic has become brittle and cracked rather than simply faded, a cosmetic product will not hold. At that point, professional repair or panel replacement is the more durable solution.
Pair any restoration work with a preventive maintenance routine to slow the return of fading — UV protection applied consistently after each clean is what makes the difference between a one-off fix and a lasting result.
Why a dedicated automotive interior cleaner outperforms household products
Household cleaners are formulated for kitchen worktops and bathroom tiles, not for the mix of plastics, vinyl, leather, and electronics inside a car cabin. A dedicated automotive interior cleaner is pH-balanced for these substrates, free from the harsh surfactants that strip plasticisers, and designed to leave no residue that attracts dust.
Diamondbrite’s Ultra Clean All Purpose Interior Cleaner is formulated specifically for automotive interiors. It works on plastic, vinyl, fabric, and trim without leaving a greasy film, and it is available directly from the Diamondbrite online shop for UK delivery.
- Ultra Clean interior cleaner: Safe on all common dashboard materials; apply to a microfibre cloth, not directly to the surface, and wipe in sections.
- Interior Trim Enhancer: Restores a controlled satin finish to faded or cleaned trim; provides UV protection and reduces dust adhesion. Apply with an applicator pad after cleaning.
Pro Tip: Apply the Interior Trim Enhancer to a foam applicator pad rather than spraying it near the instrument cluster. This gives you precise control and keeps product away from screens and switches.
Both products are made in Britain and are part of Diamondbrite’s wider ceramic car care range, which has protected over two million vehicles since 1991.
The simplest long-term strategy is the one you will actually stick to
The car owners who maintain the best-looking interiors are rarely the ones who buy the most products. They are the ones who wipe down the dash after every few journeys, apply a matte protectant once a month, and never reach for a household cleaner when a proper interior detailer costs little more. Choosing a water-based or ceramic protectant over a silicone dressing is a small decision that pays off over years: less glare, less cracking, and a cabin that holds its resale value noticeably better. A clean, well-protected dashboard is one of the first things a buyer notices, and one of the easiest things to maintain.
Diamondbrite interior care: trusted UK-made products for your dashboard
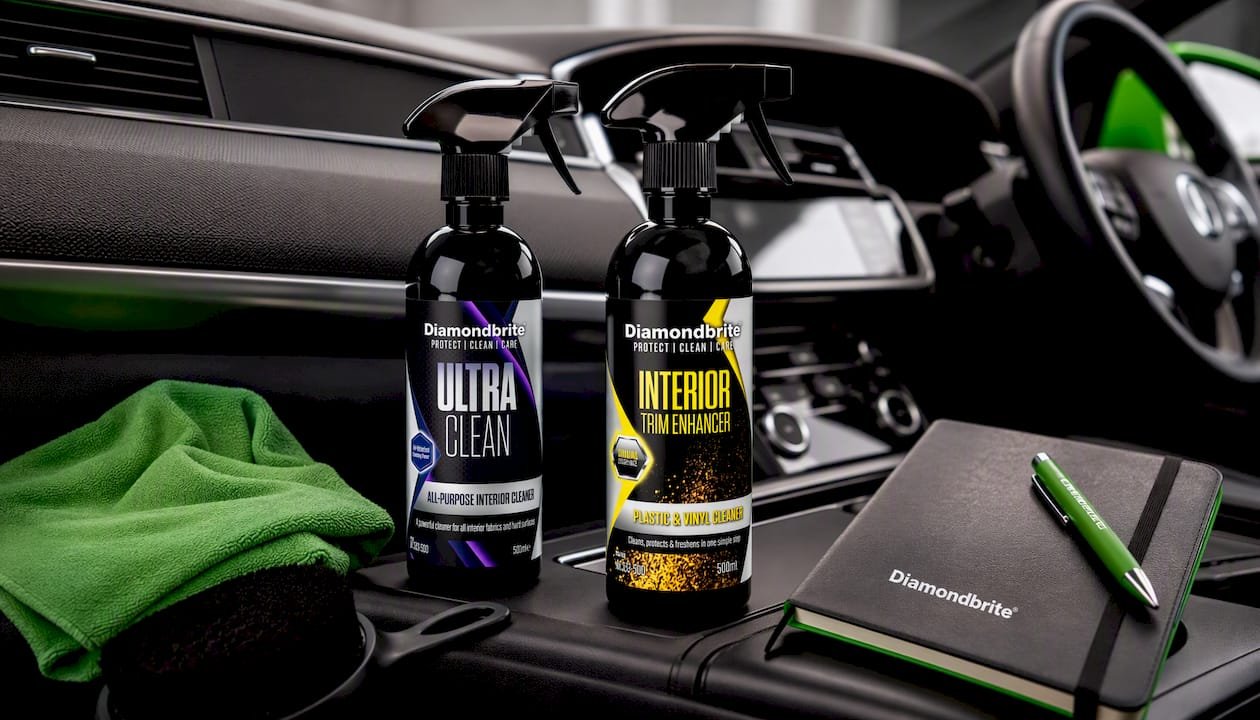
Diamondbrite has been developing car care chemistry in Loughborough since 1991, and the interior range reflects that same commitment to material compatibility and long-term protection. The Ultra Clean All Purpose Interior Cleaner and Interior Trim Enhancer are both available from the Diamondbrite online shop with delivery to UK addresses.
Both products are pH-balanced for automotive substrates, free from harsh solvents, and designed to preserve a matte or satin finish rather than the high-gloss look that causes windscreen glare. The ceramic-infused chemistry in the trim enhancer provides durable UV protection that water-based household alternatives cannot replicate. Visit Diamondbrite to order directly and have professional-grade interior care delivered to your door.
Sources
- How To Deep Clean Your Car Interior: UK Guide (2026)
- What to clean your car dashboard with Pro Detailing Guide
- Interior car cleaning: the complete UK guide to a spotless cabin
- How to clean your car interior — RAC
- Startrescue
FAQ
What is the best thing to use to clean a car dashboard?
A pH-neutral automotive interior detailer applied to a high-GSM microfibre cloth is the safest and most effective option for most dashboard materials. For light soil, a 10:1 water-to-mild-soap mix works as a low-cost alternative, though a dedicated product like Diamondbrite’s Ultra Clean interior cleaner provides better material compatibility and leaves no residue.
How can I make my car dashboard look new again?
Clean the surface thoroughly with a pH-neutral detailer, then apply a trim restorer or colour restoration product to faded areas, and finish with a UV protectant or Interior Trim Enhancer to lock in the result. Consistent UV protection after each clean is what prevents the fading from returning quickly.
How do you clean a black plastic dashboard without leaving marks?
Use distilled water rather than tap water to avoid mineral spotting, and apply your cleaner to the cloth rather than directly to the surface. Buff dry immediately with a clean microfibre face, and avoid silicone or high-gloss dressings, which show fingerprints and attract dust on dark textured plastics.
Can I use WD-40 to clean my car dashboard?
No. WD-40 is not recommended for dashboards because it leaves a greasy residue, outgasses in a warm cabin creating windscreen haze, and provides no UV protection. Use a dedicated pH-neutral automotive interior cleaner instead.
