

Use a pH-safe, dedicated bug remover and a soak-first technique — never scrub dry residue, to lift fresh insect splatters without risking your clear coat. Insects are acidic and their remains bond chemically with paintwork within hours, so speed matters as much as method.
Right now, do this:
Rinse the affected panels with clean water to flush loose grit.
Apply a pH-safe bug remover or thick wash suds directly to the splatter.
Lay a damp microfibre cloth over the area and leave it to dwell for the time stated on the label.
Lift the residue with a clean, soft microfibre using gentle, straight-line strokes.
Rinse thoroughly and dry with a fresh cloth.
Pro Tip: Work on cool panels in the shade. Chemicals dry faster on hot paintwork, which can leave residue and increase the risk of staining. Wear disposable gloves throughout.
Key takeaways
Prompt, pH-safe bug splatter removal using a soak-first technique protects your clear coat and prevents costly paint correction.
| Point | Details |
|---|---|
| Soak before you wipe | Apply bug remover and dwell before touching the paint — never scrub dry residue. |
| Use pH-safe products | Look for paint-safe or pH-neutral labelling; avoid household cleaners on automotive surfaces. |
| Escalate carefully | For baked-in marks, move from extended soak to clay mitt to mild polish before considering a professional. |
| Protect the finish | Wax, sealant, or ceramic glaze reduces bonding and makes future removal quicker and safer. |
| Diamondbrite for removal and protection | Lift Off Citrus Blast and Tar Away cover both fresh and stubborn deposits; ceramic products protect long-term. |
Table of Contents
- What kit do you need for safe bug splatter removal?
- How do you remove bug splatter from car paint step by step?
- What should you do about baked-in or aged splatters?
- How to protect your paint so bugs are easier to remove next time
- Disposing of cleaning materials responsibly
- Why timely removal is the most cost-effective choice
- Diamondbrite products for bug removal and paint protection
- Sources
- FAQ
What kit do you need for safe bug splatter removal?
Having the right tools ready means you spend less time fussing and more time protecting your finish. Here is what to gather before you start:
- pH-safe bug remover — the foundation of paint-safe insect removal.
- Microfibre towels (at least two: one for applying, one for drying) — soft enough for clear coat.
- Soft wash mitt — for the main wash stage.
- Two buckets with Grit Guards — the two-bucket method keeps dirty water away from your paint.
- Spray bottle — useful for re-wetting panels or diluting product.
- Detailing clay or synthetic clay mitt — optional, for bonded or embedded residue.
- Tar Away Tar & Glue Remover — for resinous or sticky deposits that a standard bug remover won’t shift.
- Disposable gloves — protect your skin from prolonged chemical contact.
Avoid household cleaners and abrasive pads entirely. They strip protective coatings and can damage plastic trim and rubber seals, leaving you with a bigger problem than the bugs.
Pro Tip: Keep a small travel kit in your boot: a few pre-moistened detailing wipes or a 100ml spray of bug remover. A quick roadside wipe on a fresh splatter takes seconds and saves your clear coat.
How do you remove bug splatter from car paint step by step?
Softening the residue before you touch the paint is the single most important principle here. Scrubbing dry insect matter drags abrasive particles across your clear coat and creates fine scratches. Follow these steps in order:
- Pre-rinse the panel. Use a hose or pressure washer on a low setting to flush away loose grit and debris. This alone prevents most swirl marks.
- Apply your bug remover. Spray generously onto the affected area, or load a wash mitt with thick, sudsy water. Cover the splatter completely.
- Dwell. Lay a damp microfibre cloth over the product to keep it wet and working. Follow the dwell time on your product label — typically 1–3 minutes for fresh splatters.
- Lift gently. Using a clean section of your soft mitt or a fresh microfibre, wipe in straight lines. Never use circular motions, which concentrate pressure and create swirl marks.
- Rinse the panel. Flush away all product and loosened residue with clean water.
- Wash as normal. Use the two-bucket method with a pH-safe shampoo and your soft wash mitt, working panel by panel.
- Dry thoroughly. Pat dry with a clean microfibre rather than dragging it across the surface.
Stop immediately if you feel dragging or hear a faint scraping sound. That sensation means residue is still bonded and you risk scratching the clear coat. Re-apply product, wait another minute, then try again with a fresh section of cloth.
Surface-specific notes:
- Windscreens and glass: A microfibre buff works well. Avoid abrasive glass cleaners that leave streaks.
- Painted panels: Soak generously; glide, never scrub.
- Plastic trim and headlights: Test your product on a small hidden area first — some solvents can dull certain plastics.
Modern bug and tar removers mean the whole job should take only a few minutes when the product is used correctly and promptly.
What should you do about baked-in or aged splatters?
When insect residue bakes onto paintwork in warm weather, it undergoes chemical etching — the acids and enzymes literally begin to dissolve the clear coat. Bug residue left too long can etch the clear coat and may require professional polishing or paint correction to address properly.
The home escalation ladder
Work through these stages in order, stopping as soon as the mark lifts:
- Extended soak. Apply bug remover and leave it for the maximum dwell time on the label. Cover with a damp cloth to prevent drying.
- Dedicated tar or bug remover. For resinous or sticky deposits, switch to a purpose-made tar remover and follow the label precisely.
- Synthetic clay mitt with lubricant. A synthetic clay mitt with plenty of lubricant is safer and faster for larger areas than a traditional clay bar, lifting bonded contaminants without abrasion.
- Mild polish with a soft pad. A light machine or hand polish can reduce the appearance of shallow etching. Always test on a hidden panel section first.
When to call a professional
Some situations are beyond safe home treatment:
- Persistent etched rings that remain after polishing.
- Visible clear-coat loss or a chalky, dull patch where the splatter was.
- Any area where further polishing would remove too much remaining clear coat.
A professional detailer can assess whether paint correction or a respray is needed. Attempting to polish an already-thin clear coat at home risks breaking through entirely.
How to protect your paint so bugs are easier to remove next time
A protective layer between your clear coat and the environment is the most practical long-term investment you can make. A protective finish reduces bonding of insect residues and makes future cleaning significantly easier.
- Carnauba wax — good entry-level protection; reapply every 6–8 weeks.
- Paint sealant — synthetic polymer protection lasting 3–6 months per application.
- Ceramic glaze or coating — bonds to the clear coat and builds a durable shield against organic acids; reapply per product guidance, typically every 6–12 months.
- Paint protection film (PPF) — physical barrier ideal for high-impact areas such as the bonnet and front bumper.
Keep a maintenance rhythm: wash every 1–2 weeks during summer (when insect activity peaks), reapply wax or sealant on schedule, and top up ceramic protection as directed. On longer motorway journeys, avoid driving at dusk near wetlands or woodland where insect swarms are densest.
When choosing any product, look for pH-neutral or “paint-safe” labelling and always follow the manufacturer’s stated dwell time.
Disposing of cleaning materials responsibly
Bug removers, tar solvents, and contaminated cloths all carry chemical residues that need careful disposal.
Rinse water from washing should not be directed into storm drains where possible. Many UK councils provide guidance on disposing of automotive wash water via the foul sewer rather than surface drainage. Check your local authority’s guidance if you wash on a driveway that drains to the street.
Used microfibre cloths contaminated with solvent-based tar or bug removers should be allowed to dry fully in a ventilated area before disposal in general waste, or laundered separately from household fabrics if the product label confirms they are washable. Never pour solvent residues down a drain or into a garden.
Where a product is labelled as hazardous, follow the disposal instructions on the label and, if in doubt, take it to your local household waste recycling centre.
Why timely removal is the most cost-effective choice
There is a temptation to leave a bug-splattered bonnet until the next scheduled wash. Having seen what acidic insect residue does to clear coat over even a few warm days, that temptation is worth resisting firmly.
Paint correction is expensive and time-consuming. A tube of bug remover and five minutes of careful work costs a fraction of a professional polish, let alone a respray. The chemistry is straightforward: the longer organic acids sit on a clear coat, the deeper they etch. Prevention and prompt action are not just good habits — they are genuinely cheaper than the alternative.
Diamondbrite’s formulations are developed in our Loughborough lab specifically for British conditions, where summer motorway driving through insect swarms is a real and recurring challenge. Lab-tested, pH-aware products used consistently make the difference between a finish that lasts and one that needs correction.
Diamondbrite products for bug removal and paint protection
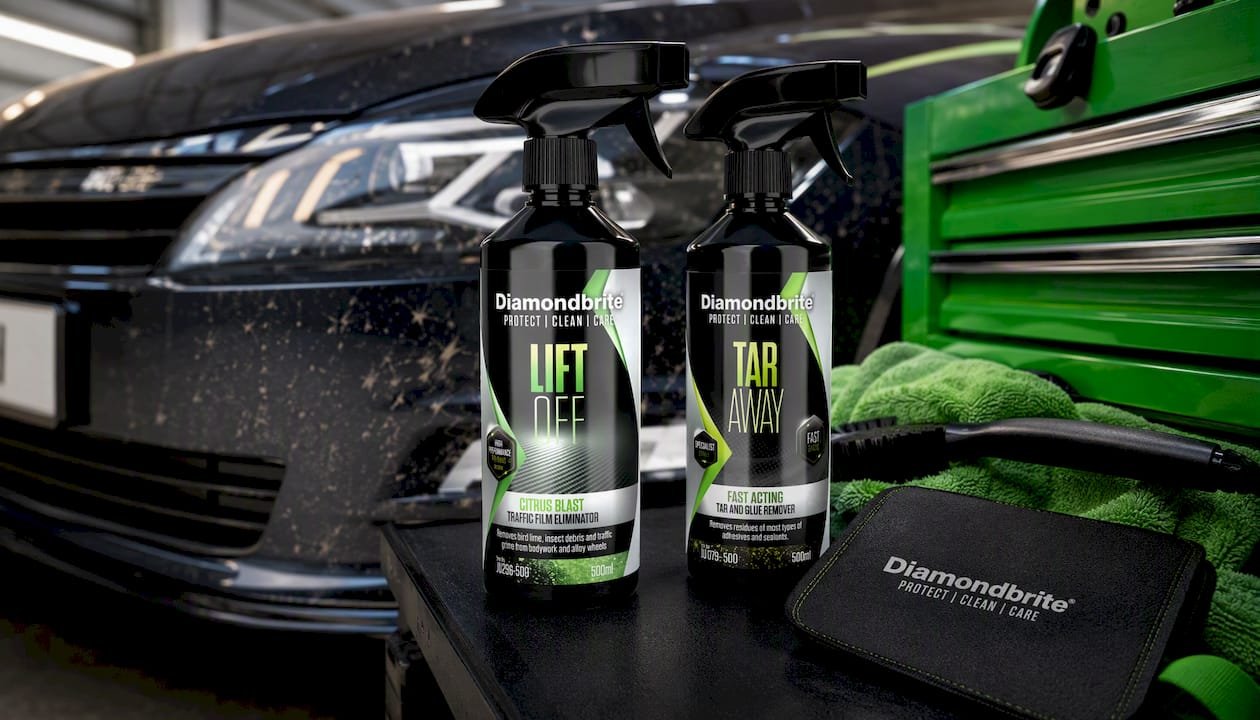
Two Diamondbrite products belong in every UK car owner’s kit for dealing with insect residue and sticky deposits.
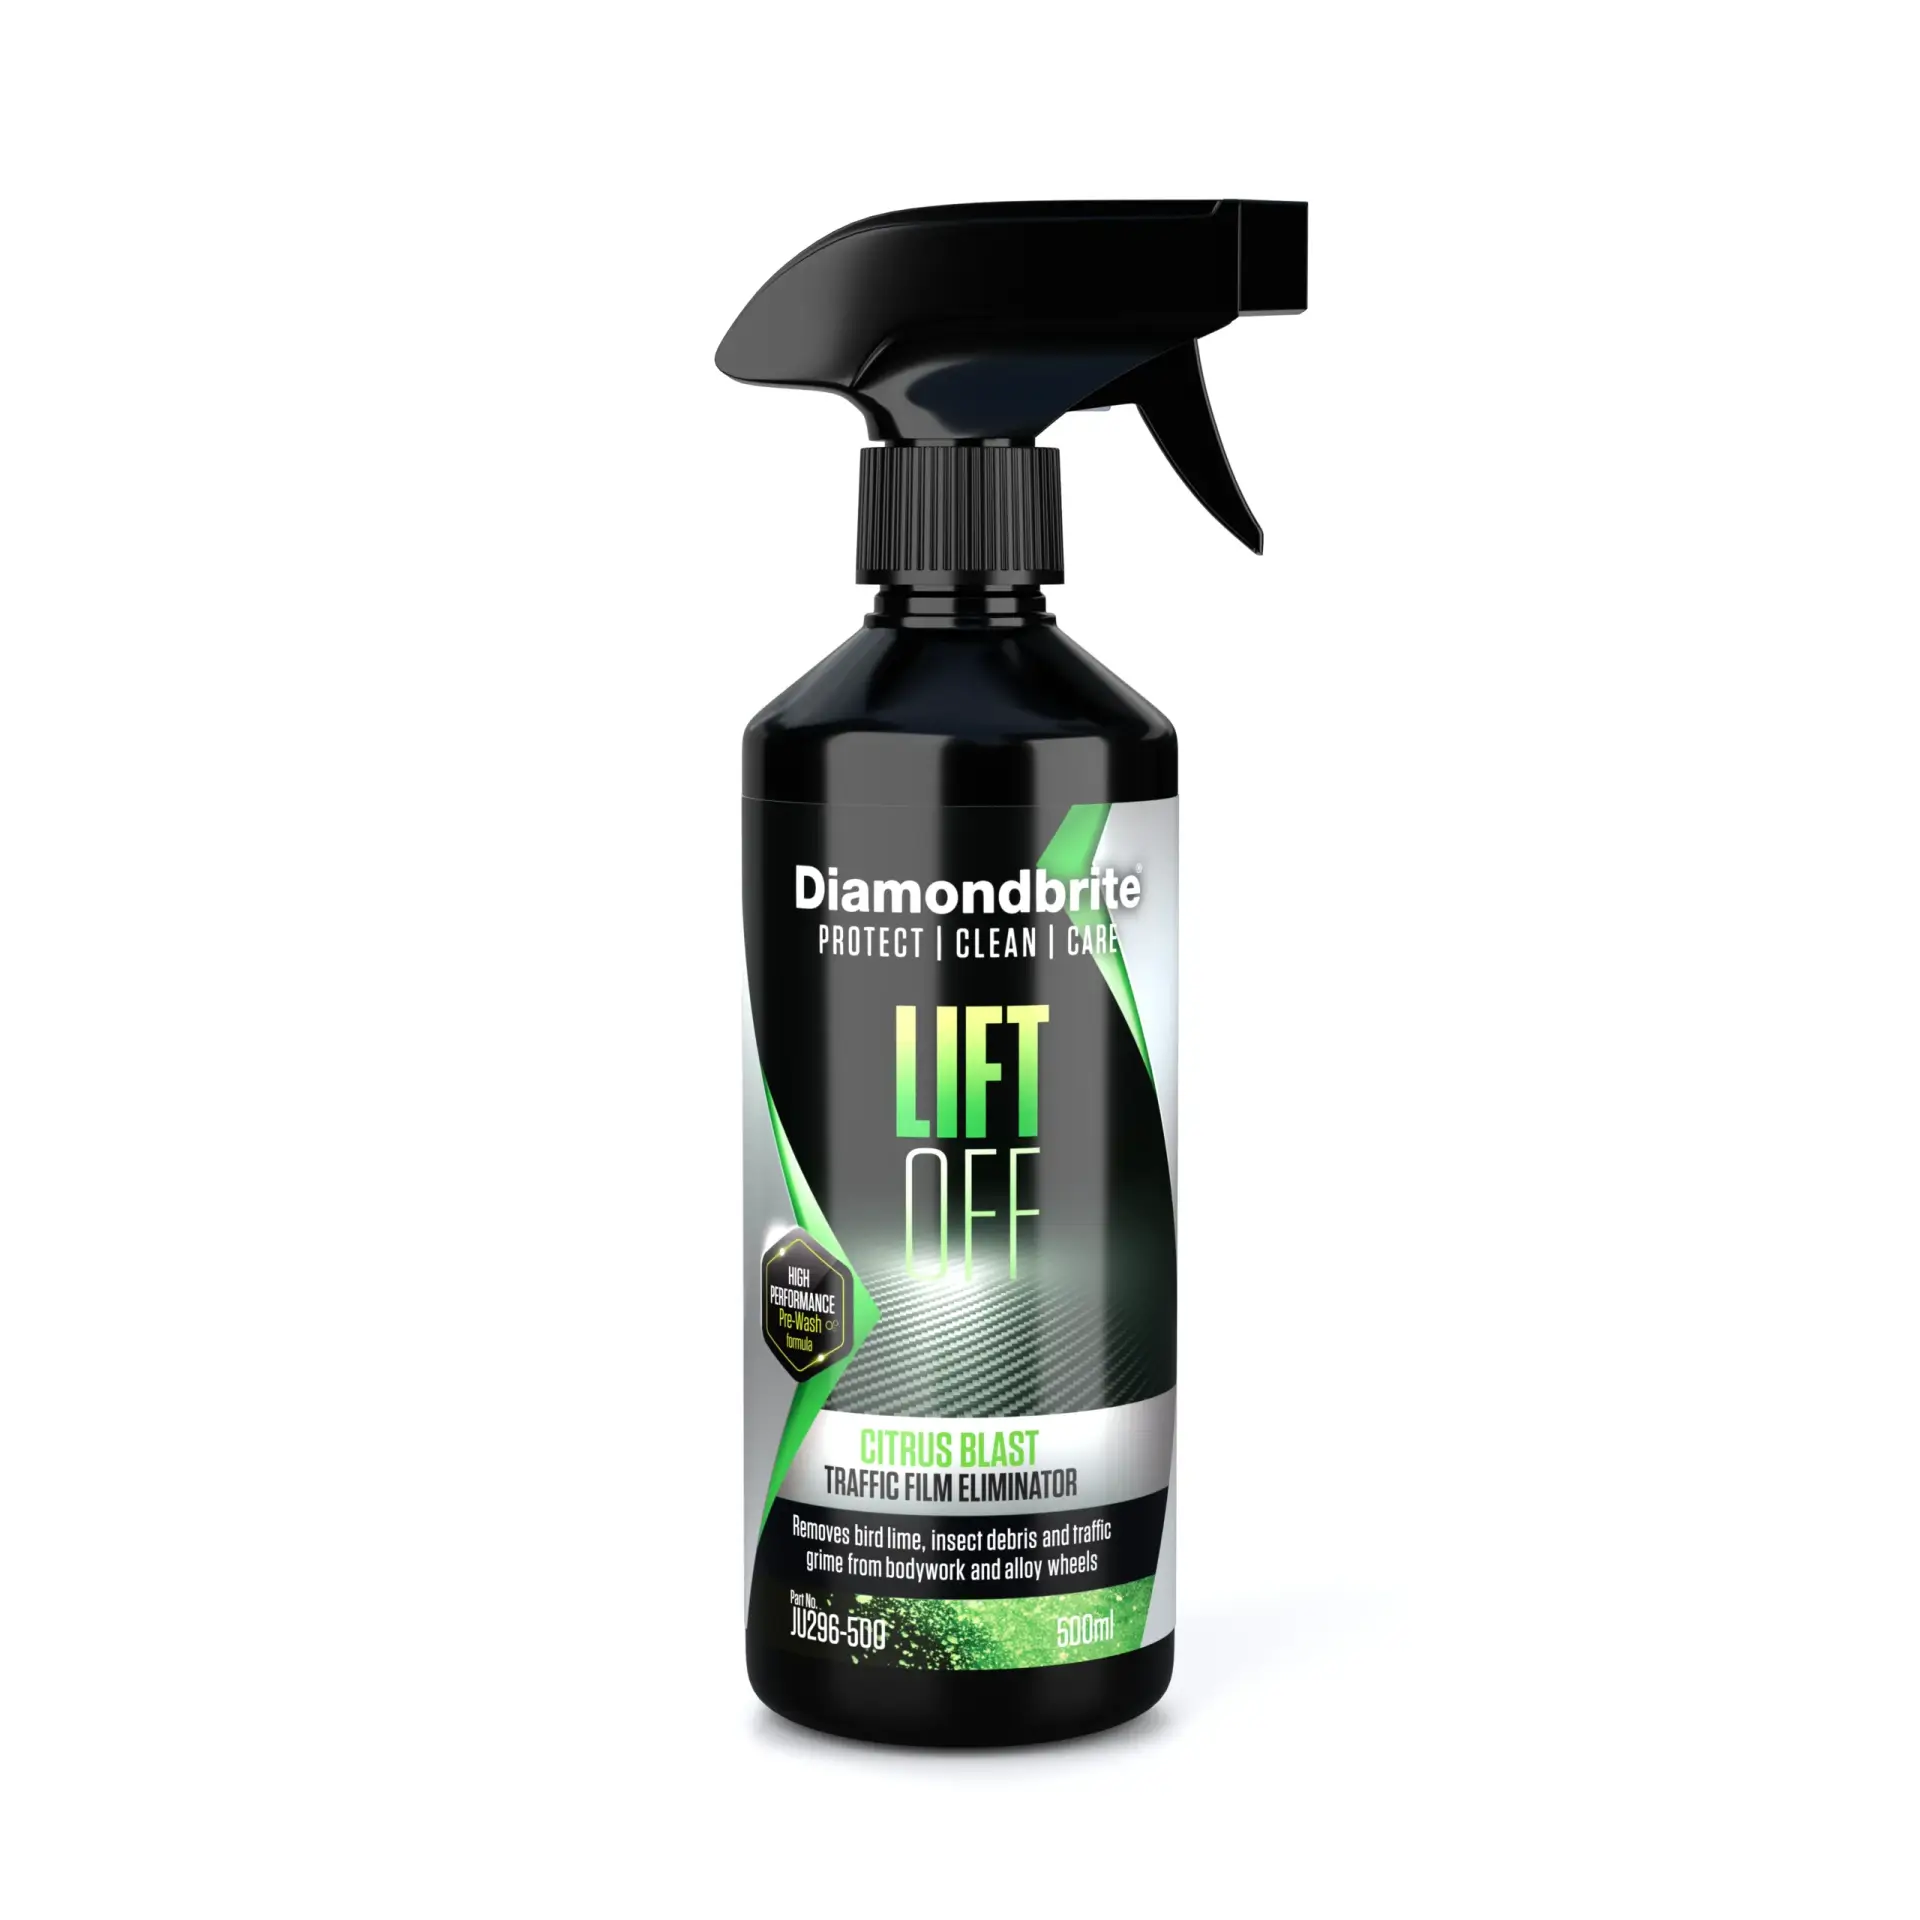
Lift Off Citrus Blast Cleaner is a citrus-based powerful degreaser suited to heavy organic deposits — ideal for a bonnet or bumper caked in motorway insects. Apply to the affected area, allow the dwell time stated on the label, then rinse thoroughly. Safe on painted surfaces when used as directed; always test on a small hidden area on plastic trim before broad application.
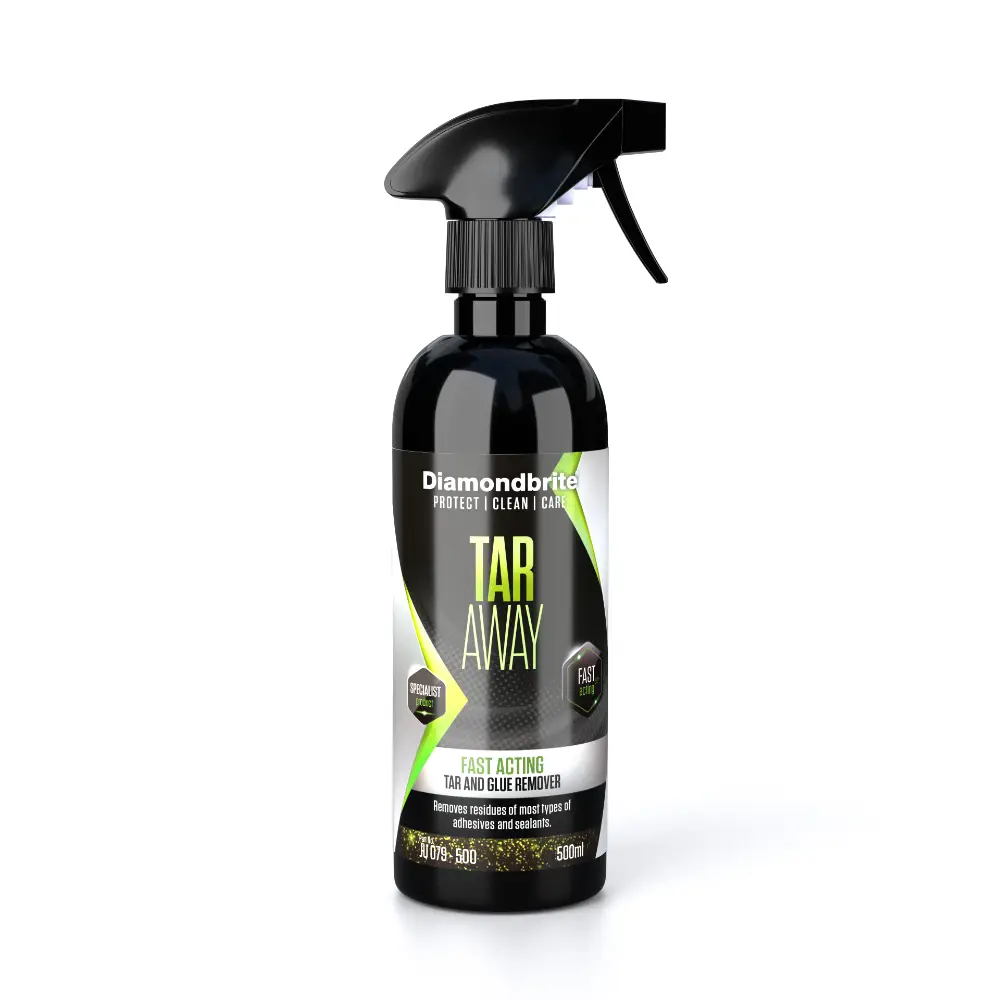
Tar Away Tar & Glue Remover is the escalation tool for resinous, sticky, or particularly stubborn residue that a standard bug remover won’t fully shift. Spray on, follow the label dwell time, and wipe away with a clean microfibre. Test on a hidden spot before use on plastic or rubber trim.
Both products are available individually or as part of bundles at the Diamondbrite shop. Browse the full range for ceramic protection products that make future bug removal even simpler.
Sources
- How to remove bugs from your car – Halfords
- How to remove bugs from car without damaging paint
- How Do You Remove Bug Stains, Splatter, and Insect Damage from Car Paint Without Scratching It? – AutoDetailPedia
- Why should I clean bug and bird debris off my car?
FAQ
How do you get rid of bug splatter without scratching the paint?
Soak the splatter with a pH-safe bug remover and allow the recommended dwell time before gently wiping with a soft microfibre in straight lines. Scrubbing dry residue is the main cause of scratches during insect removal.
Can you use WD-40 to remove bugs from a car?
WD-40 can loosen some insect residue, but it is not formulated as a paint-safe automotive cleaner and leaves an oily film that attracts dirt. Using a dedicated bug remover is safer for your clear coat and more effective on acidic insect deposits.
What is the best thing to use on a bug-covered windscreen?
A dedicated bug remover or a microfibre cloth dampened with a pH-safe glass cleaner works well on windscreens. Apply, allow a short dwell, then buff in straight lines with a clean microfibre for a streak-free result.
What do professional detailers use to remove bugs?
Detailers typically use a dedicated pH-safe bug and tar remover as a pre-soak, followed by a two-bucket wash and, for stubborn bonded residue, a synthetic clay mitt with lubricant — the same escalation approach recommended throughout this guide.
