

Ceramic coating maintenance comes down to one repeatable routine: wash every 2–4 weeks with a pH-neutral shampoo using a snow foam pre-wash and the two-bucket method, dry with a plush microfibre towel, apply a ceramic topper every 6–12 weeks, and schedule a deep decontamination when beading starts to flatten. Get those four habits right and a professionally applied coating can last years rather than months.
Do this now:
- Do: apply a snow foam pre-wash before any contact with the paint to lift loose grit safely
- Do: use a dedicated pH-neutral shampoo and keep a separate wash mitt for wheels
- Don’t: use an automatic car wash, a waxed shampoo, or any alkaline degreaser on a coated car
Key takeaways
Consistent, low-abrasion maintenance with pH-neutral products and a periodic SiO2 topper is the most reliable way to preserve a ceramic coating’s hydrophobic performance and extend its working life.
| Point | Details |
|---|---|
| Wash cadence | Wash every 2–4 weeks using a pH-neutral shampoo and the two-bucket method. |
| Safe product choice | Use pH-neutral, wax-free shampoos; apply an SiO2 ceramic topper every 6–12 weeks. |
| Deep decontamination | Schedule a full decon every six months, or sooner when beading flattens or the surface feels rough. |
| Curing window | Avoid washing for the first seven days after a new coating is applied. |
| Diamondbrite routine | Diamondbrite Ceramic Shampoo and Ceramic Glaze cover the monthly wash and periodic topper steps. |
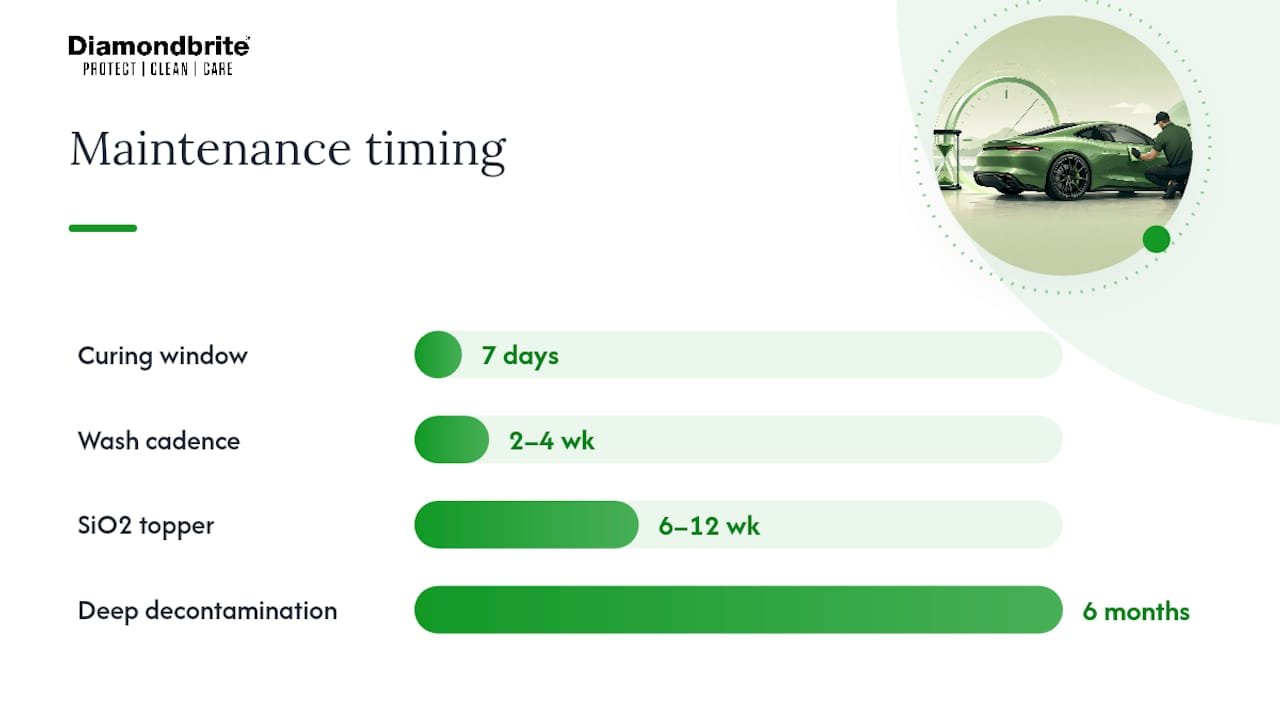
Table of Contents
- What does a safe ceramic coating maintenance wash look like?
- Which products are safe to use on a ceramic-coated car?
- How often should you wash and top up a ceramic coating?
- When does your coating need a deep decontamination?
- How should you use a pressure washer on a ceramic-coated car?
- Common mistakes that shorten your coating’s life
- The Diamondbrite recommended maintenance routine
- Why less is more with ceramic coatings
- Diamondbrite products that fit your maintenance routine
- Sources
- FAQ
What does a safe ceramic coating maintenance wash look like?
A proper wash sequence protects the coating’s hydrophobic layer every single time. Skip steps and you introduce swirl marks, strip the SiO2 chemistry, or grind contamination into the surface. Follow this order every wash.
Step-by-step wash routine
- Rinse the car with a pressure washer on a wide-fan nozzle to knock off loose dirt before anything touches the paint.
- Apply snow foam from a foam lance, working roof to sills. Let it dwell for 3–5 minutes, then rinse fully. On heavily soiled lower panels, follow with a citrus pre-wash and a second rinse.
- Set up two buckets with grit guards: one filled with your wash solution, one with clean rinse water. Load your microfibre wash mitt from the wash bucket, work one panel at a time from top to bottom, then rinse the mitt in the clean bucket before reloading.
- Use a separate mitt for wheels. Brake dust and road grime carry ferrous particles that will contaminate your paint mitt instantly.
- Rinse the whole car again with the pressure washer before the shampoo dries on the surface.
- Dry immediately using a large, plush microfibre drying towel. Pat or drag gently; never press hard. A low-pressure air blower is even safer if you have one.
Equipment checklist:
- Pressure washer with foam lance (e.g. a domestic Kärcher K 2 Power Control is well-suited for home use)
- 2–3 buckets with grit guards
- Dedicated microfibre wash mitts (minimum two: one for paint, one for wheels)
- Plush microfibre drying towels or a blower
- pH-neutral car shampoo
Pro Tip: Set up a physical work zone before you start. Place your wheel bucket on the ground away from your paint buckets so there is zero chance of grabbing the wrong mitt mid-wash. It takes 30 seconds to arrange and prevents the most common source of swirl marks.
Which products are safe to use on a ceramic-coated car?
Chemistry matters more than brand loyalty here. The wrong product does not just fail to clean; it actively degrades the coating’s performance.
Safe choices:
- pH-neutral car shampoos (pH 6–8): these clean without attacking the SiO2 layer. Avoid anything marketed as a “gloss enhancer” or “wax-infused” shampoo; those deposit incompatible films over the coating.
- Ceramic-safe SiO2 boosters and toppers: these refresh the hydrophobic layer between full washes. Waxes applied over a ceramic coating can mask its performance and should be avoided entirely; a dedicated SiO2 topper is the correct choice.
- Iron fallout removers and tar removers: safe for periodic decontamination when used as directed.
Products to avoid:
- Dish soap or kitchen detergents (highly alkaline, strip the coating rapidly)
- Alkaline degreasers above pH 9
- Abrasive polishes or compound cleaners (these remove the coating, not just contamination)
- Clay bars on coated paint unless carried out by a professional detailer
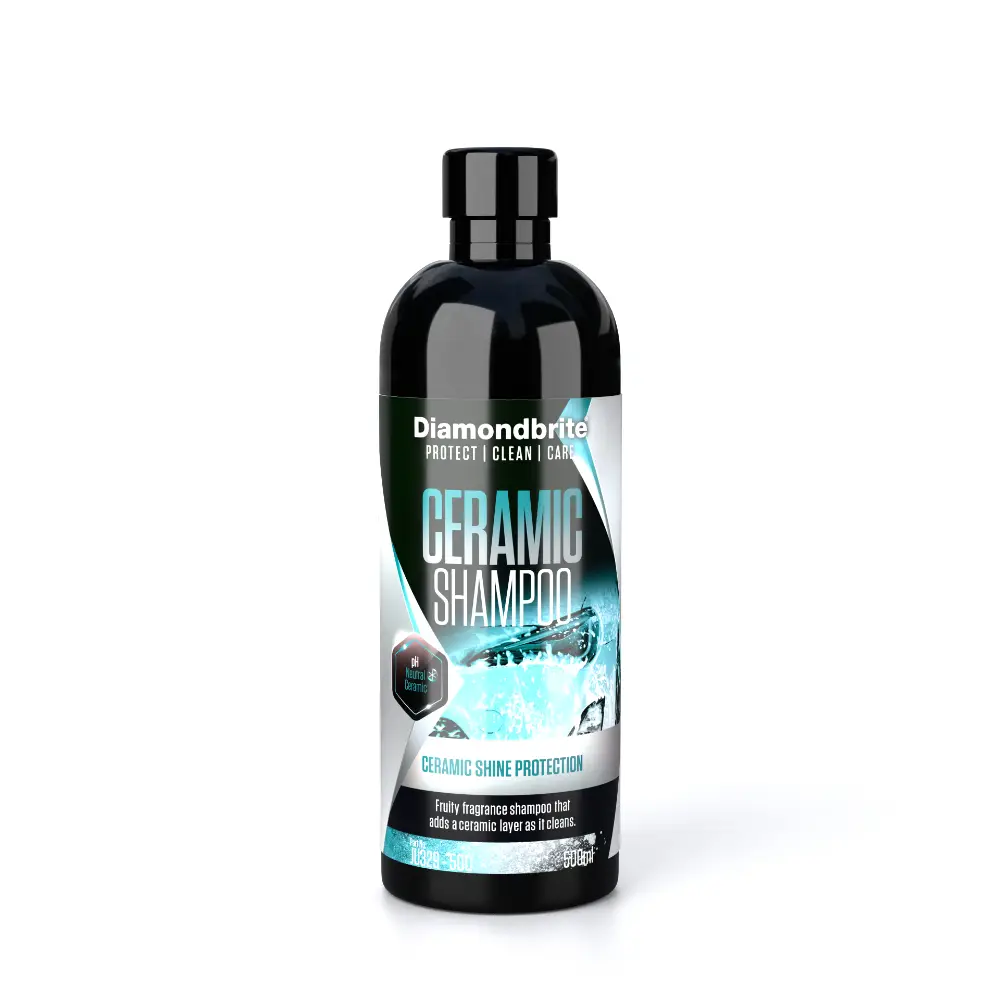
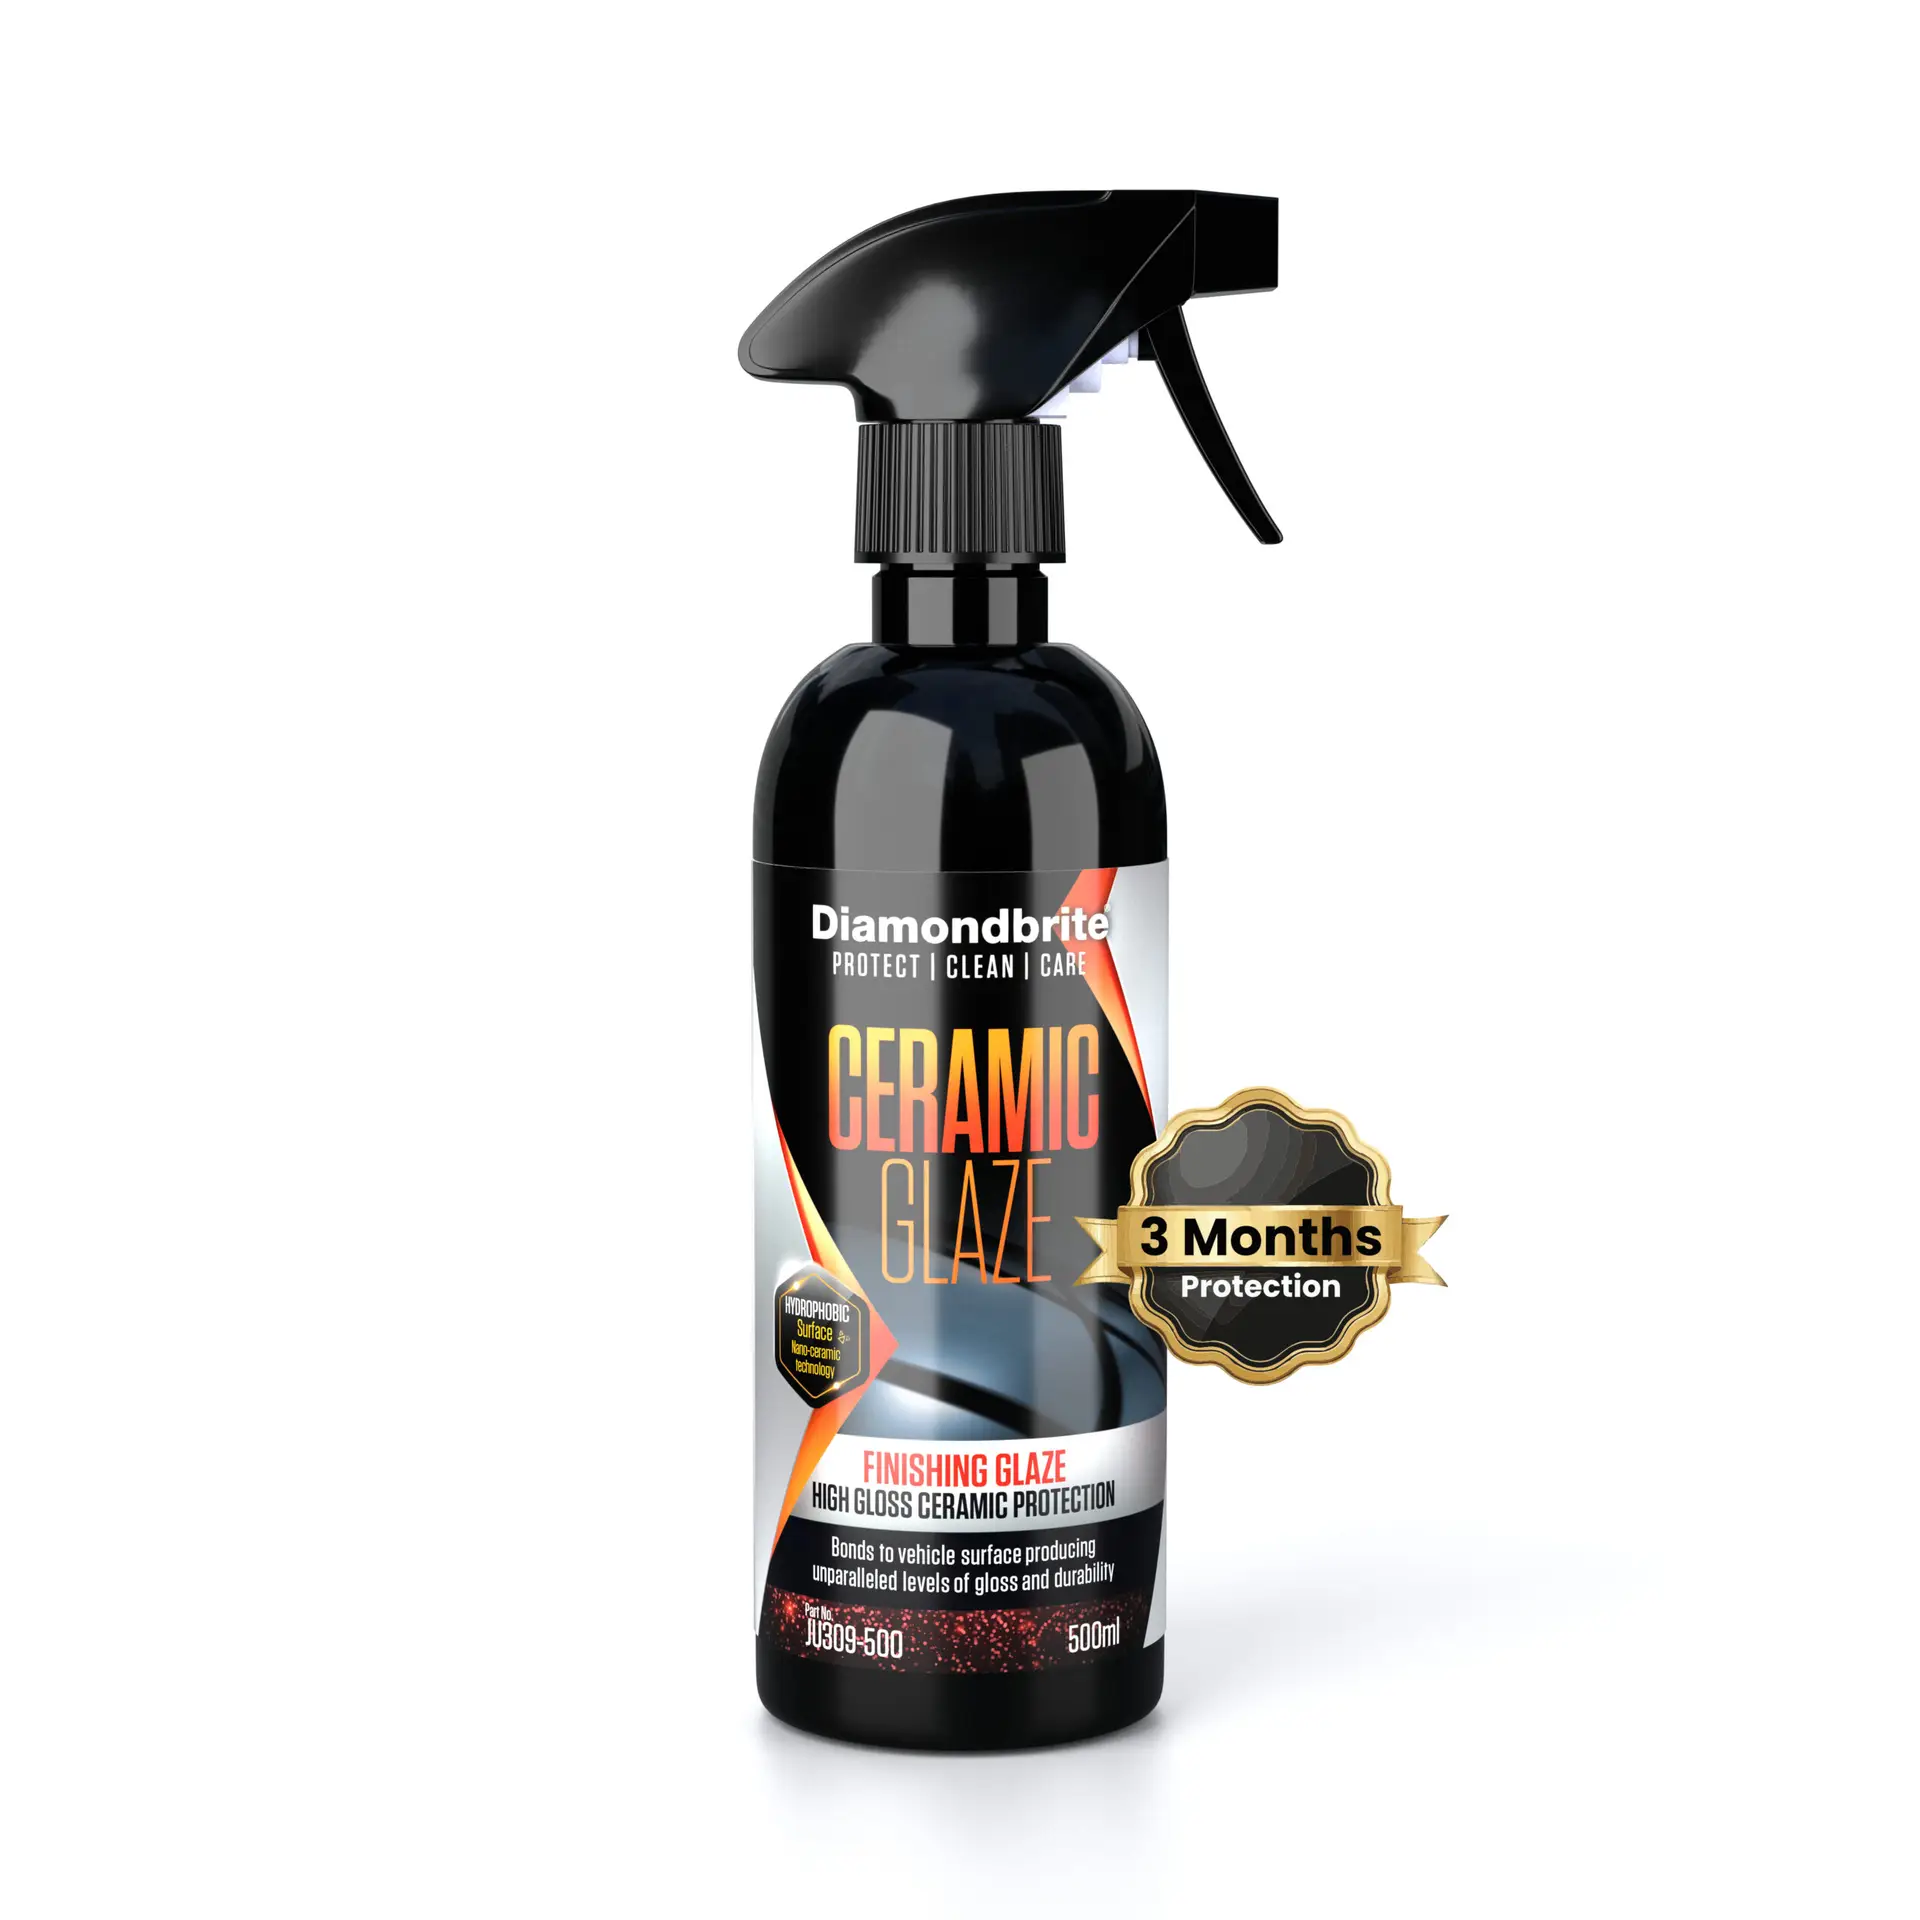
For the contact wash itself, Diamondbrite Ceramic Shampoo is formulated specifically for coated vehicles: pH-neutral, high-lubrication, and free of wax additives that would compromise the coating’s chemistry. For topping up protection between washes, Diamondbrite Ceramic Glaze provides an SiO2-rich layer that restores water-beading behaviour without conflicting with the base coat.
Bird droppings and tree sap are the most time-sensitive threats your coating faces. Acidic contaminants can etch both the coating and the clearcoat beneath if left in warm conditions — rinse the affected area immediately with clean water, then spot-clean with a pH-neutral quick detailer. Never wipe dry bird droppings; always wet them first. For a full guide on safe removal, see Diamondbrite’s bird droppings removal guide.
How often should you wash and top up a ceramic coating?
Consistency is what separates a coating that lasts two years from one that lasts five. For most UK owners, washing every 2–4 weeks is the right cadence, though daily drivers on salted winter roads may need to wash weekly during the coldest months.
Routine wash cadence:
- Every 2–4 weeks for most UK owners under normal use
- Weekly during winter if the car is driven on salted roads
- After any heavy rain, motorway driving, or exposure to industrial fallout
Topper and booster cadence:
- Apply an SiO2 ceramic topper every 6–12 weeks, or per your coating manufacturer’s warranty guidance. Professional detailers often recommend periodic top-ups to maintain the sacrificial layer’s hydrophobic performance. to maintain the sacrificial layer’s hydrophobic performance.
- A topper refreshes the outer sacrificial layer; it does not replace a full re-coat. If beading has completely stopped responding to a topper, the base coating may need professional assessment.
When to book a professional inspection:
- Every 6–12 months depending on how hard the car is used
- When water no longer beads or sheets off the surface after a clean wash
- When the paint feels rough or gritty after washing (a sign of embedded contamination)
When does your coating need a deep decontamination?
A standard wash removes surface dirt. Deep decontamination removes the embedded contamination that a wash mitt cannot reach: ferrous brake dust, tar, and mineral deposits. Ceramic coatings are not fully self-cleaning; if road film builds up in the coating’s pores, the surface can appear dull even though the coating itself is intact.
Signs a deep clean is overdue:
- Water beads are flattening or sheeting rather than rolling off cleanly
- The surface feels rough or gritty after a safe wash
- Visible iron fallout (orange or brown speckling on paint or wheels)
- Persistent water spots that do not shift with a normal wash
Safe decontamination sequence
- Complete a full routine wash first to remove loose contamination.
- Apply an iron fallout remover to the whole car; allow it to dwell and react (the product will typically turn purple as it reacts with ferrous particles), then rinse thoroughly.
- Apply a tar remover to affected lower panels; allow to dwell, then rinse.
- Treat persistent water spots with a targeted water-spot remover matched to the deposit chemistry. Water spots are largely a calcium carbonate problem, so a mild acidic remover is effective; avoid anything abrasive.
- Rinse the car fully, then dry and inspect.
Match the chemical to the deposit, not the other way around. Using an iron remover on tar, or a tar remover on mineral water spots, wastes product and risks over-dwelling an incompatible chemistry on the coating. Take 30 seconds to identify what you are dealing with before reaching for a bottle.
A deep decontamination is needed periodically based on condition triggers, which are a more reliable guide than a fixed calendar. Avoid clay bars on coated paint unless a professional is carrying out the work; clay can abrade the coating surface. If heavy paint correction is needed, consult a professional detailer rather than attempting it yourself.
How should you use a pressure washer on a ceramic-coated car?
A pressure washer is one of the safest tools in your wash kit when used correctly. The key is nozzle choice and distance.
- Use a wide-fan (40°) nozzle for rinsing painted surfaces. A narrow jet stream concentrates pressure onto a small area and can lift edges of the coating over time.
- Keep at least 30 cm from the paint surface when rinsing. Closer than that and even a moderate-pressure consumer washer can stress panel edges and trim.
- Never direct a jet stream at door seals, rubber trim, or panel gaps — water forced into these areas causes longer-term issues unrelated to the coating.
- Final rinse tip: in hard-water areas across much of England, a deionised or softened water final rinse significantly reduces mineral spotting. Water spots form when mineral-rich water evaporates and leaves calcium carbonate deposits on the surface; a deionised rinse removes that mineral load. Portable deionised water cartridges are available for home use and connect inline with a standard hose.
Drying after the rinse:
- Use a large, plush microfibre drying towel; fold it into quarters and work panel by panel with light pressure.
- A low-pressure air blower removes water from panel gaps and mirrors before you start towel-drying, reducing the risk of drips re-wetting a dry panel.
- Squeegees, chamois leathers, and household towels all carry a real risk of fine scratches on coated paint. Keep them away from the car entirely.
Common mistakes that shorten your coating’s life
Most coating failures are not product failures. They are maintenance failures. These are the errors that come up most often.
- Using an automatic car wash. Spinning brushes carry contamination from the previous car and apply it directly to your paint. Even “brushless” tunnel washes use high-pressure jets at angles that stress the coating. Avoiding automatic car washes is one of the most consistent recommendations from professional detailers for coated vehicles.
- Washing with a waxed or gloss-enhancing shampoo. These deposit a wax or polymer film that sits over the SiO2 layer, masking the coating’s hydrophobic behaviour and making it harder to assess its actual condition.
- Cross-contaminating mitts between wheels and paintwork. Brake dust contains ferrous particles that embed into paint instantly. One pass of a contaminated mitt across a bonnet can leave dozens of micro-scratches.
- Ignoring early warning signs. Flattening beads and slow water-sheeting are the coating telling you it needs attention, whether that is a topper application or a decontamination wash. Waiting until the coating appears to have failed entirely means more work to restore it.
- Leaving bird droppings or sap in place. In warm weather, the acids in bird droppings can begin etching the coating within a few hours. Rinse immediately; do not wait for the next scheduled wash.
The Diamondbrite recommended maintenance routine
A consistent, productised plan removes the guesswork. Here is how to structure your ceramic coating care across the year using Diamondbrite products.
Monthly (every 2–4 weeks):
- Pre-wash with snow foam, dwell and rinse
- Contact wash using Diamondbrite Ceramic Shampoo with the two-bucket method
- Rinse, dry with a plush microfibre towel
- Quick visual inspection: check beading behaviour and look for any bird dropping or sap damage
Every 6–12 weeks:
- Apply Diamondbrite Ceramic Glaze as a topper after your routine wash and dry
- Inspect panel surfaces in direct light for water spots or iron fallout speckling
- Address any spots with a targeted remover before they become embedded
Every 6 months (or condition-triggered):
- Full deep decontamination: iron fallout remover, tar remover, water-spot treatment
- Thorough inspection of beading performance across all panels
- Consider a professional inspection if the coating is more than 12 months old or has had heavy exposure
Seasonal notes:
- Winter: salt and road grime accelerate contamination. Wash more frequently (weekly if possible) and pay extra attention to sills, arches, and lower panels. A fresh topper before the first cold snap gives the coating an extra sacrificial layer.
- Summer: UV exposure and bird droppings are the primary threats. Check the car after any period of parking under trees, and keep a pH-neutral quick detailer in the car for spot-cleaning on the go.
Pro Tip: After application of a new ceramic coating, avoid washing the car for the first seven days to allow the coating to cure fully. The curing window is when the coating is most sensitive to water, chemicals, and abrasion. Patience here pays dividends for years.
Why less is more with ceramic coatings
There is a temptation, especially among enthusiasts, to treat ceramic coating care as an opportunity to layer on more products, more frequently. In practice, the opposite approach delivers better results.
A ceramic coating is a protection layer, not a surface that needs constant feeding. Every unnecessary product you apply over it introduces a risk: an incompatible chemistry, an abrasive particle, or a wax film that masks the coating’s own performance. The owners who get the most from their coatings are not the ones doing the most; they are the ones doing the right things consistently.
The two-bucket method, a pH-neutral shampoo, and a periodic SiO2 topper cover the vast majority of what a coating needs. Deep decontamination, when triggered by actual signs of contamination rather than a fixed calendar, handles the rest. Polishing and clay work belong in the hands of a professional unless you are prepared to accept that you may be removing part of the coating in the process.
Modern OEM clearcoat runs roughly 40–50 microns thick. Every abrasive correction shaves a little of that budget away permanently. Ceramic coating maintenance is, at its core, a strategy for preserving that clearcoat by keeping contamination off it in the first place. Keep the routine simple, keep the chemistry right, and the coating will do what it was designed to do.
When in doubt, consult a professional detailer rather than experimenting with unfamiliar products on a coated surface.
Diamondbrite products that fit your maintenance routine
Keeping a ceramic coating in good shape does not require a cupboard full of products. Two well-chosen items cover most of what your routine needs.

Diamondbrite Ceramic Shampoo is pH-neutral, high-lubrication, and formulated without wax additives, making it the right choice for every routine wash on a coated car. Diamondbrite Ceramic Glaze works as your periodic SiO2 topper, restoring hydrophobic performance between washes without conflicting with the base coating chemistry. Both are available directly from the Diamondbrite shop, with full application guidance on each product page. To get started with the shampoo that forms the backbone of the routine, visit the Diamondbrite Ceramic Shampoo page and pick up the product built for exactly this job.
Sources
- What causes water spots (and what dissolves them) · CarCareTruth
- How to Wash and Maintain a Ceramic Coated Car | Auto Care HQ
- Ceramic coating aftercare | Imperial Detailing
- How to maintain your ceramic coating | Washing & care guide UK
- What destroys ceramic coating? – Alpha Lion Auto Detailing & Ceramic Coating
- The dos and don’ts of ceramic coating — KillerBrands
FAQ
What destroys a ceramic coating fastest?
High-pH alkaline cleaners, automatic car washes with spinning brushes, and leaving bird droppings or acidic sap on the surface in warm conditions are the most damaging threats. Abrasive polishes and compound cleaners will physically remove the coating.
How do you maintain a ceramic coating properly?
Wash every 2–4 weeks with a pH-neutral shampoo using a snow foam pre-wash and the two-bucket method, dry with a plush microfibre towel, and apply an SiO2 ceramic topper every 6–12 weeks to refresh hydrophobic performance.
How long after ceramic coating application can you wash the car?
Wait at least seven days before washing a freshly coated car. The curing window is when the coating is most sensitive to water, chemicals, and abrasion, so patience during this period protects the investment.
Is there a downside to ceramic coating?
The main downside is that a coating still requires regular, correct maintenance to perform well. It makes the car easier to clean but does not eliminate the need for scheduled washing, periodic topper applications, and occasional deep decontamination.
